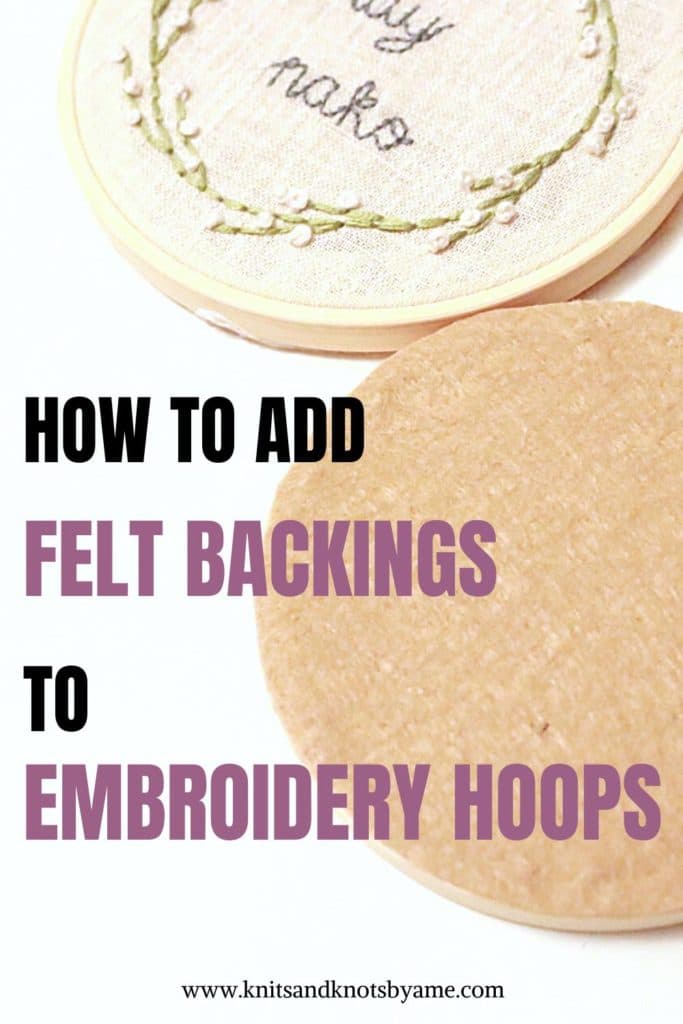
How to Add Felt Backings to Embroidery Hoops
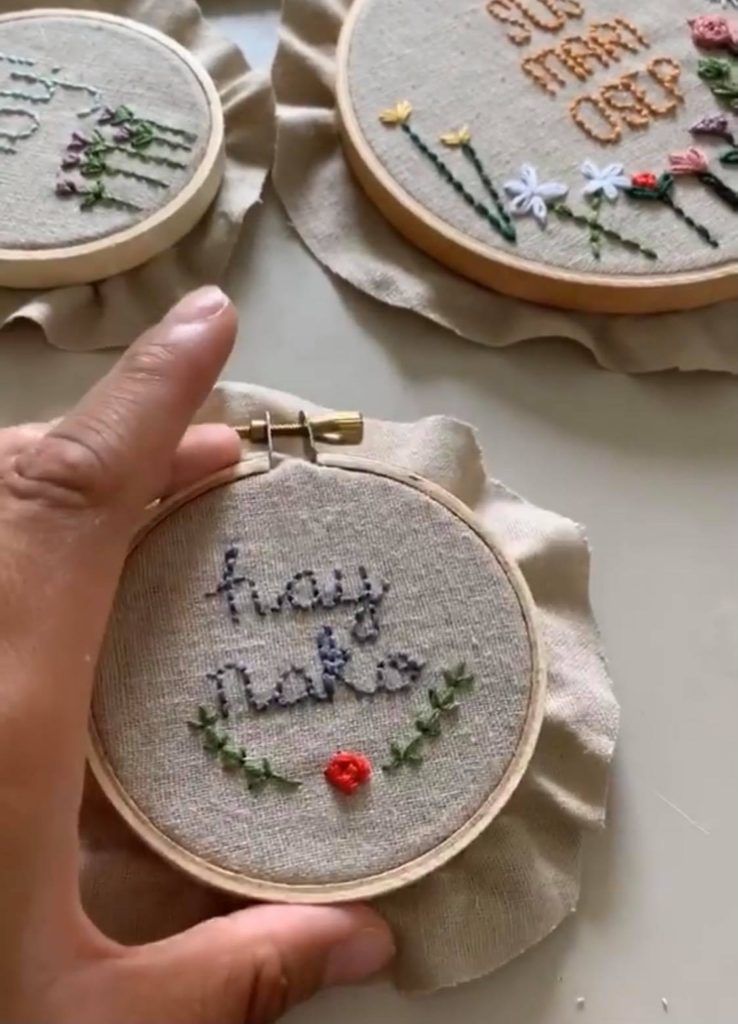
Hello there maker! You found my little nook in the interweb! My name is Abigail and I am a fiber enthusiast! I usually design crochet and knitwear, but little did most know, I also design Filipino themed embroidery pieces! Being my first post around embroidery, I thought it would be extra fun to show you how I add backings to embroidery hoops.
But first! How and why on earth did I dive into the world of embroidery? Well my embroidery journey began during the first Pusong Filipinx Market in Hawaii. For the market, vendors we were encouraged to create a product made especially for the event. I decided to make something different and dipped my toes into embroidery.
Ever since then, I have enjoyed mixing the art of embroidery into my business. Embroidery is a great way to break up my knit and crochet projects and keeps my creative juices flowing! Consequentially, the pieces have become a great hit in the business and best seller – something I did not intend at all! The best surprises are those we do not expect, am I right?
Now on to the good stuff!
So, you finished your beautiful embroidery piece! Congratulations you crafty thing! But now what? I am pretty sure you would want to hide all those loose ends in the back, especially if you are planning to sell.
After creating my first collection, I searched for ways to add backings to embroidery hoops. I never imagined that something that seemed so simple would have so little ways showing how!
While searching, I found some beautiful ways to attach backings to embroidery hoops that involved sewing. Sewing is great way to secure backings that creates a clean and crisp finish to your project. However, I was looking for something much more simpler and time efficient. I knew there must be a faster way!
Know before you start
With time on my mind, I instantly knew felt would be my backings textile. Felt is the perfect textile for such projects that need an effortless clean edge. Just cut to shape and that is it! Next thought was what would secure felt to the hoop. You guessed it: GLUE GUN! Now the trick with using a glue gun to effectively secure backings to embroidery hoops is heat. The glue absolutely needs to be hot or else it will not mesh into the fabric or the hoop well. Because of this, I take a little time in between spaces to make sure the glue gun in ready.
How to Add Felt Backings to Embroidery Hoops
- Here are the embroidery hoops I use. – Embroidery Hoops
- Truthfully I just use a good old Dollarama glue gun and sticks. No shame in being frugal here!
- I pick up fabric and felt from any fabric store local to me. I got what I needed from Walmart while I was in Hawaii. In Canada, I found everything at Fabric Land or Michaels. I am not picky at all!
- See all of my embroidery designs here! – KKAME Embroidery
1.Preheat your glue gun well ahead of time. Remember, this is the most important part if you want to ensure your backing would be secure.
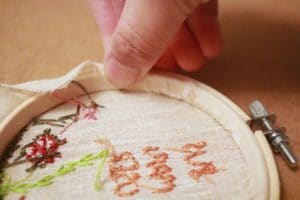
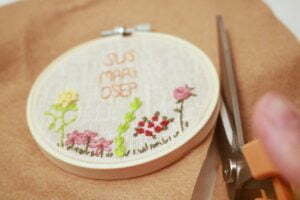
2. While your glue gun is heating up, now is the perfect time to trim your fabric. Most embroider hoops are around 1/2 thick and you are going to want to cut the remaining fabric around your hoop for around 1/2-3/4 inches.
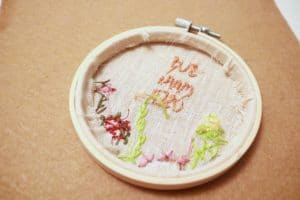
3. When your glue gun is ready you can start to secure the excess fabric to the inner portion of the embroidery hoop. To do this, run some glue along the inner portion of the hoop and pinch over the excess fabric. Repeat this in small portions (to make sure your glue remains at a steady heat) until you go all around the hoop.
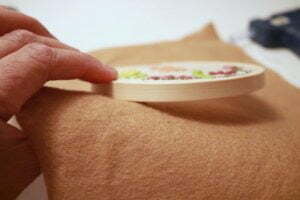
4. Prepare your felt by making sure all unwanted residue, dirt, hair, etc. are off. Now, I used to precut the circles the glue them on the hoop, but I found it saved much more time to glue it on then cut. Plus, it ends up being much more cleaner!
5. Apply about an inch of glue around the bottom side of the hoop the press it firmly on the felt fabric. You can pick up your felt and mold it further into the hoop. Continue applying glue (make sure it is hot!!!) around the bottom side of the hoop in small portions. For each portion stretch and mold the fabric secure onto the hoop.
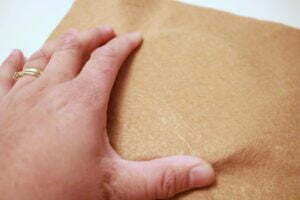
6. Finally, cut the fabric around the hoop, flushed to the side.
And there you go! Your embroidery piece is finally complete and ready to go onto your wall – or into the world if you are a seller like me! Let me know how this quick method works for you in the comment section below.
Until next time makers!
Abigail