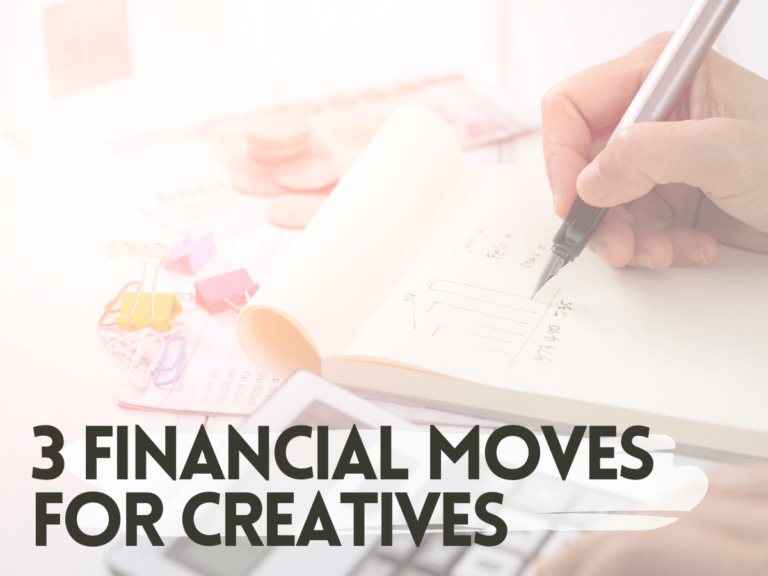
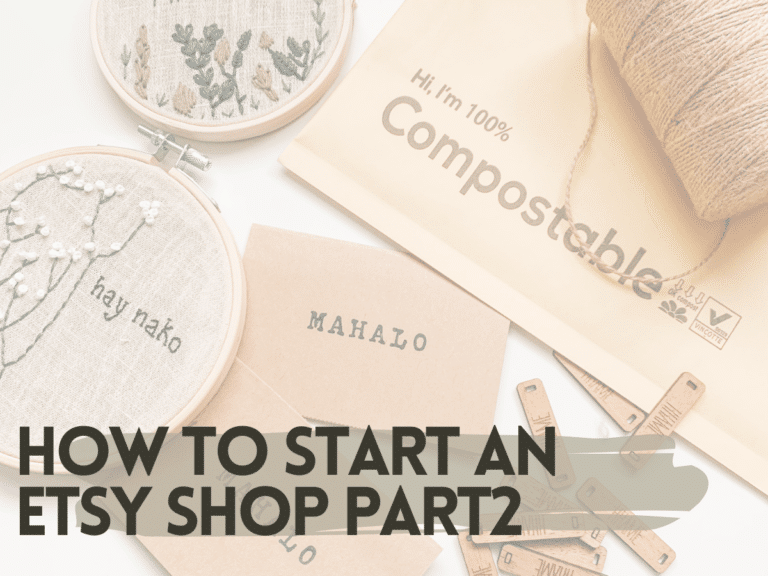
All You Need To Take Quality Photos on a Budget
One thing that I learned – and admittedly still learning – is that producing quality product photos are key in capturing the beauty in the creative process. Photos are a great way to share a visual story and the quality is a way to encourage people to listen to your story. But let’s be honest, not everyone can afford a fancy set up to take photos or even outsource this task. Most of us in the beginning phases need quick and dirty ways to take great photos on a budget.
This resource is a part of a compilation: How to Make Money on Etsy.
I honestly did not pay much attention to the quality of my photos until this year! I am not a photographer, and sure as heck do not have the budget to hire a photographer! In fact, most of my product photos are taken from my iPhone AND taken by myself. Want to know the secret to taking quality photos on a budget? Stay with me! I put together a list of resources and things I use to help with taking and editing my photos.
Are you trying to build a crochet business? Check out the link below to learn everything you need to know to start a crochet business in 2023.
This post contains affiliate links. This means I receive a small commission if a purchase is made through these links at no extra cost to the buyer. You can read my privacy policy here.

1. Taking Photos with Selfie Sticks and Tripods
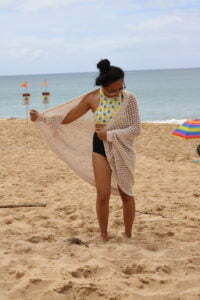
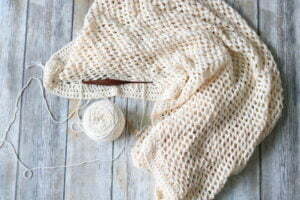
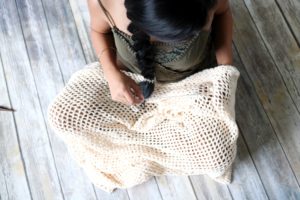
Yes! I use selfie sticks to help record some of my behind the scenes videos on my stories and for photos showing both of my hands like this

Being able to show two hands just helps create a better visual story. Almost like it was shot by someone else.
It also helps illustrate movement in photos. Having a tripod or selfie stick is great for capturing these kind of behind the scenes shots!
I especially love mine because it is also a mini tripod and has a clicker, here is the selfie stick I use. The best thing about the selfie stick is it is it’s not too pricey and worth every penny! I am such a huge fan of saving money!!!
A new favorite and inexpensive tripod/selfie stick that I swear by is this one from UBeesize. This selfie stick is what I use now for almost everything, including what I take on trips for my DSLR and GoPro.
I have have several selfie sticks and tripods just because they are so inexpensive and come in handy all the time. I keep one in the car for times when we are out (we love exploring and never know when we’d stumble across a great place for photos), one in our living room, and two in my office.
2. Free Apps that help Elevate Photos
Snapseed
I use the Snapseed app to edit almost all of my listing photos. I like to adjust the brightness, contrast, highlights, and shadows in my photos.
The best part of this app is it has a special Selective option where you can further edit just portions of the photo rather than the whole thing.
Snapseed allows me to edit a photo just enough to highlight to product without filters. For listing photos, especially physical items, it’s important that they reflect accurate colors.
Touch Retouch
This app is just plain magic! I use this to get rid of any unwanted objects in my photos.
It allows me to take photos in public areas without needing to worry about people in the background or objects nearby. I use this for both product lifestyle shots AND our travel photos. Here is an example. See how I took out the umbrella and driftwood from the original photo.
This app has made it so much easier for me to get a picture without needing to clean my surroundings or wait for people to pass for the perfect shot. I LOVE THIS APP SO MUCH!!!
Canva
Is my one stop shop for everything! It has replaced Adobe Spark (what I used to use) for making pins, and now slowly taking control of my powerpoint needs.
Canva is a free app but also has a paid version – Canva Pro – which I highly recommend. Pro gives e access to all the graphics and fonts in the Canva library. I use Canva for both of my businesses and being a Pro member allows me to save so much time creating for both business.
Here are some other benefits of Canva Pro that make the paid version worth it for me:
- Background remover
- Brand Kit Management
- Magic Resize
- Access to the entire library of images and fonts
- Unlimited Storage
- Unlimited Folders.
You can find a template for almost anything on Canva! I use Canva to make my invoices nd other things for my private practice, create carousel posts for Instagram, and – most importantly – design pins for Pinterest.
Pinterest is a a must have for content creators and designers. Canva allows me to make branded fresh pins that I can easily replicate, adjust, and resize to repurpose.
If you are not doing Pinterest yet, you need to! Here is a Free Pin Template Starter Kit from Mommy on Purpose that uses Canva templates. Carly’s course Pinterest Strategies also served as a very useful resource in helping me understand Pinterest and increase my reach on the platform.
Remini
This is a free app that fixes blurred photos. I like taking videos then grabbing photos from those videos since I am usually by myself. By doing this, sometimes the images come out a little blurred. Remini helps sharpen the photo and make is good as new.
It is a good app and gives you results. Being free, don’t expect perfect results. Remini cannot magically fix very blurred images but it improves what it can.
Like Canva, there is a paid version of this app. The paid version allows you to fix unlimited amount of photos. The free version sets a monthly limit.
Lightroom
Lastly, I use the free version of Lightroom to edit my feed photos. Lightroom is free but I purchase presets from online sellers to use in the app.
Presets are like filters and help create a cohesive look.
I like to get a preset for each season and activity I do. For example, I have a preset for autumn, Christmas, a woodland one for forest hikes we do, and one that I use throughout the year too.
3. Photo background
You do not need to live in a Pinteresty house with marble counter tops and plenty of natural light to get great photos. It is very easy to replicate and create an illusion of the perfect corner or space on a small scale.
Staging a small area is a great idea to take perfect product shots. You just need a reflector (I literally just use a white foam board from Dollar Tree to bounce natural light off), props, and a backdrop if needed.
In order to keep my background for my flat lays or progress photos similar with one another I first invested in tiles from Lowe’s. I absolutely love these tiles I got, however they are so heavy and only gives me limited coverage so I can only use them for small projects or just WIPS (work in progress). I then came across this amazing deal for backdrops which I use for bigger projects. It is a set of four different wood textured backgrounds in a pretty decent amount of coverage! Here is what I got, click here.
Since this post first came out, I have taken a liking towards shooting against plain walls and also with lifestyle shots. These shots include pictures of me doing everyday things. There are so many FREE places you can take photos against in public areas, go for a cruise around your town or city and find places to potentially shoot pictures.
If you want more tips on how to take product photos make sure to check out this post. Here I dig a little more deeper into what kind of pictures you should be taking of your products for listings.
4. Camera!
Most importantly, you need a camera! Now, phones now-a-days take crazy good pictures! With all the editing apps around, you do not need a fancy shmancy camera to take great photos. I often take photos by myself and would set up a timer which can get really weird posing all by myself. I do use a DSLR at times to be able to control the focus for detail shots on me, I find it is very useful to be able to be in total control of how the photo come out and what it focuses on. Again, if you do opt in getting a DLSR, remember, you do not need the very best one out there!
So that’s it for now. These are all I use to take and edit my photos, I hope this helps some makers out there who have been struggling with photos. I always like to get photos of my projects from different angles and also emphasize on certain details like stitches and color.
Want more information and tips on taking photos of your handmade items? Head over to this post – Photography tips for Handmade Businesses – to read what kind of photos you should be taking for your products.
Want to learn more about growing your Etsy Business?
Let me know what you use! I would love to learn more.
Until next time!