How to Crochet a Simple Shirt for Beginners
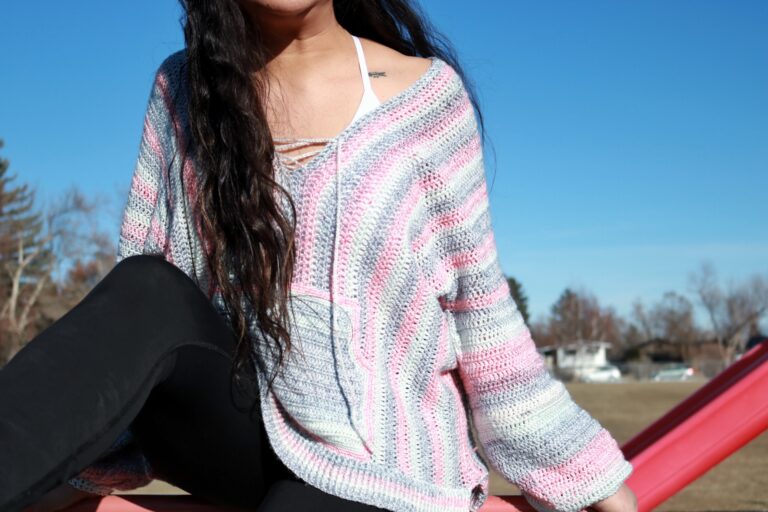
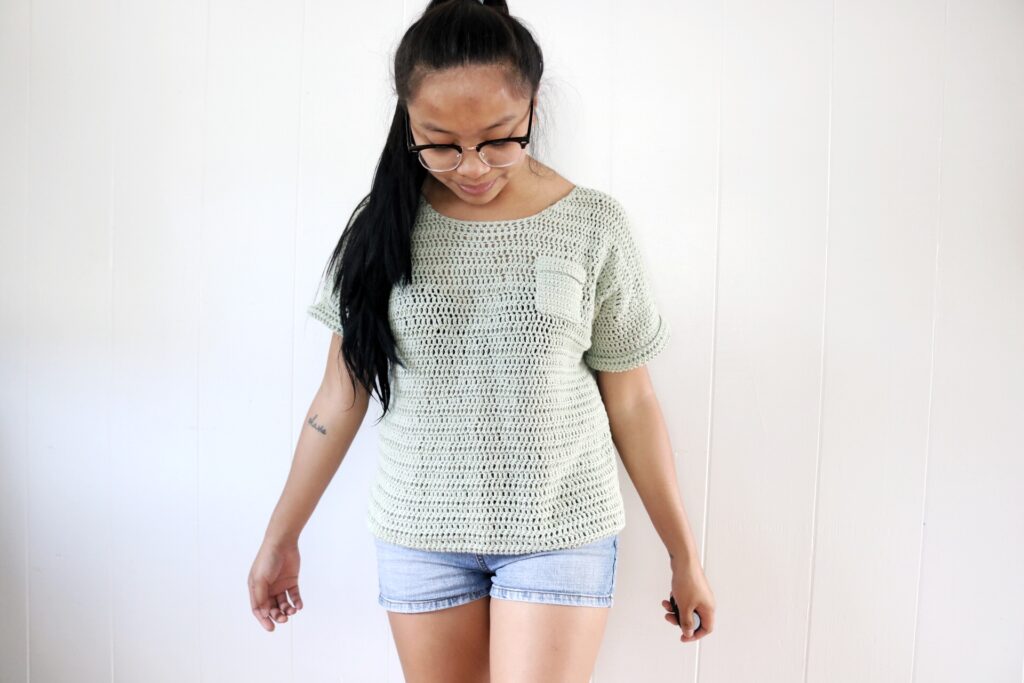
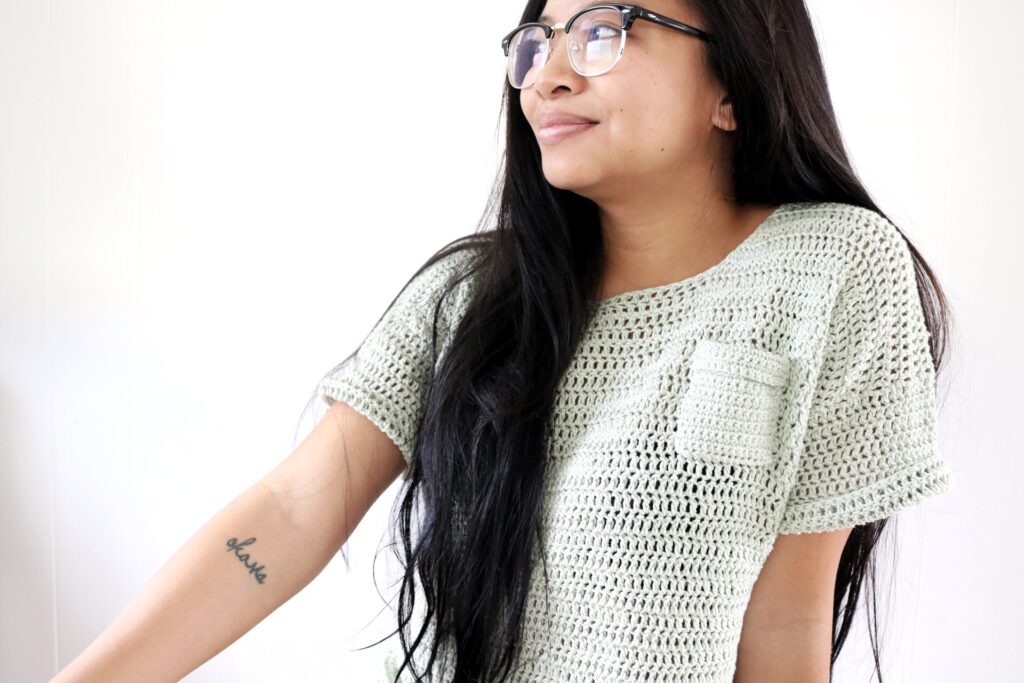
Hello makers! This post shares the pattern to the Halona Everyday Top. This design is a simple crochet shirt with a little pocket addition. This pattern is suitable for beginner crocheters, lets get into it!
About this Simple Crochet Shirt
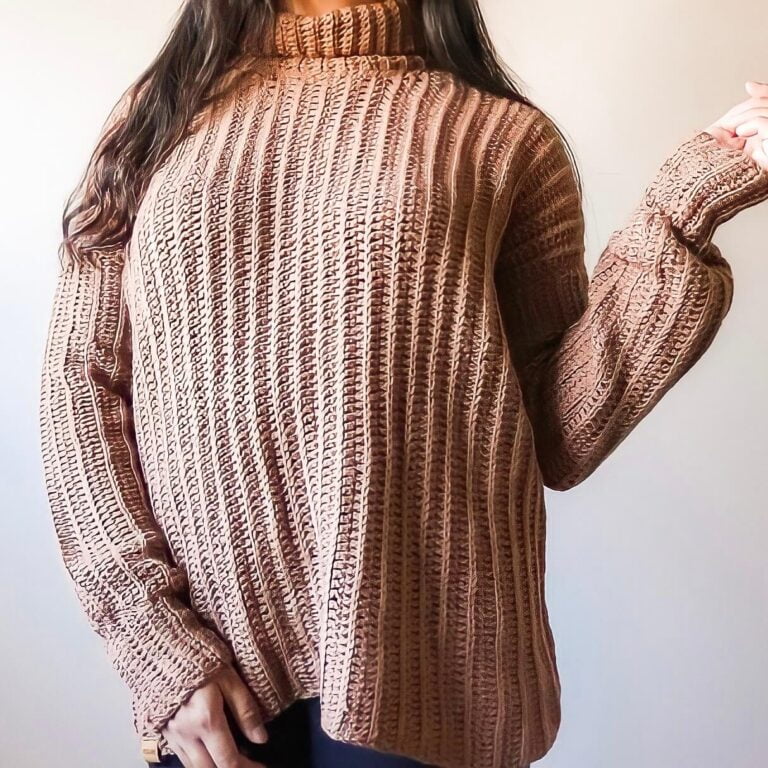
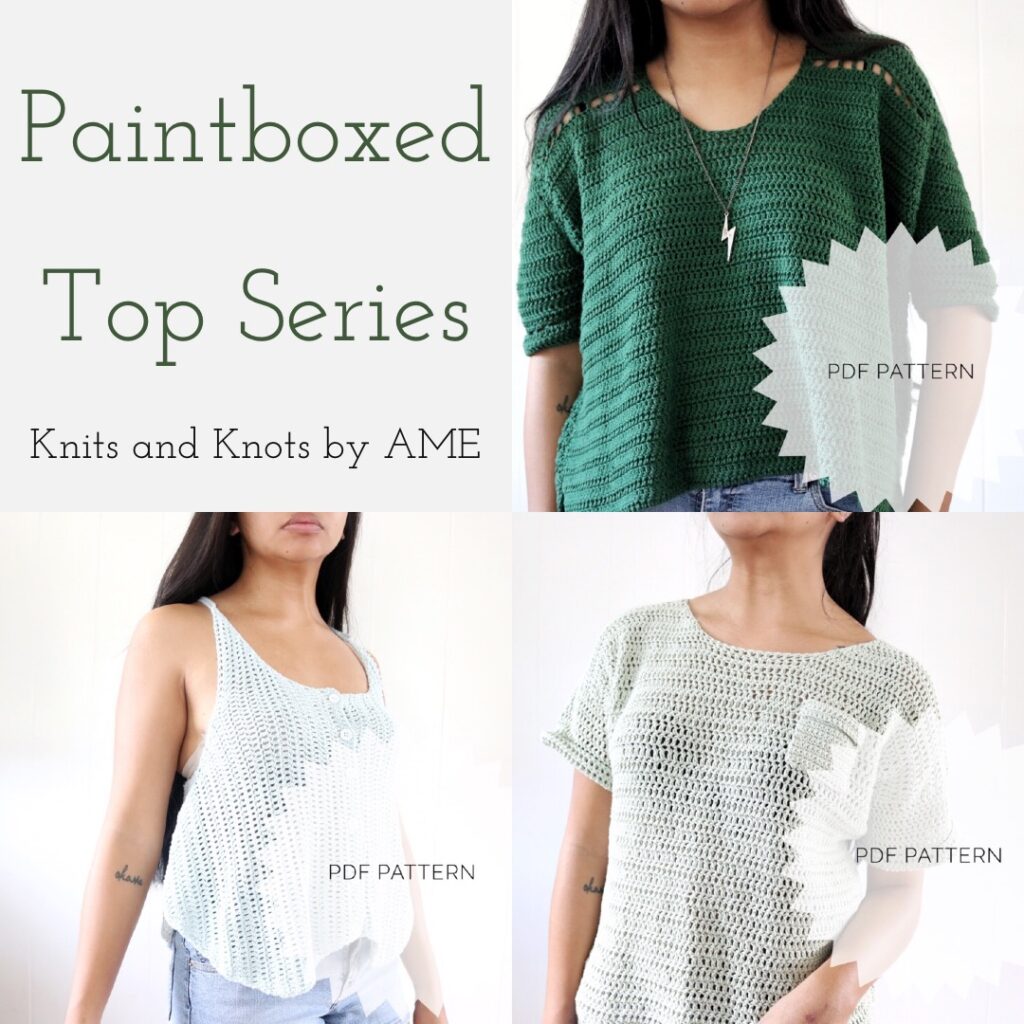
The Halona Everyday Top was one of the first 5 designs that I ever made. It was a part of my Paintboxed Top Series which featured three tops designed with Paintbox yarns Cotton DK. These designs are the Halona Top, The Seafoam Top, and the Pine Creek Box Top.
This Halona Top is named after my wife’s favorite blowhole on Oahu. Whenever she visited me her first stop would always want to be the blowhole.
I was heavily inspired by every day shirts and wanting to influence others to wear their own crocheted tops out and about. I still preach this and love wearing my crochet wear outside.
Construction of the Halona Everyday Top
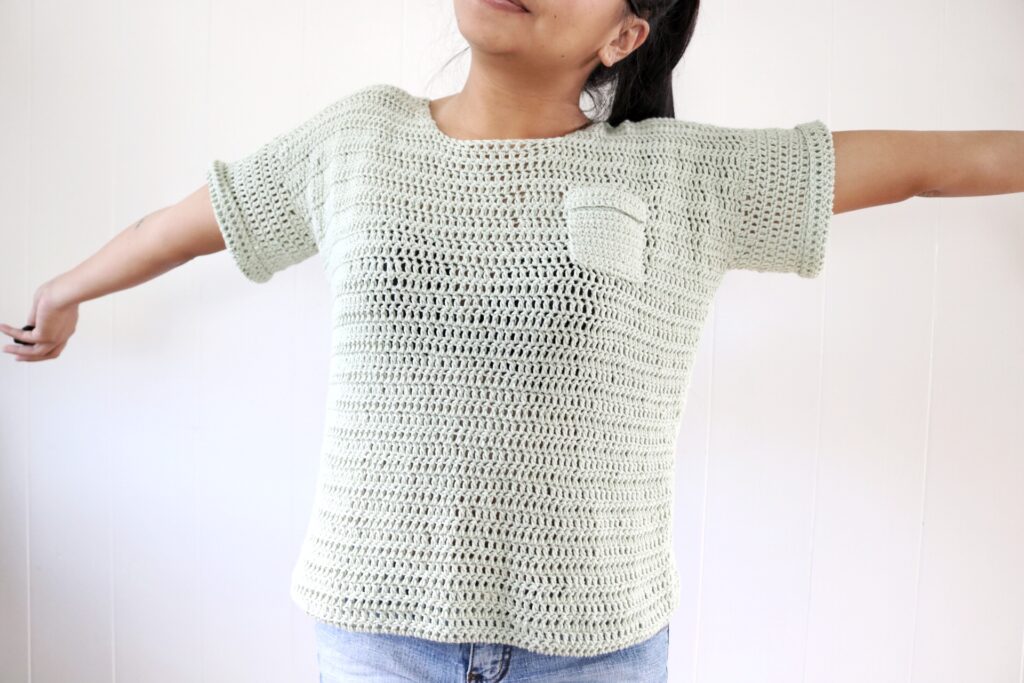
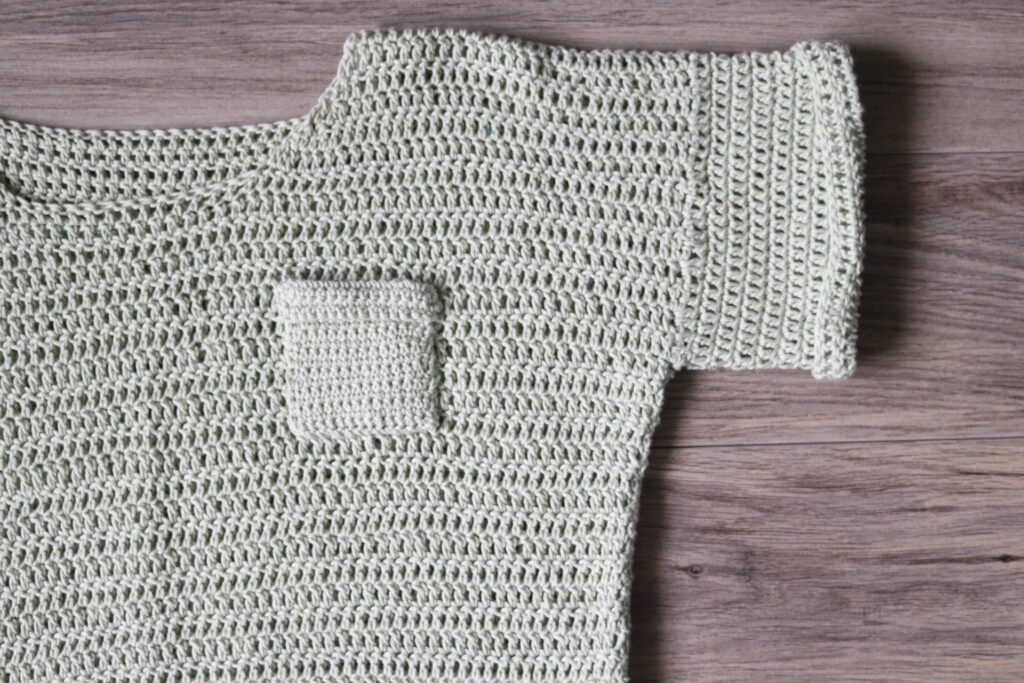
This crocheted shirt is made in three parts: front panel, back panel, and sleeves. Well I guess we could say 4 if you add in a little pocket.
Since this was one of my first designs and I was just getting used to all the math involved in designing, this pattern is available in sizes XS-XL only. No one really tells you how much math is involved when starting design! After many more years of practice I am more confident and familiar with grading patterns so I do hope to rework all of the old patterns.
The body panels in this garment involves simple shaping with increase and decrease stitches around the upper body and neckline opening. Aside from that, this top is pretty straight forward!
Related Post: Check out this curated list of T-shirt patterns to make this year
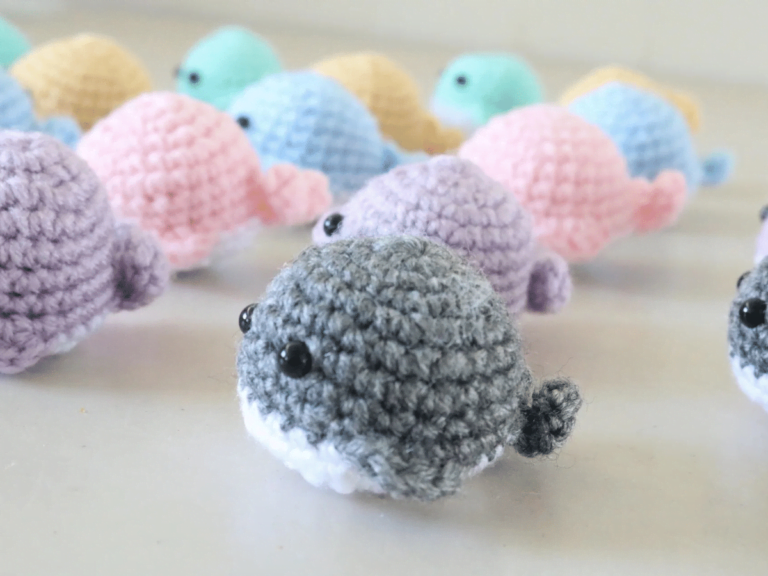
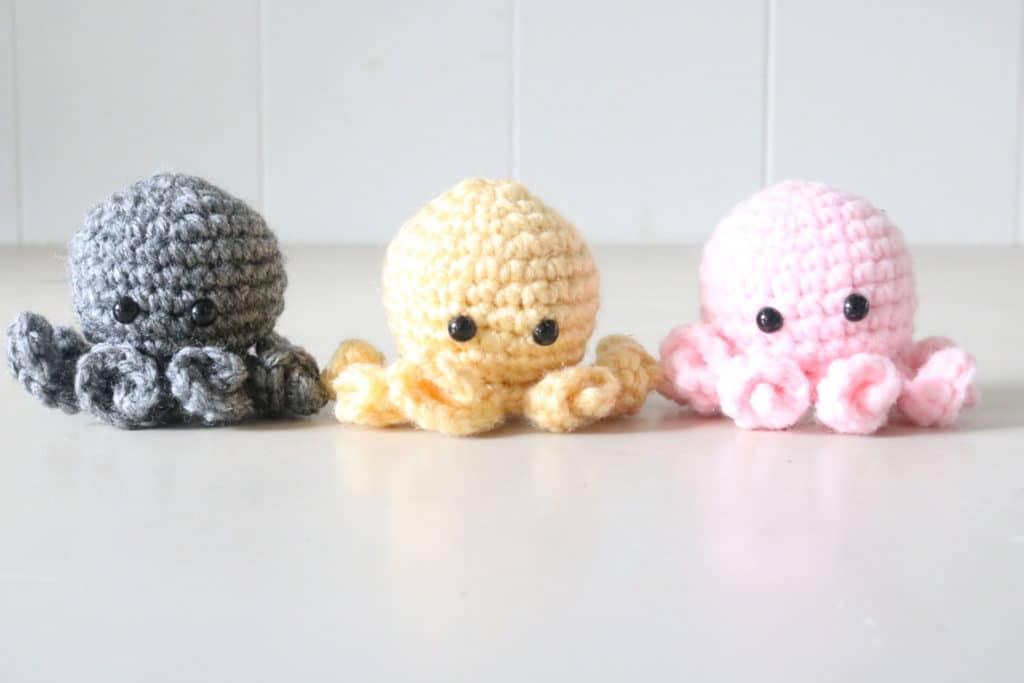
Want similar designs?
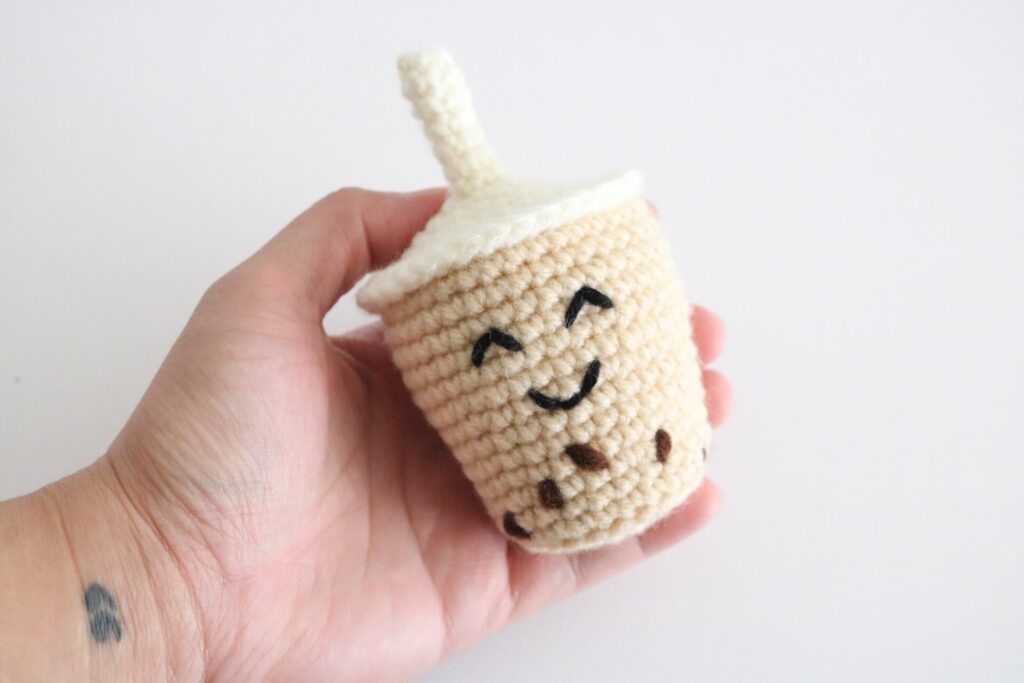
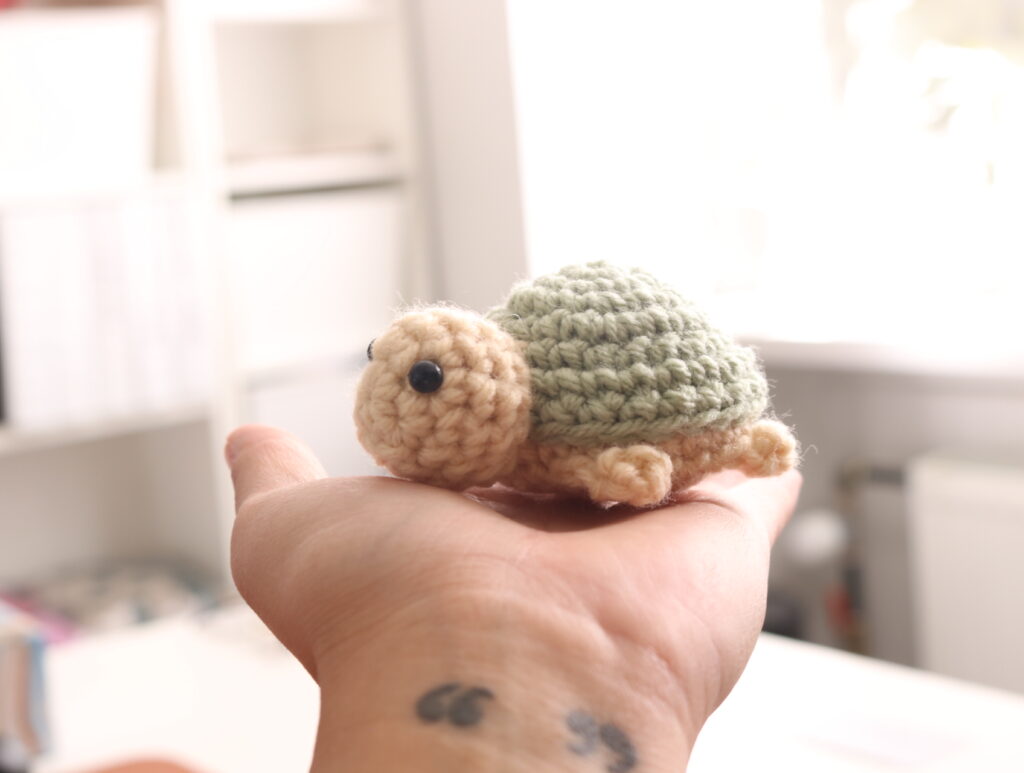
Check out these patterns (left to right): Amigurmi Octopus, Amigurumi Boba Tea, Amigurumi Turtle
Simple Crochet Shirt Pattern
This is the free version of the Halona Everyday Top. You can get the ad-free premium version here.
Materials:
- 3.50mm crochet hook
- Cotton DK (Paintbox Yarns) XS:685 yds, S:730 yds, M:822 yds, L:965 yds, XL: 1,096 yds
- Scissors
- Darning needle
Gauge:
15 dc x 9 rows = 4’ x 4’
Abbreviations: Bust size:
Ch – chain XS:28-30(S:32-34, M:36-38, L:40-42, XL:44-46)
Sc – single crochet
Dc – double crochet
Dc2tog – double crochet 2 together
St(s) – stitch/stitches
Special Notes:
- This pattern is written in US terms
- The front and back panels are made in rows, turn after each row
- It is best to highlight your respective size in the pattern before you start working
- Photo above is a size small pictured on a 5.1” female with a bust of 34 and weight of 125lbs
- Photos are provided to help you along the way. Enjoy!!
Let’s get started with your Halona Everyday Top
This pattern is made by Abigail Marie Ellazar of Knits and Knots by AME (KKAME Designs). This pattern may be kept for personal use with the exception that it will not be sold or claimed as your own, you may link to my shop or media. You may share or sell physical product (with the exception of mass production) with proper credit to Abigail Marie Ellazar (knitsandknotsbyame). If you see this product on any platform violating these wishes please bring it to my attention, I will highly appreciate it.
Mahalo for the respect and support in our maker community!
Front Panel
Ch 69(76, 91, 106, 121)
R1: dc into 3rd ch from hook (serves as the first and second dc), dc into next 66(73, 88, 103, 118) ch (68, 75, 90, 105, 120 sts)
R2: ch 2 (serves as first dc), dc into next 67(74, 89, 104, 119 st (68, 75, 90, 105, 120 sts)
R3-24(26, 26, 28, 28): repeat row 2 (68, 75, 90, 105, 120 sts per row)
You are now going to be increasing on both sides
R25(27, 27, 29, 29): ch 2, dc into same st, dc into next 64(73, 88, 103, 118) st, 2dc (70, 77, 92, 107, 122 sts)
R26(28, 28, 30, 30): ch 2, dc in next 69(76, 91, 106, 121) st (70, 77, 92, 106, 121 sts)
R27(29, 29, 31, 31): ch 2, dc into same st, dc into next 68(75, 90, 104, 119) st, 2dc (72, 79, 94, 108, 123 sts)
R28(30, 30, 32, 32): ch 2, dc in next 71(78, 93, 107, 122) st (72, 79, 94, 108, 123 sts)
R29(31, 31, 33, 33): ch 2, dc into same st, dc into next 70(77, 92, 106, 121) st, 2dc (74, 81, 96, 110, 125 sts)
XS, S, and M Only. R30(32, 32)-35(38, 38): ch 2, dc into next 73(80, 95) st (74, 81, 96 sts per row). Jump to neckline
R34(34): ch 2, dc into next 109(124) st (110, 125 sts per row)
R35(35): ch 2, dc into same st, dc into next 108(123) st, 2dc (112, 127 sts)
R36(36): ch 2, dc into next 111(126) st (112, 127 sts)
R37(37): ch 2, dc into same st, dc into next 110(125) st, 2dc (114, 129 sts)
L Only. R38-43: ch 2, dc into next 113 st (114 sts). Jump to neckline.
R38: ch 2, dc into next 128 st (129 sts)
R39: ch 2, dc into same st, dc into next 127 st, 2dc (131 sts)
R40: ch 2, dc into next 127 st (131 sts)
R41: ch 2, dc into same st, dc into next 129 st, 2dc (133 sts)
R42-47: ch 2, dc into next 132 st (133 sts)
You are now working on the neckline, decreasing near midline. Turn after each row
R36(39, 39, 44, 48): ch 2, dc in next 30(31, 39, 46, 55) st, dc2tog (32, 33, 41, 48, 57 sts)
R37(40, 40, 45, 49): dc2tog, dc2tog, dc into next 28(29, 37, 44, 53) st (30, 31, 39, 46, 55 sts)
R38(41, 41, 46, 50): ch 2, dc into next 25(26, 34, 41, 50) st, dc2tog, dc2tog (28, 29, 37, 44, 53 sts)
R39(42, 42, 47, 51): dc2tog, dc in next 26(27, 35, 42, 51) st (27, 28, 36, 43, 52 sts)
R40(43, 43, 48, 53): ch 2, dc in next 24(25, 33, 40, 49) st, dc2tog (26, 27, 35, 42, 51 sts)
R41-42(44-45, 44-45, 49-50, 54-55): ch 2, dc in next 25(26, 34, 41, 50) st (26, 27, 35, 42, 51 sts)
Repeat R36-42(39-45, 39-45, 44-50, 48-55) on opposite side of neckline
Fasten off


Back Panel
Ch 69(76, 91, 106, 121)
R1-35(38, 38, 43, 47): repeat instructions from front panel
R36(39, 39, 44, 48)-40(43, 43, 48, 53): ch 2, dc into next 73(80, 86, 113, 132) st (74, 81, 96, 114, 133 sts)
R41(44, 44, 49, 54): ch 2, dc in next 23(24, 32, 39, 48) st, dc2tog, dc2tog (26, 27, 35, 42, 51 sts)
R42(45, 45, 50, 55): ch 2, dc in next 25(26, 34, 41, 50)st (26, 27, 35, 42, 51 sts)
Fasten off
Assembly:
Seam along sides of the two panels to the bottom end of the arm (first 29, 31, 31, 36, 40 rows from the bottom). Seam along the top of both panels.

Sleeves
Attach yarn to bottom opening of arm hole. You will now begin working in rounds.
Round 1-8(10, 10, 12, 12): ch 2, dc around armhole 50(54, 54, 54, 58) st, slst to top of ch 2 (52, 55, 55, 55, 59 sts including ch per round)
Fasten off, repeat on opposite side
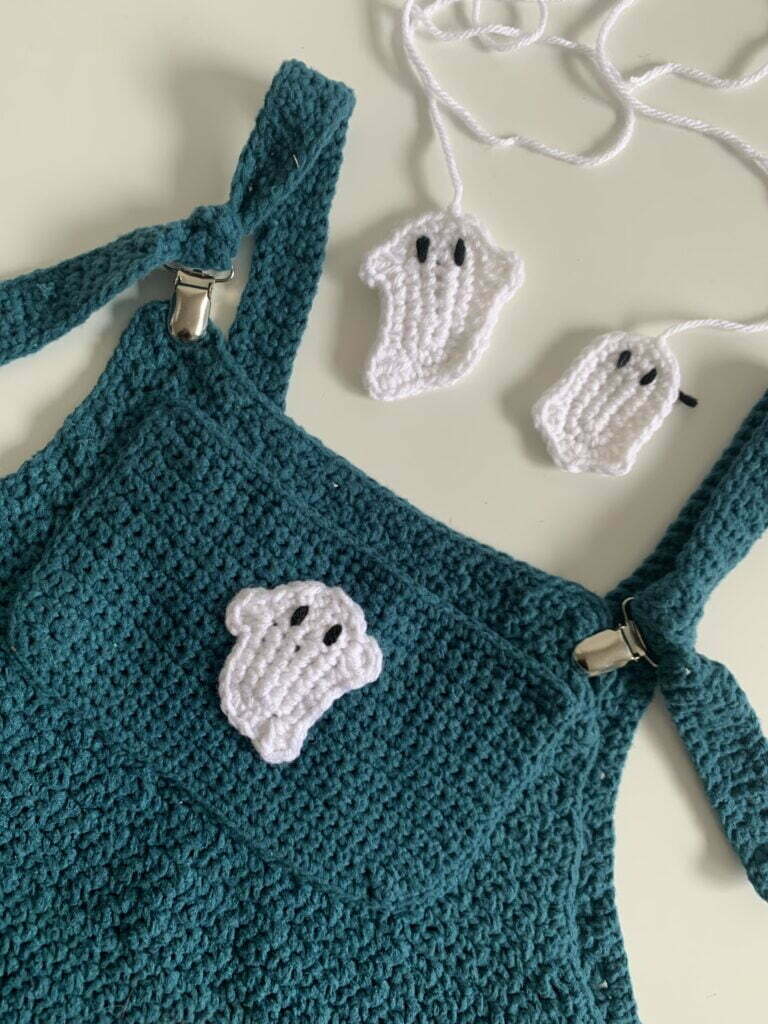
Pocket (can be adjusted by adding st and rows as desired)
You are working in rows
Ch 15(15, 20, 20, 23) +1
R1: sc into second ch from hook (counts as first and second sc) sc into next 13 (13, 18, 18, 21) ch (15,15, 20, 20, 23 sts)
R2-20(20, 25, 25, 28): ch 1, sc into next 14(14, 19, 19, 22) st (15, 15, 20, 20, 23 sts)
Fasten off with a long tail. Flip around two rows towards you. Use the long tail to sew up the two rows then work your way back down the around the bottom and opposite side of the pocket piece to the left chest portion of your front panel. Keep the top (folded portion) of the pocket piece open.
You now a simple crochet top
I would love to see you in your new top! Make sure to tag me @knitsandknotsbyame on IG.
Looking for more beginner crochet pattern? Make sure to check out all of my beginner friendly patterns here where you can find garments, amigurumi, and accessories.
That’s all for now my maker friend! Remember, never miss a stitch by subscribing to my newsletter. Happy crocheting!
xoxo
Abigail