How to Make a No-Sew Amigurumi Octopus Pattern
This amigurumi octopus has been a very popular for the past couple years and shows no sign of dying down! It is pure cuteness overload, no wonder it is such a big hit! The pattern I am about to share is a no-sew pattern which will save you tons of time (and headaches) putting this tiny piece together.
What is amigurumi?
What is amigurumi? Amigurumi is the art of creating tiny object/animals/etc through crochet or knitting. Want a bigger replica? No problem! By adjusting the yarn and hook size you can achieve an amigurumi octopus at much larger scale by following the same pattern.
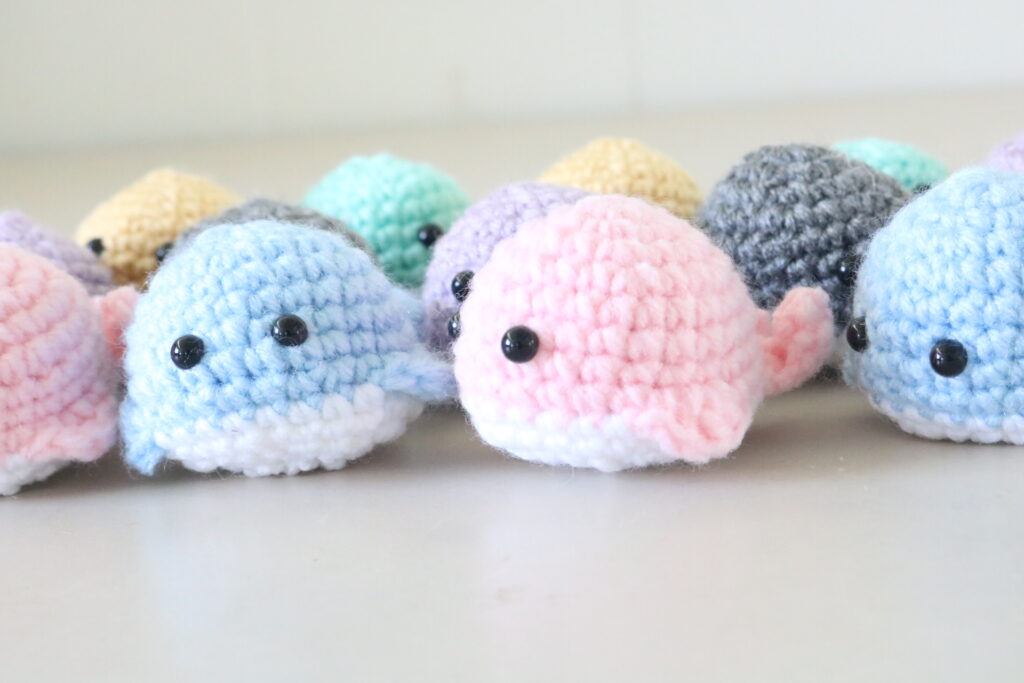
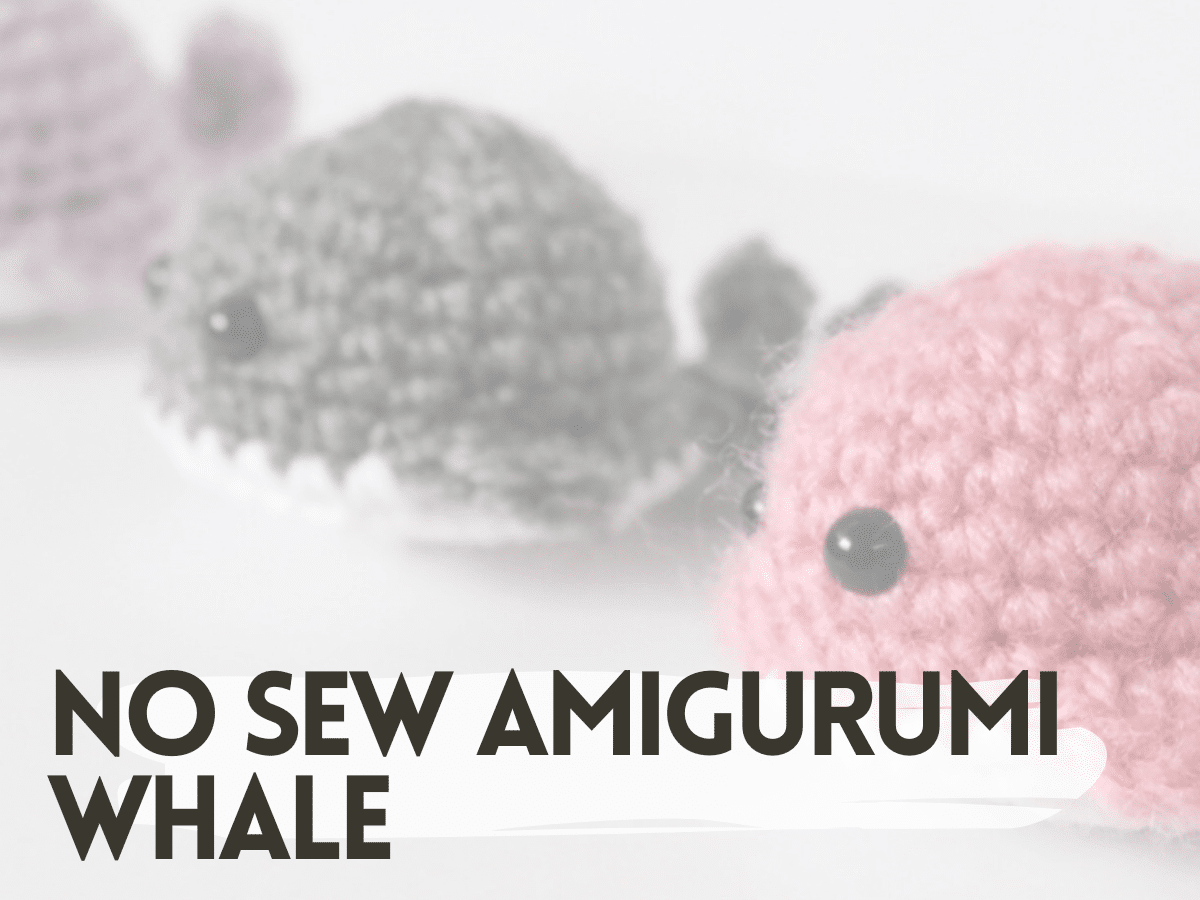
Related: Looking for another cute sea creature? You may want to check out this No-Sew Whale pattern here.
Want more patterns like this?
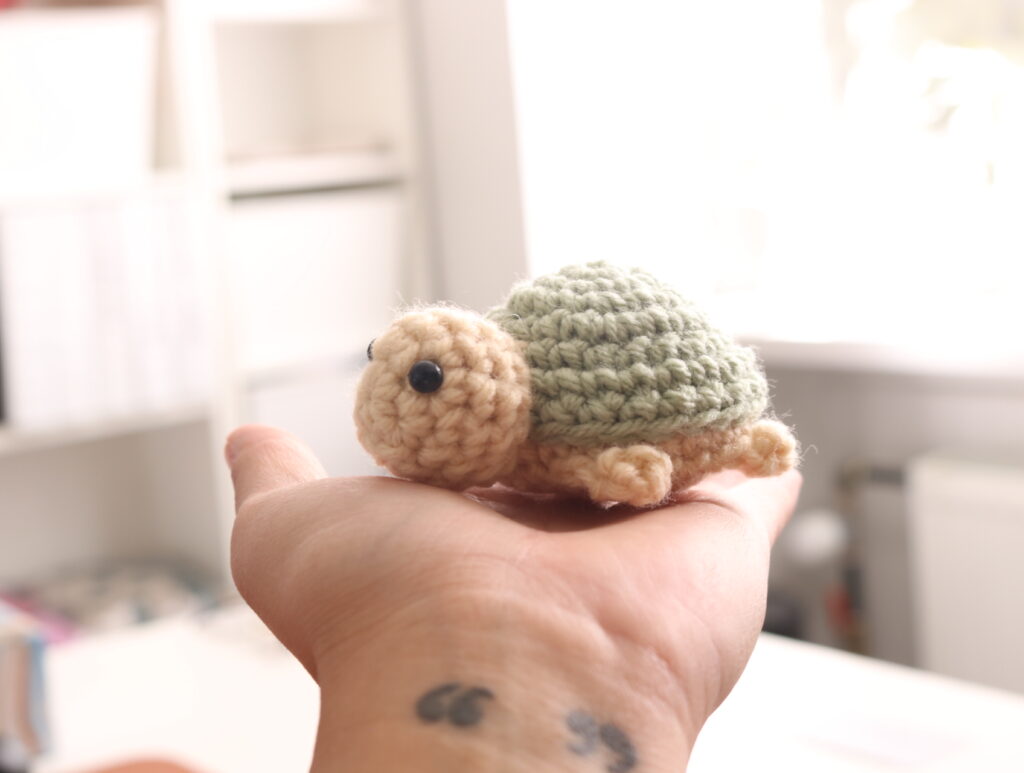
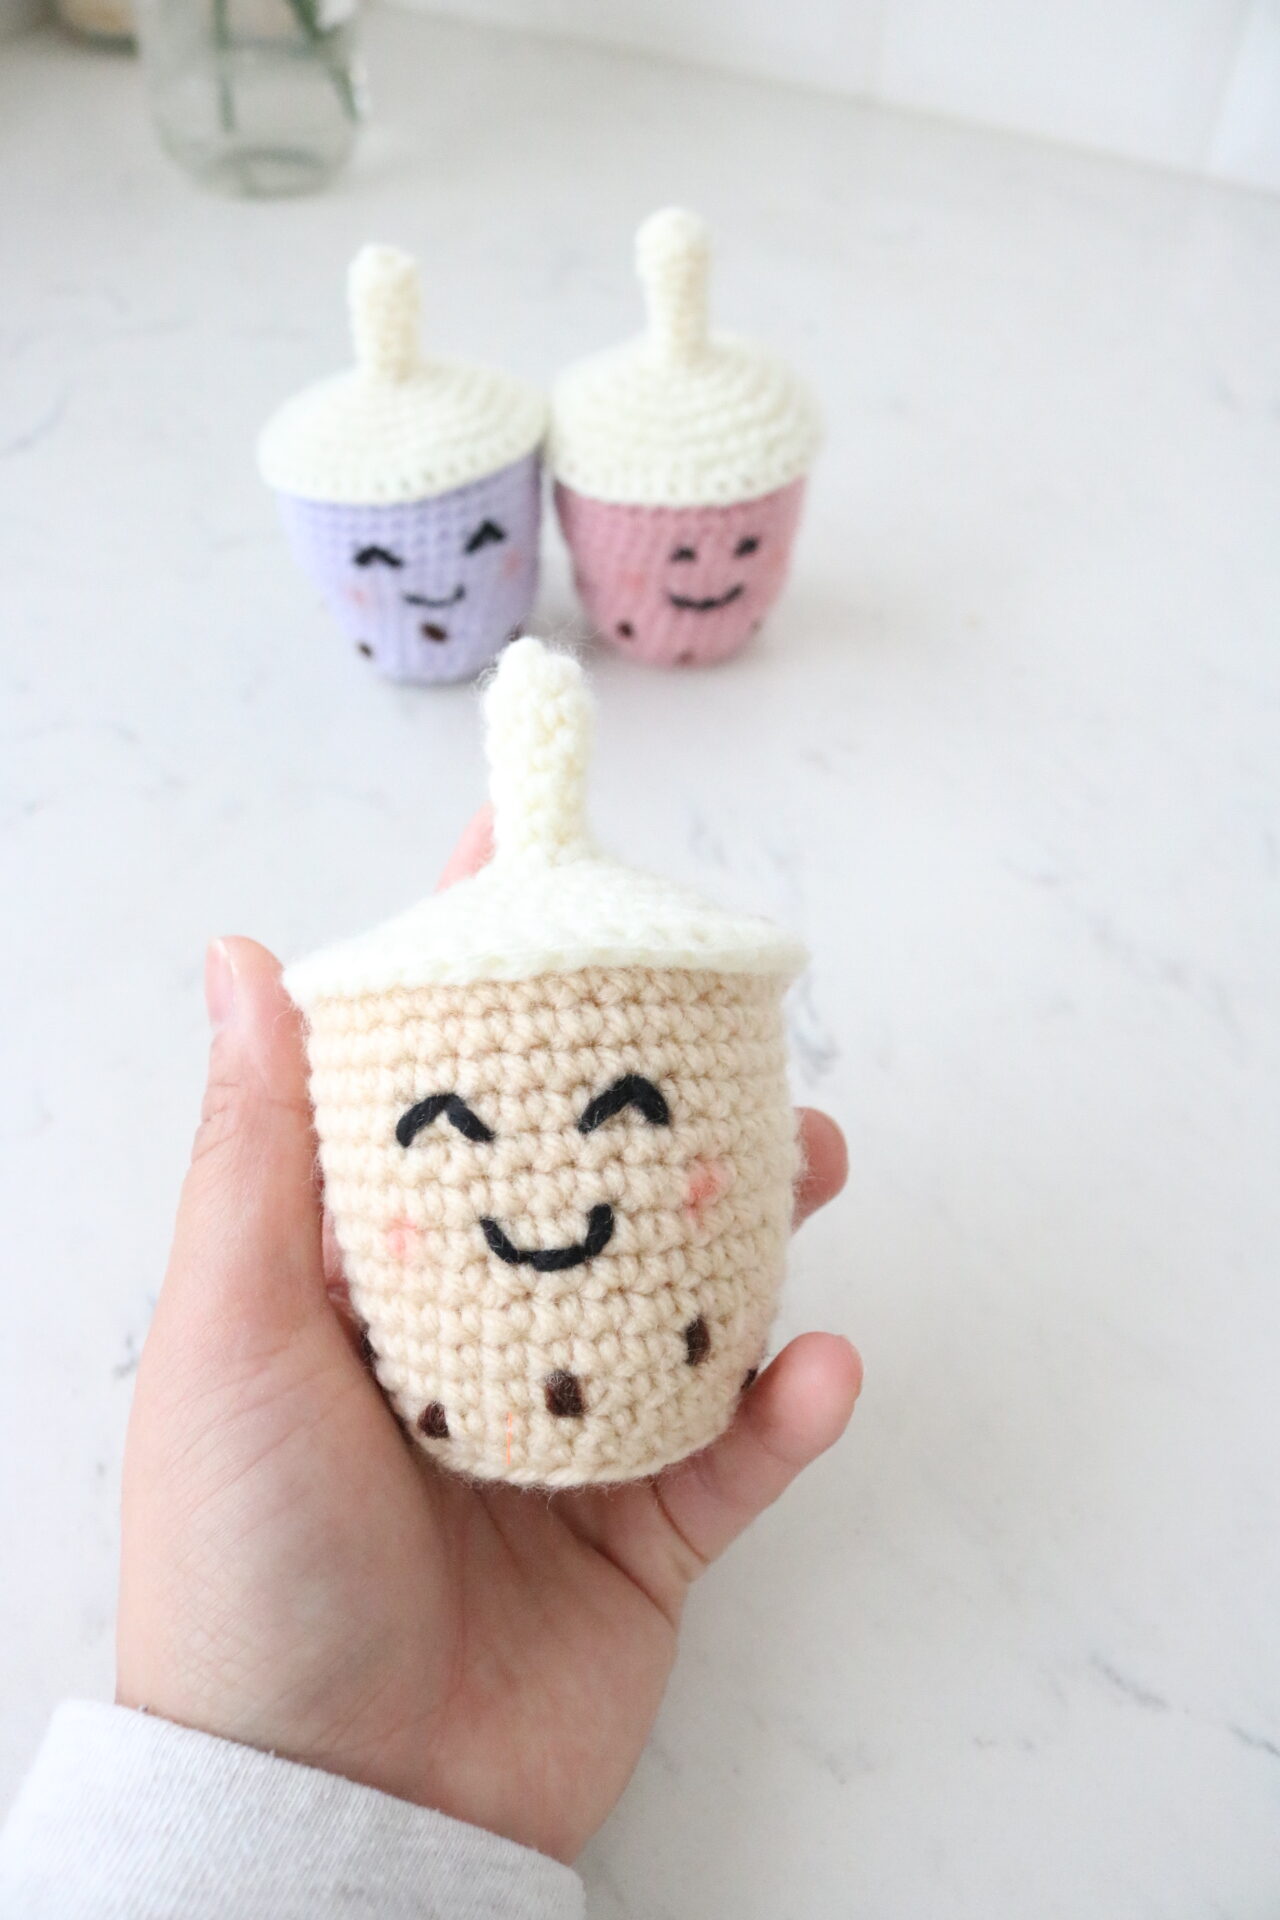
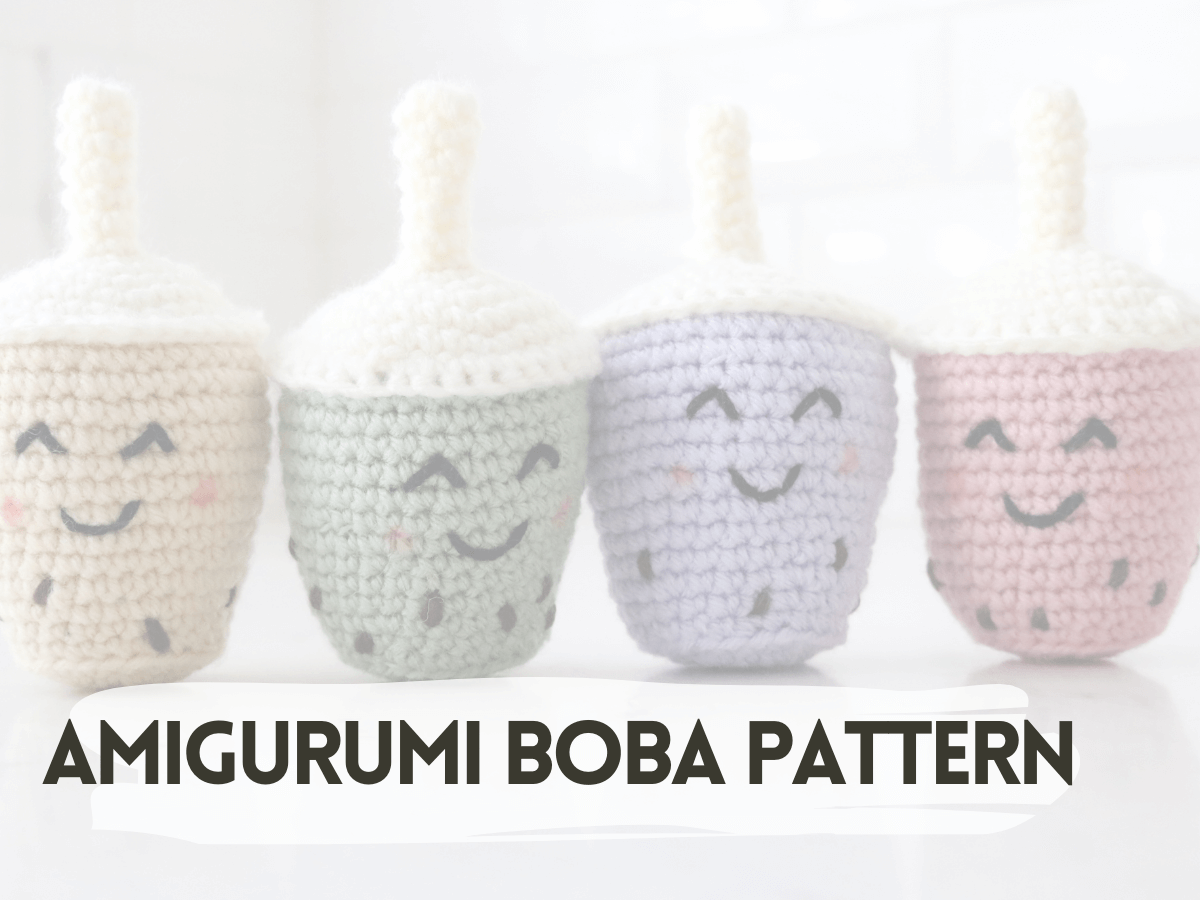
Check out thee patterns (left to right): Amigurumi Turtle, No-Sew Amigurumi Whale, Amigurumi Boba Tea
Quick and Easy Projects for Craft Fairs
One thing that I really love about this no-sew amigurumi projects are how easy and quick they work up.
This makes great items to sell at craft fairs. These octopuses were my best sellers during fairs. They sell really well year after year for wholesale and online as well.
Vending at craft fairs are so fun! It does take a lot of work to prep for, on average you can make at least 3-4 octopi an hour. Here are some tips to make the most of your preparation time for craft fairs and bulk orders.

Free Crochet Octopus Pattern
Materials
Note: I have provided quick links in this section for easy access to their amazon page. All links, I personally use and love. These links are affiliate links, meaning I do get a small commission for purchases made thru them at no extra cost to the buyer. 🙂
- 3.5mm crochet hook
- worsted weight yarn. Check out my post about the Best Yarn for Amigurumi here.
- 6mm safety eyes
- fiber fill
- scissors
Pattern
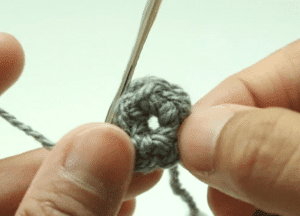
Ch 4
Insert hook into first ch and sl st
R1: Ch 1, 6 sc into circle, sl st into ch 1 (6 sts)
R2: Ch 1, 2 sc into each st, sl st into ch 1 (12 sts)
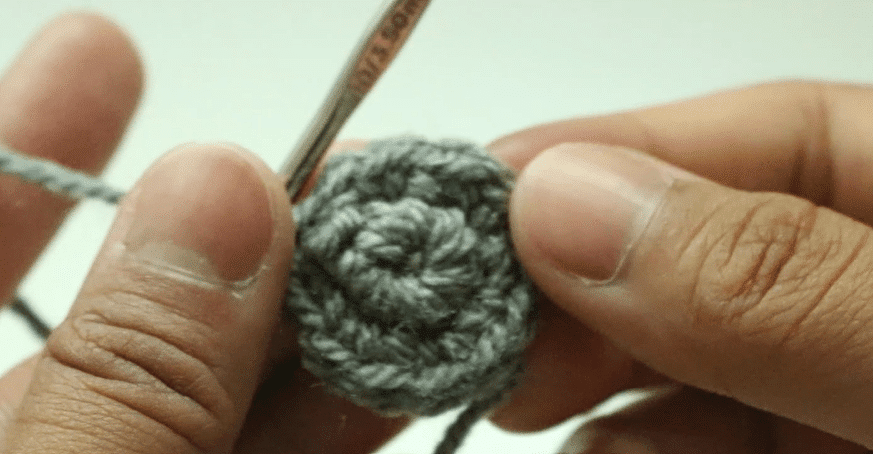
R3: Ch 1, *sc, 2 sc. Repeat from * until last st, sl st into ch 1 (18 sts)
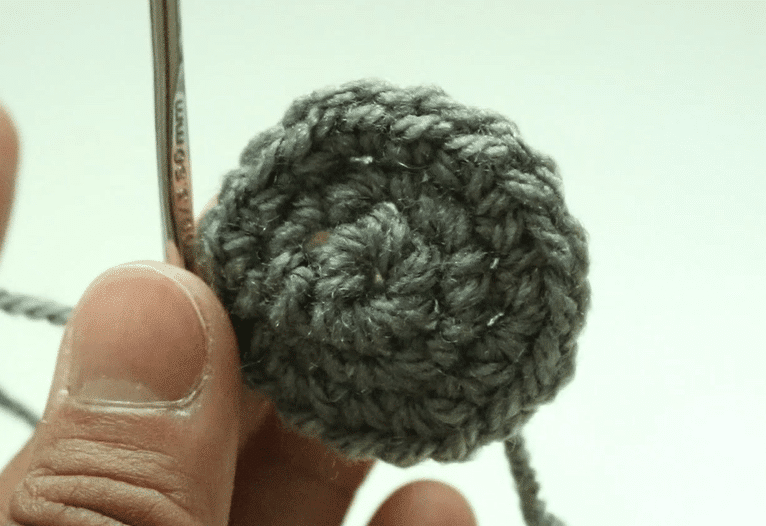
R4: Ch 1, *sc, sc, 2 sc. Repeat from * until last st, sl st into ch 1 (24 sts)
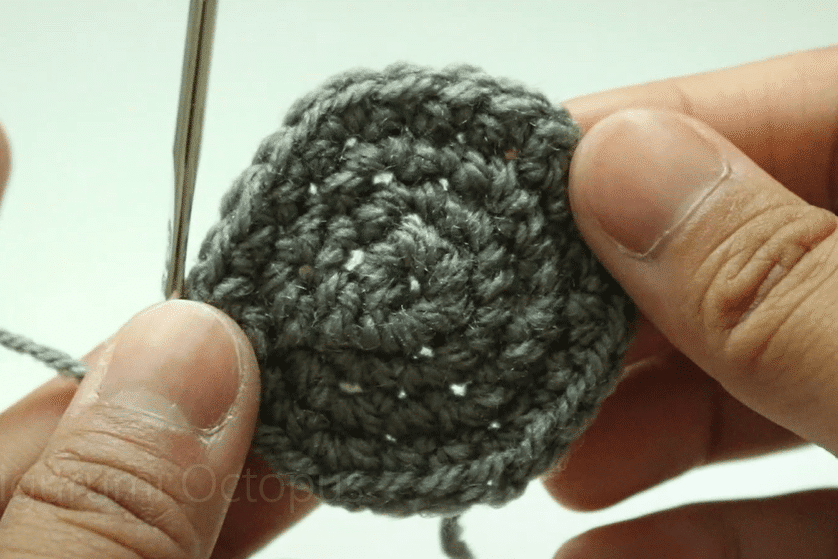
R5-9: Ch 1, sc into each st, sl st into ch 1 (24 sts)
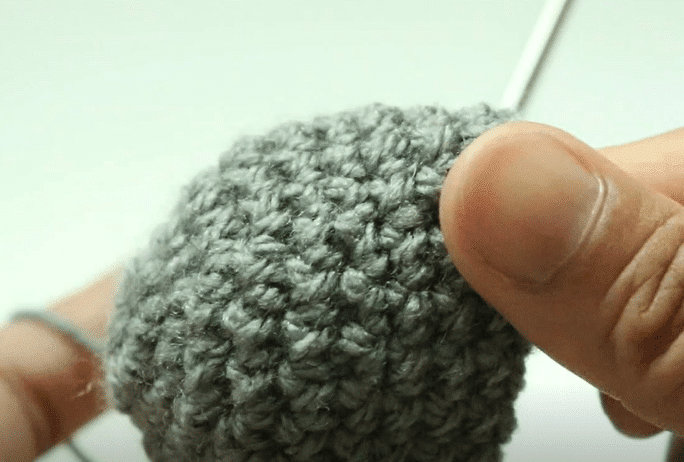
R10: Ch 1, *sc, sc, sc2tog. repeat from * until the end of the row (18 sts)
Now where it gets just a little tricky! For this next row, you are going to be using ONLY the front loops to make the tentacles. I am going to break down this row for you.
You are now moving to R11 which is the tentacle rows. There are two R11’s, front loops, then the back loops.
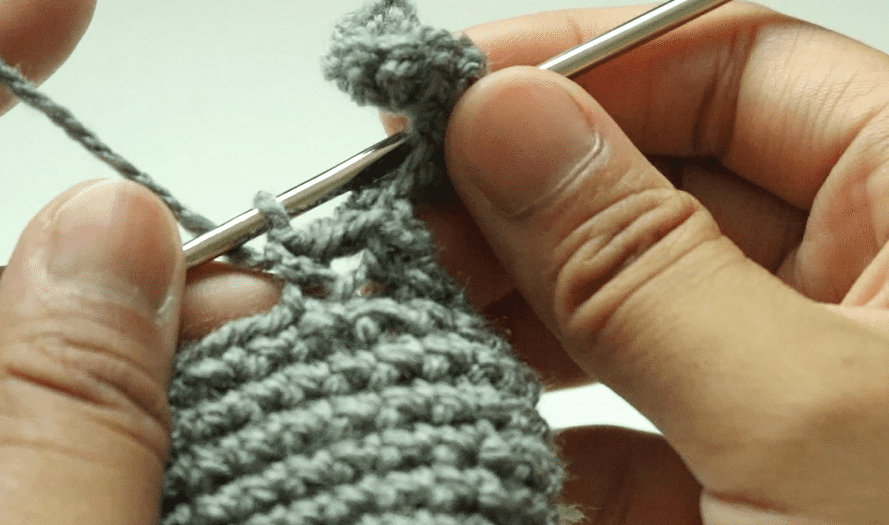
R11 (front loops only)
Start: Ch 1, sc
Tentacle: sc, chain 8. 2 sc into the second ch from hook. 2 sc into each of the next 6 chains (14 sc for the tentacle). Sc into next st (front loop!) on the row.
Repeat Tentacle instructions 3 more times until you have a total of 4 tentacles. Now, crochet another sc into the next front loop. This marks the middle of the octopus and even outs the stitches. Then continue again with the Tentacle pattern to make the remaining 4 tentacles. Your amigurumi octopus is starting to come along!
Sl st.
Whew! I hope you were able to get that row down with ease! I assure you, that may be the only confusing part. Now that that is done, it is just all decreases from here to close up the bottom of the octopus.
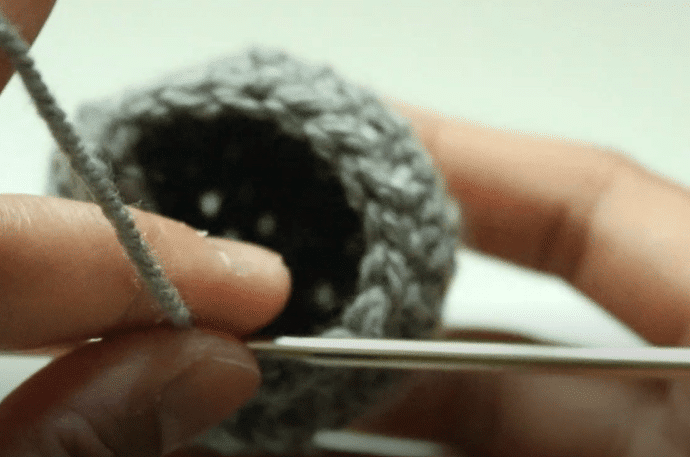
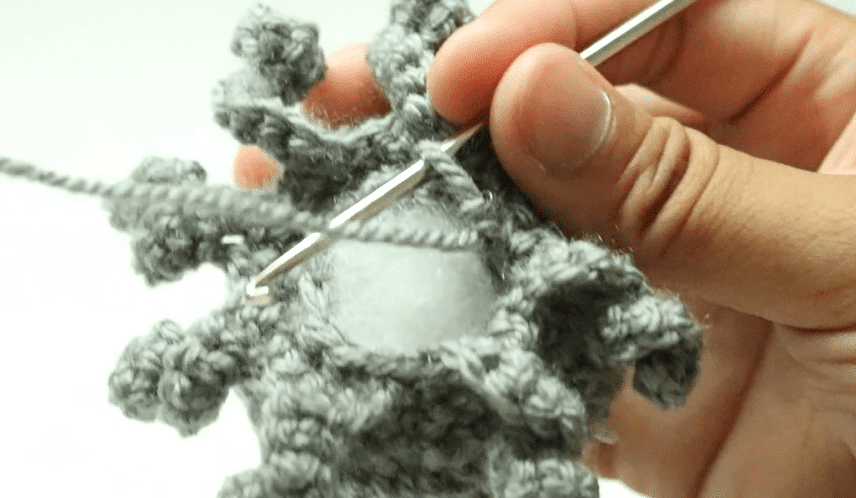
Locate where you added that extra sc in between the tentacles with four on each side. Count two (or more) rows up and insert your safety eyes. After that, fill with fiber fill but make sure not to over fill!
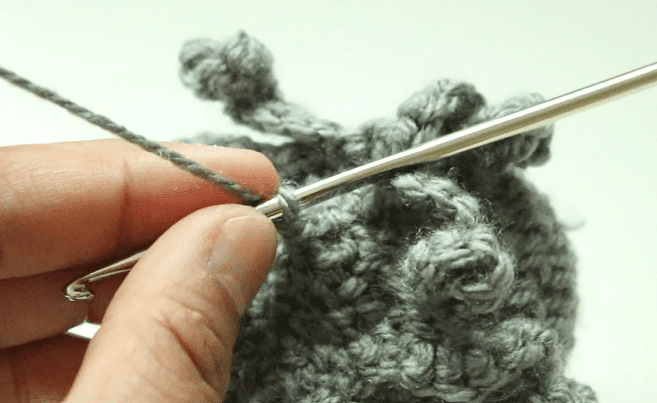
Now the next row will be using the back loops of row 10.
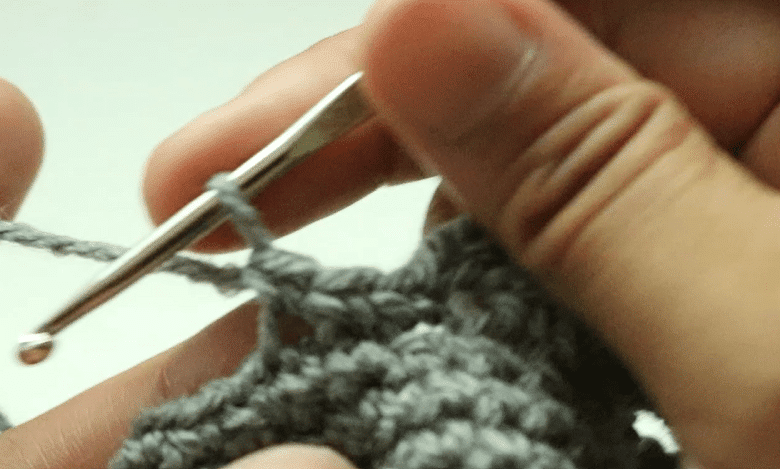
R11 (back loops): ch 1, *sc, sc2tog. Repeat from * until end of the row.
R12 to close: ch 1, sc into every other st until bottom is closed.
Fasten off and hide tail.
There you have it!
Viola! You made your own amigurumi octopus without the hassle of sewing! The octopus can be used as a toy, party favors, or gifts! You can even upgrade it to a keychain by adding a chain on it. I even used these as ornaments a couple years ago. So go crazy with what you do with them, I would love to hear what you did in the comments below.
Want more no-sew amigurumi patterns?
Check out these super kawaii crochet patterns! Click on the pictures to get to the pattern:
Until next time friends,
Abigail