Best Free Small Amigurumi Turtle Crochet Pattern
Hello my maker friend! It has been a long time since I shared an amigurumi pattern so today in this blog post I am sharing my small crochet turtle pattern for free! This pattern is so much fun and very quick to work up
This post contains affiliate links. I get a small commission from any purchase made through these links at no additional or extra cost to the buyer. This allows me to keep free awesome content coming your way. Check out my privacy policy for a full rundown of disclosures. This Free pattern is for personal use only. You should not reproduce the pattern and claim it to be your own. You can sell finished products giving due credit to the pattern designer.
This small crochet turtle pattern is made using two colours, one for the shell and one for the body. The pattern is made with minimal seaming and only requires sewing on the head to the body.

About this small crochet turtle pattern
What exactly is amigurumi? In a nutshell, amigurumi is the art of crocheting (or knitting) small, 3-D figures or plush toys like animals, people, or objects. Amigurumi is known to be very cute and detailed “kawaii” plushies and are popular items to sell the finished product at crafts fairs, give as gifts, and alternative toys for little ones.
I like making these little guys in bright colors to sell. Each little guy only takes less than 20 minutes with little yarn needed so they are perfect for scrap yarn projects too.
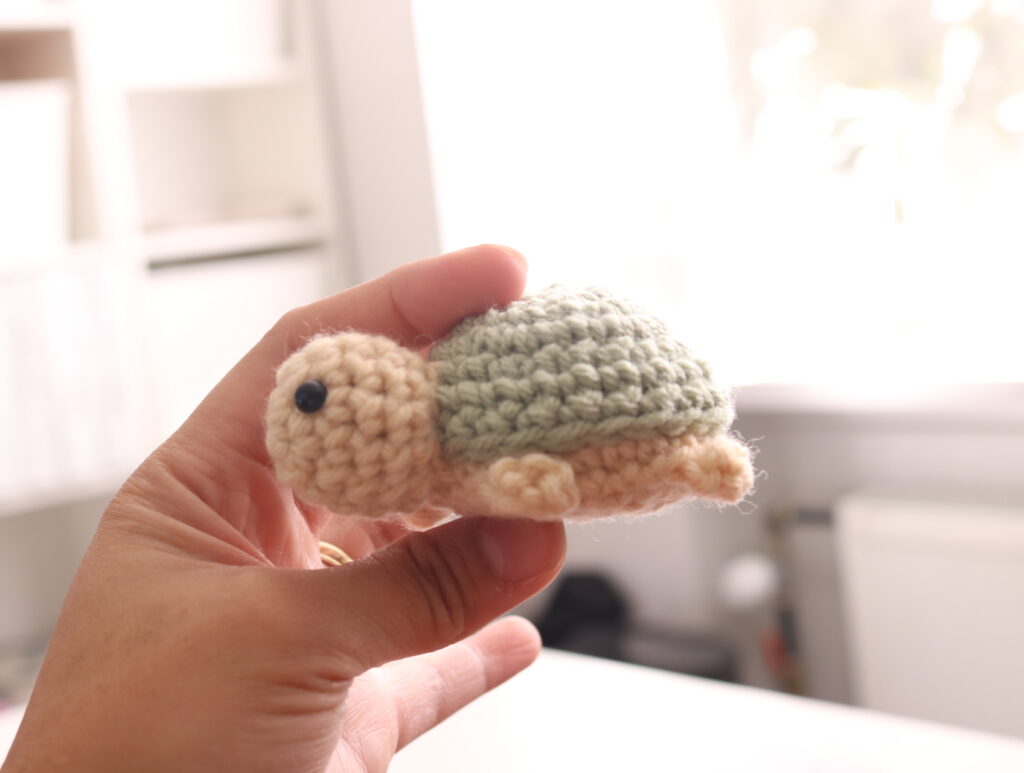
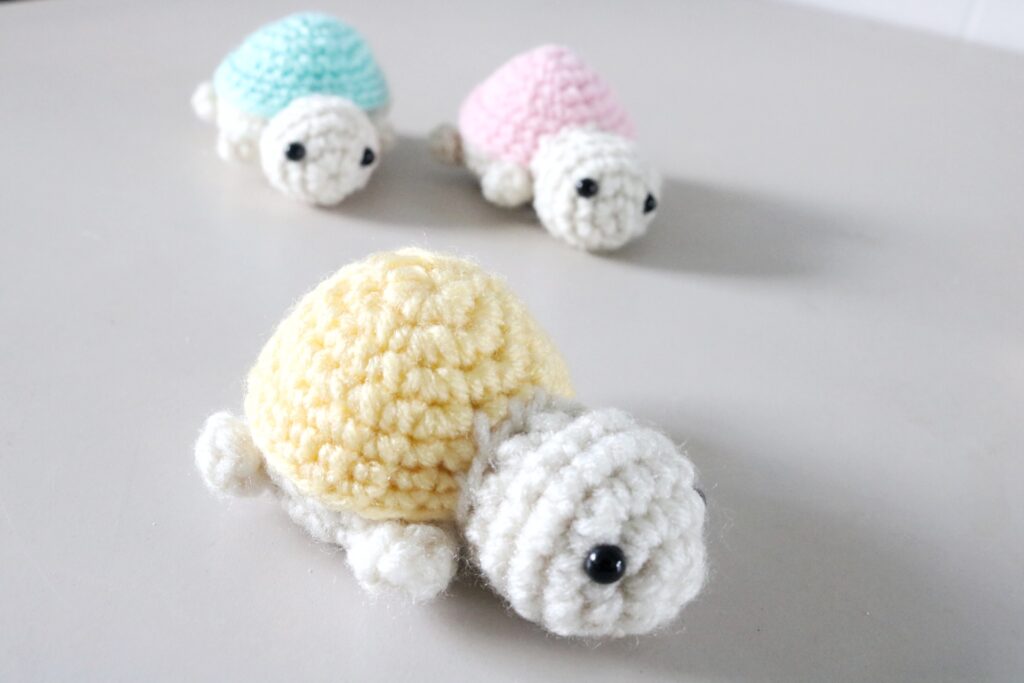
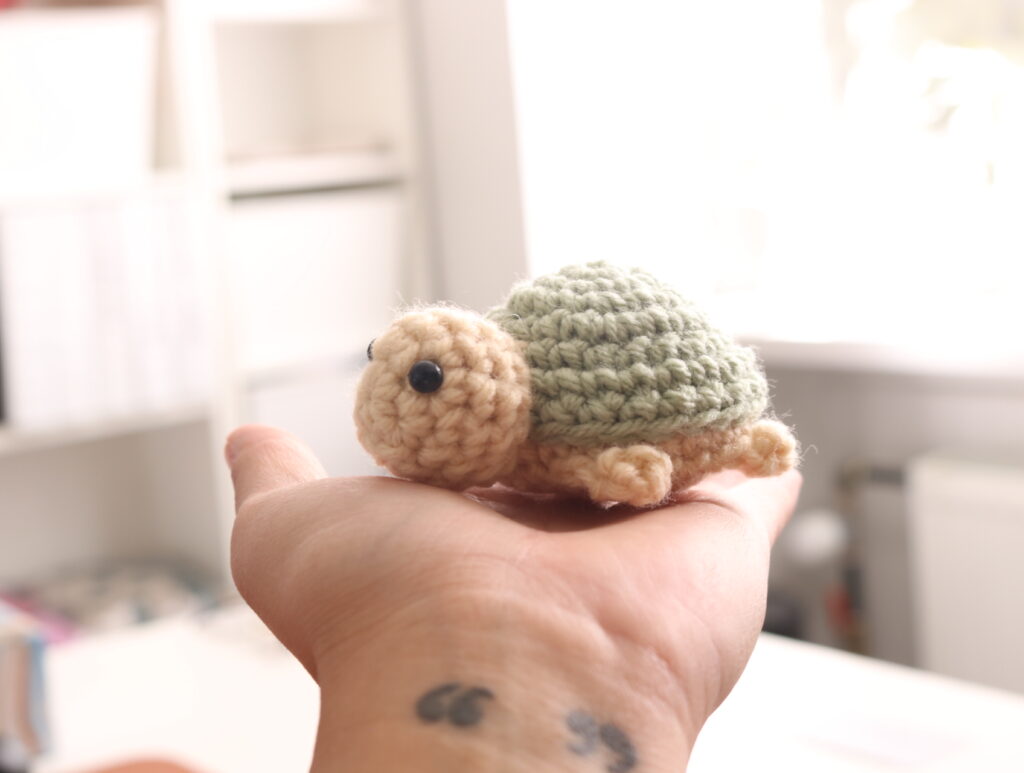
These baby turtles are designed as crochet toys that fit in the palm of your hand.
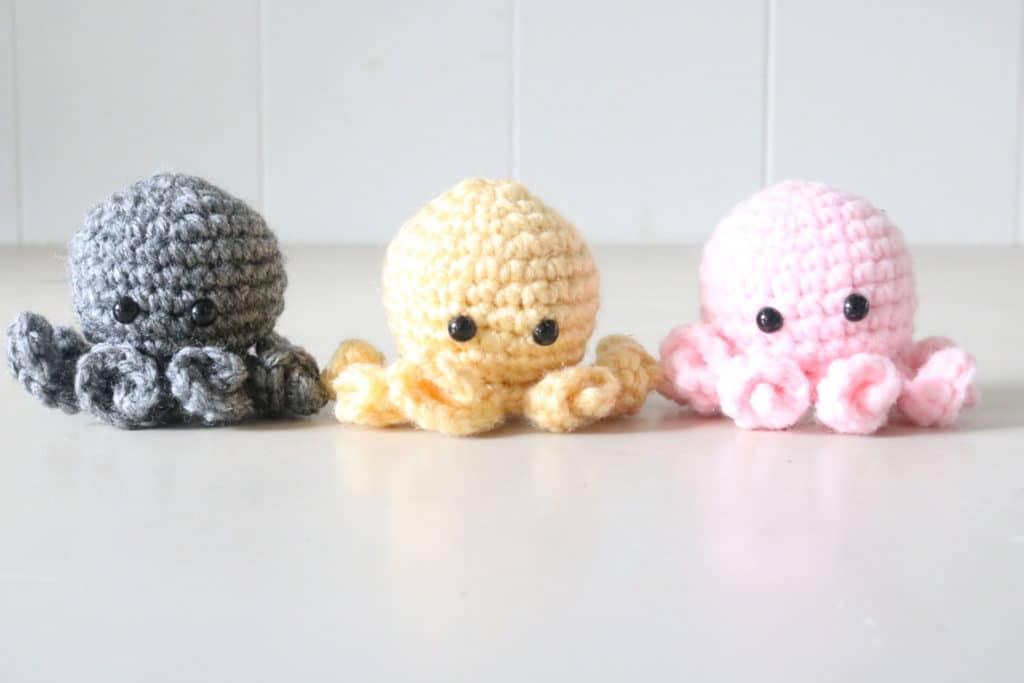
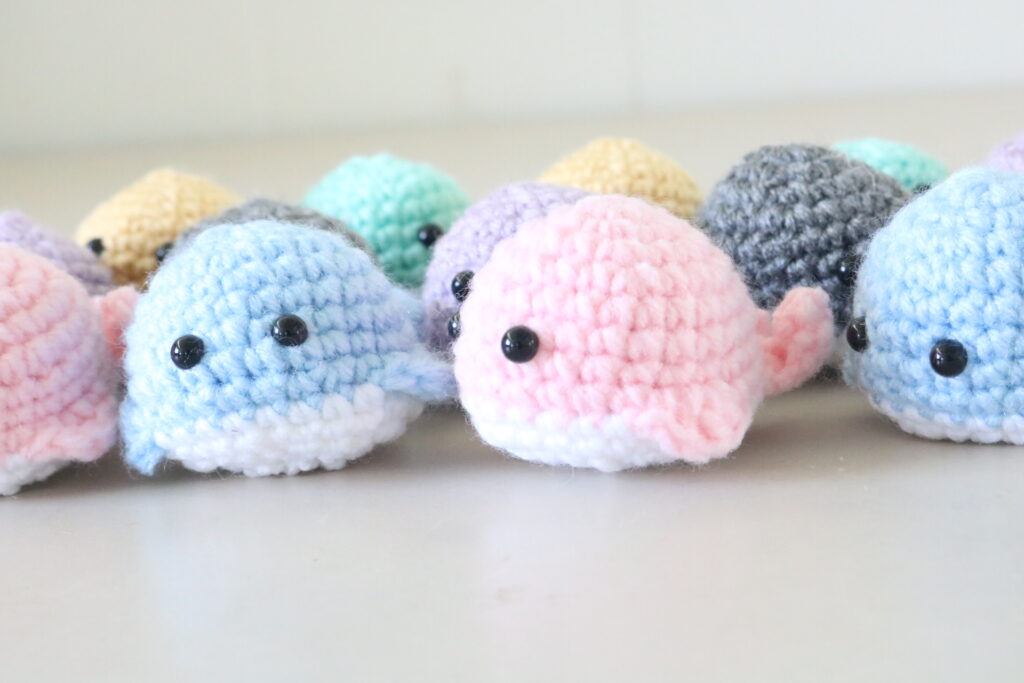
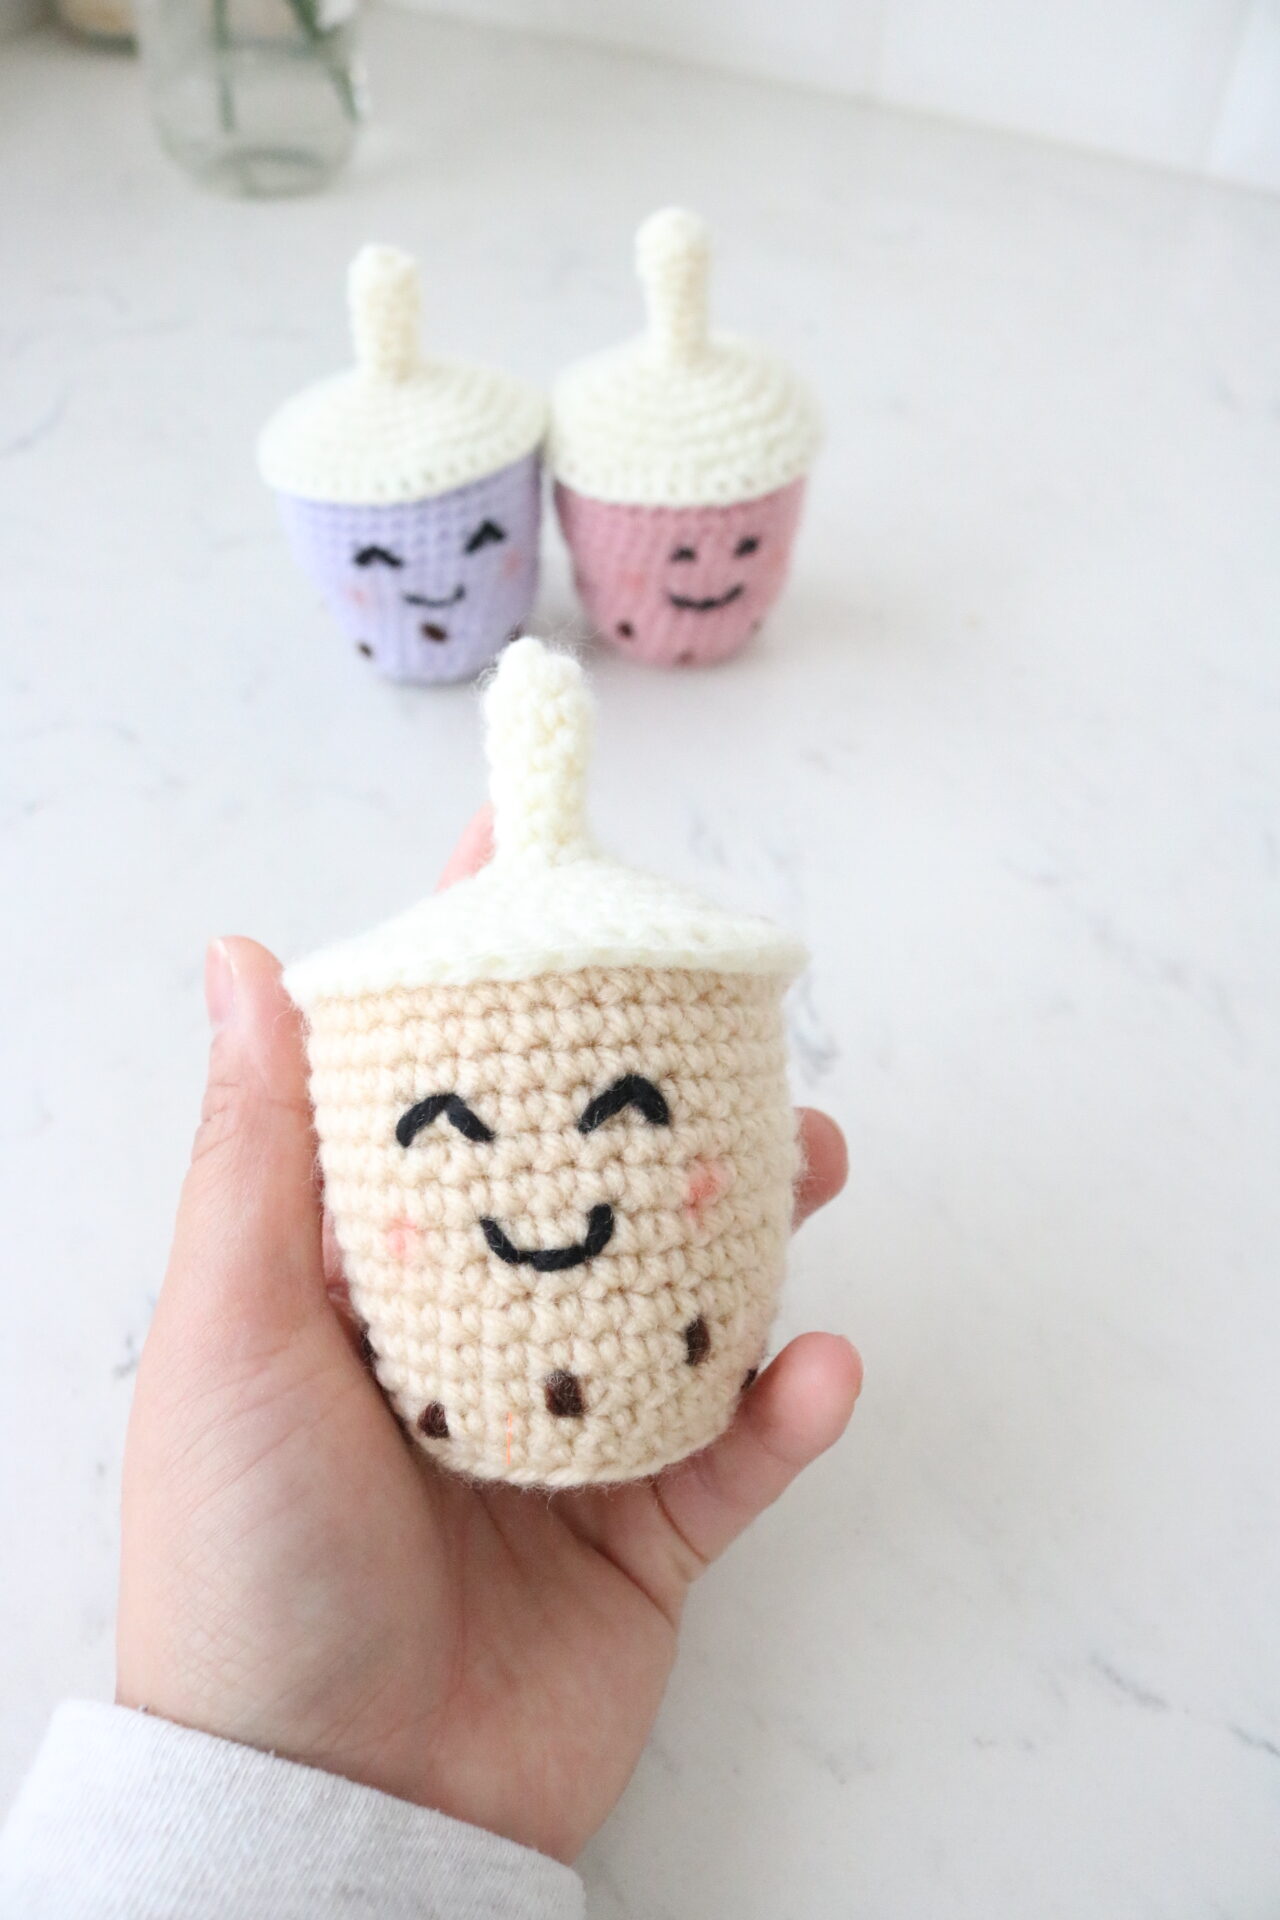
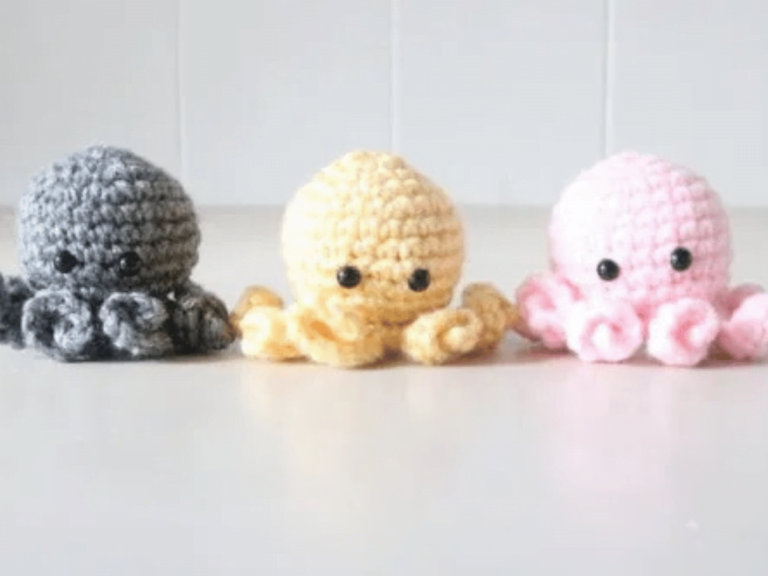
This crochet pattern has written and picture tutorials to help you make your very own sea turtle using step-by-step instructions. I designed this tiny crochet turtle while I was making my Under the Sea crochet collection for wholesalers. This collection includes the No-sew amigurumi octopus and the New-sew amigurumi whale.
Want more patterns like this?
Check out thee patterns (left to right): No-Sew Amigurumi Octopus, No-Sew Amigurumi Whale, Amigurumi Boba Tea
Construction of the amigurumi turtle
Just like the octopus and whale in the collection (and most of my amigurumi patterns) I really really tried to make this another No-sew pattern. I could not find a way to achieve the look I wanted in a seamless way.I wanted the turtle to look like it was crawling.
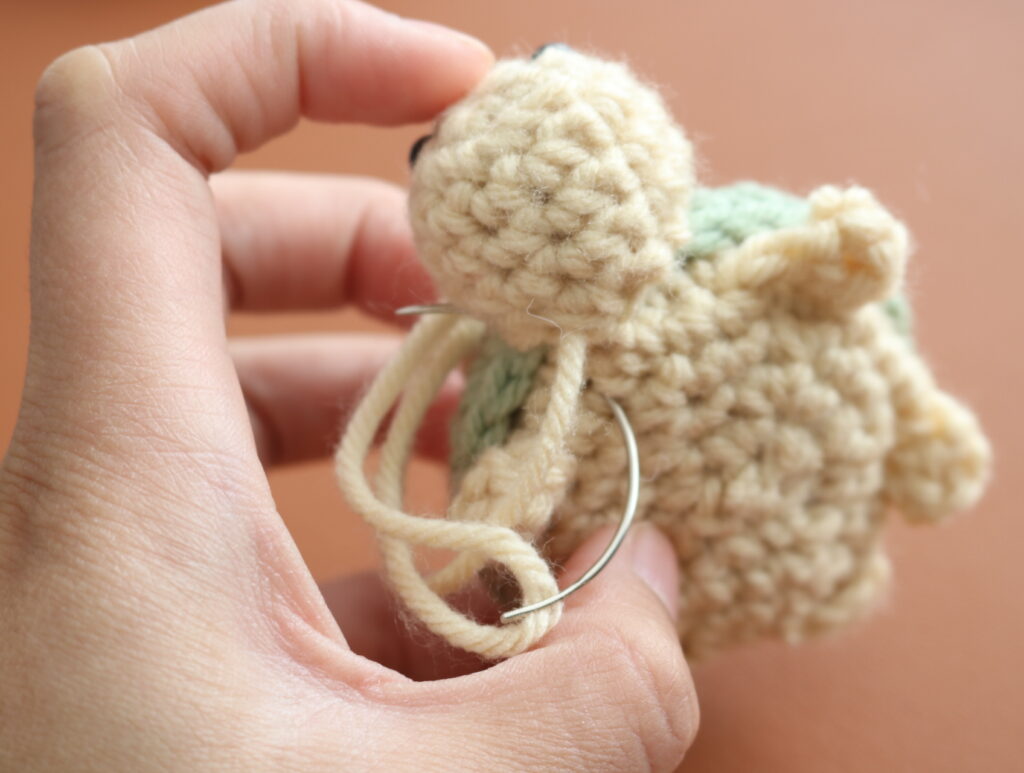
In the end, I opted to make the shell and body separate from the head and sew them together afterwards. Seaming amigurumi is a lot easier with a curved tapestry needle as opposed to a straight one. With a curved needle, sewing was not that bad at all and happened to come together a lot quicker.
The pattern uses basic stitches, works up in around 20 minutes, and is a great project for complete beginners. This mini turtle is also an easy project to create an assembly line for if you intend on selling these adorable creatures at craft fairs. I would typically crochet the shells first then add on the bodies, after which make some head, attach eyes, and sew all the heads on to the bodies.
Yarn
This original turtle in particular used worsted weight yarn, specifically Red Heart Super Saver. I use this yarn the most for amigurumi when prepping for bulk orders. The yarn is heavy duty and cost effective. You can use any medium weight yarn to make this cute little fellow in this size.
Ultimately, you can use this pattern with any size yarn and appropriate hook for the yarn you choose. For example if you was a larger turtle, choose a bulky weight yarn and a larger size hook to follow the pattern. If you want a smaller turtle, choose a lighter weight yarn and smaller hook size.
The type of yarn also matters! I used an acrylic yarn for cost, however, medium-weight cotton yarn would have made for a better finish.
You can read my post about The Best Yarn for Amigurumi here to help you decide what yarn to use.
Let’s start making crochet turtle
This is a free amigurumi pattern to make a small crochet baby turtle. At the moment this is the original pattern, there is no printable pattern but stay tuned for a new pattern release in the near future. This pattern produces a small size turtle. You can make the perfect size turtle for yourself by playing around with the yarn and hook size that you choose.
Pattern notes:
- This pattern is made in the round, slip stitch to end each round
- The ch 1 in each round does not count as a stitch
- Plastic eyes are used in this example but you can opt to sew your own eyes for a more child friendly little turtle
- You can find crochet tutorials on Youtube to help you learn how to make a magic ring or magic circle for this project. Alternatively, you can ch 4 and slst to make a circle.
Materials:
- CYC 4 yarn in two different colors (one for the shell and one for the body and head)
- 3.50 mm crochet hook
- Scissors
- Curved Needle
- Safety eyes (I used 6 mm safety eyes) – alternatively you can sew on eyes using black yarn
Abbreviations
- Ch – chain
- Sc – single crochet
- sc2tog – single crochet two together (alternatively you can do an invisible decrease)
- Hdc – Half double crochet
- Dc – double crochet
- Blo – back loop only
- Flo – Front loop only
Free crochet turtle pattern
This free pattern is for personal use only. You should not reproduce the pattern and claim it to be your own. You can sell finished products giving due credit to the pattern designer.
Let’s start by making the Shell of the Turtle
Start with a magic ring (magic circle)
R1: Ch 1, 6 sc into circle, slip stitch (slst) into ch 1 to end the round. (6 st)
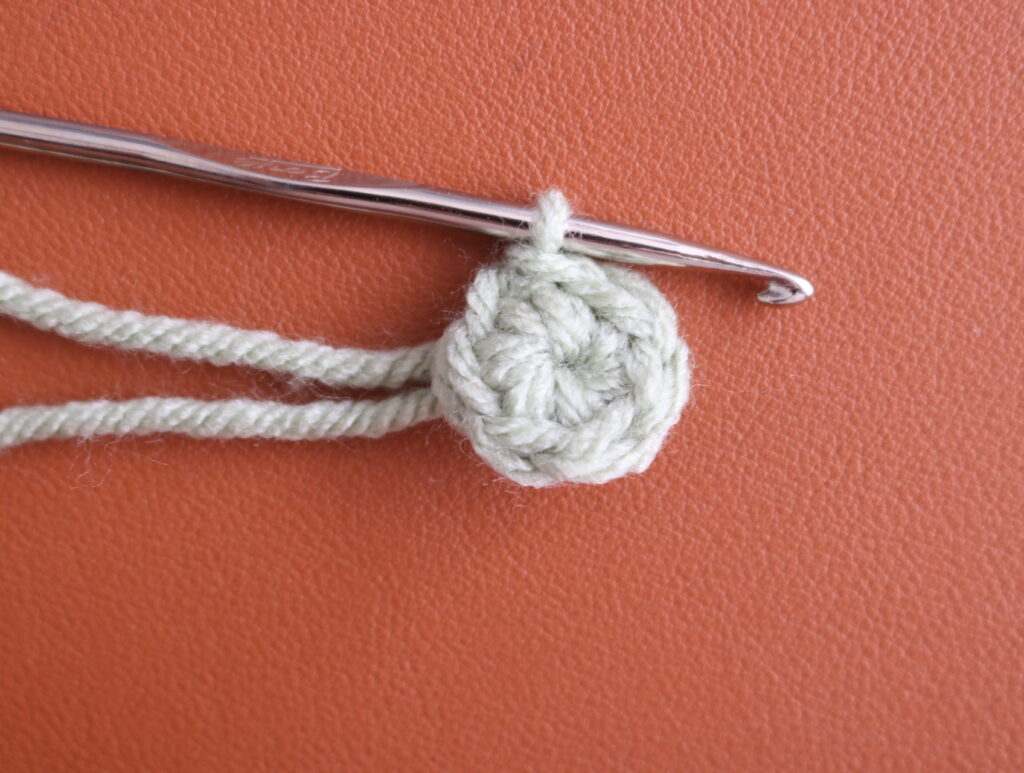
R2: Ch 1, 2 sc into each st, sl st into ch 1 (12 st)
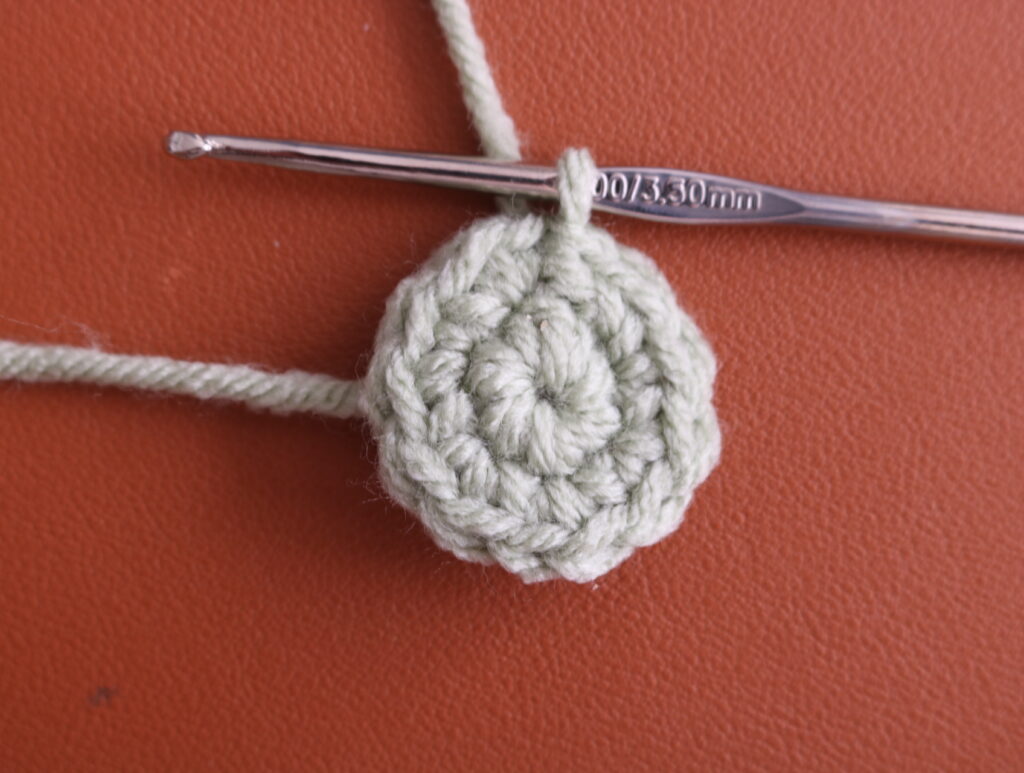
R3: Ch 1, *sc, 2 sc. Repeat from * until last st, sl st into ch 1 (18 sc)
R4: Ch 1, *sc, sc, 2 sc. Repeat from * until last st, sl st into ch 1 (24 sc)
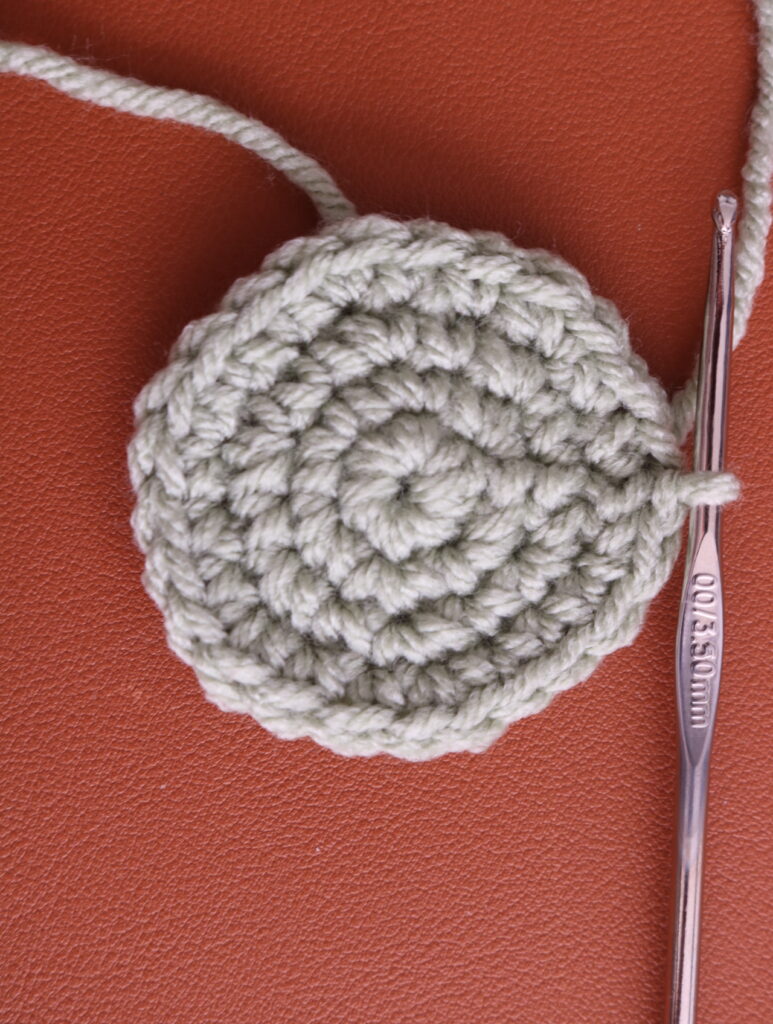
R5: Ch 1, sc in each st around, slst into ch 1 (24 Sts)
R6: Ch 1, sc flo in each st all around, slst into ch 1 (24 sts)
R7: Ch 1, sc in each st around, slst into ch 1 (24 Sts)
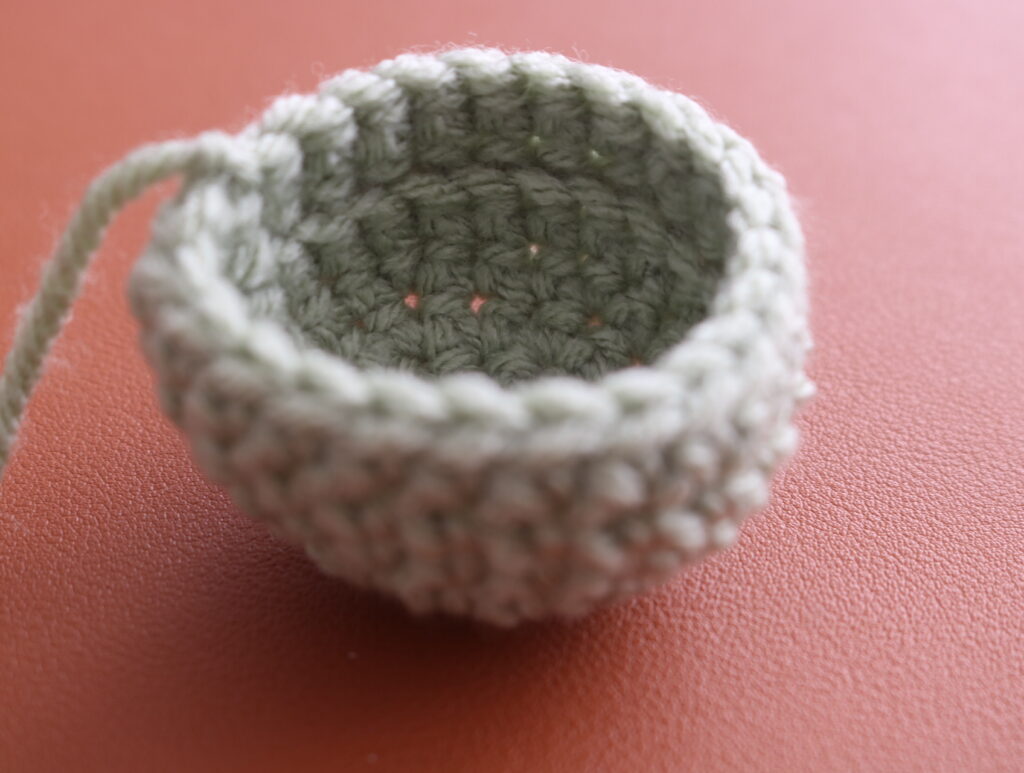
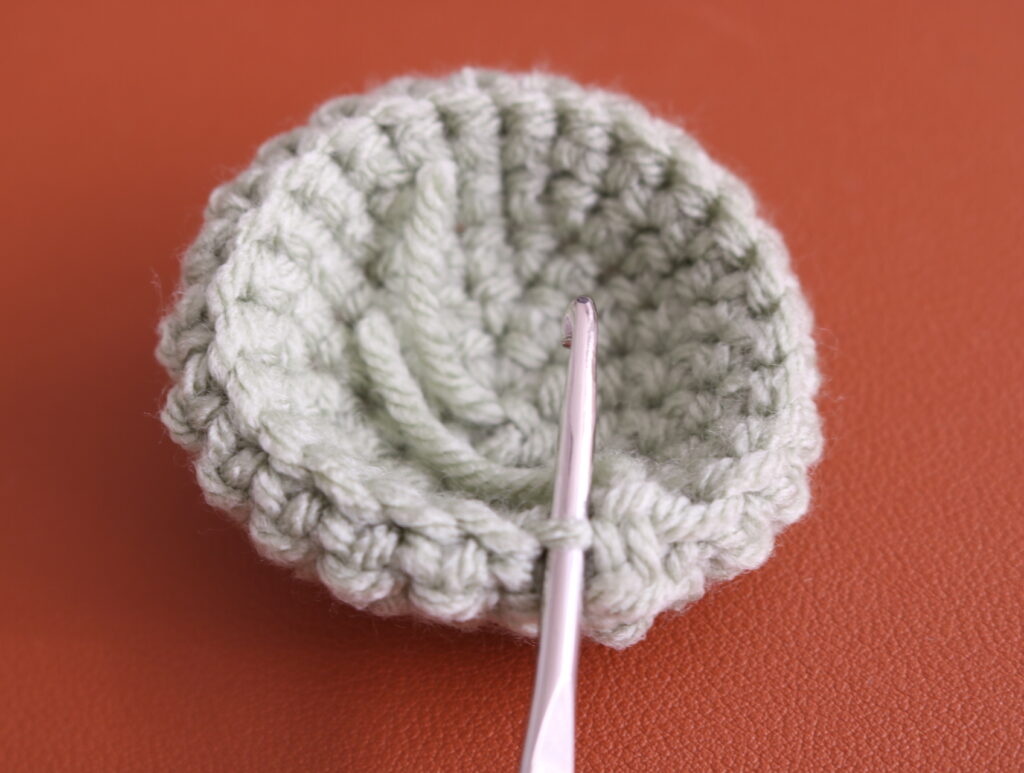
Fasten off and weave the tail in towards the centre of the dome
Time to get working on the Body of this cute turtle
Attach beige yarn to the back loop from R6
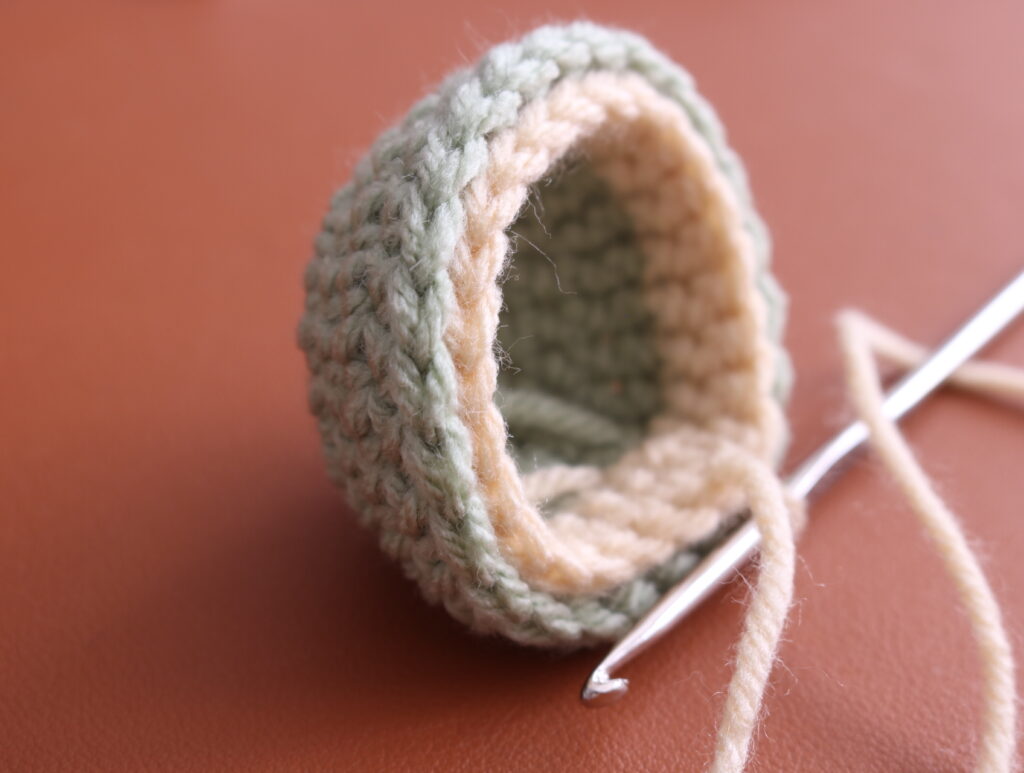
R1: Ch1, sc into the first st again, sc in each st around, slst into ch 1 (24 Sts) I like to flip the two green rows so I have the back loops exposed to work with
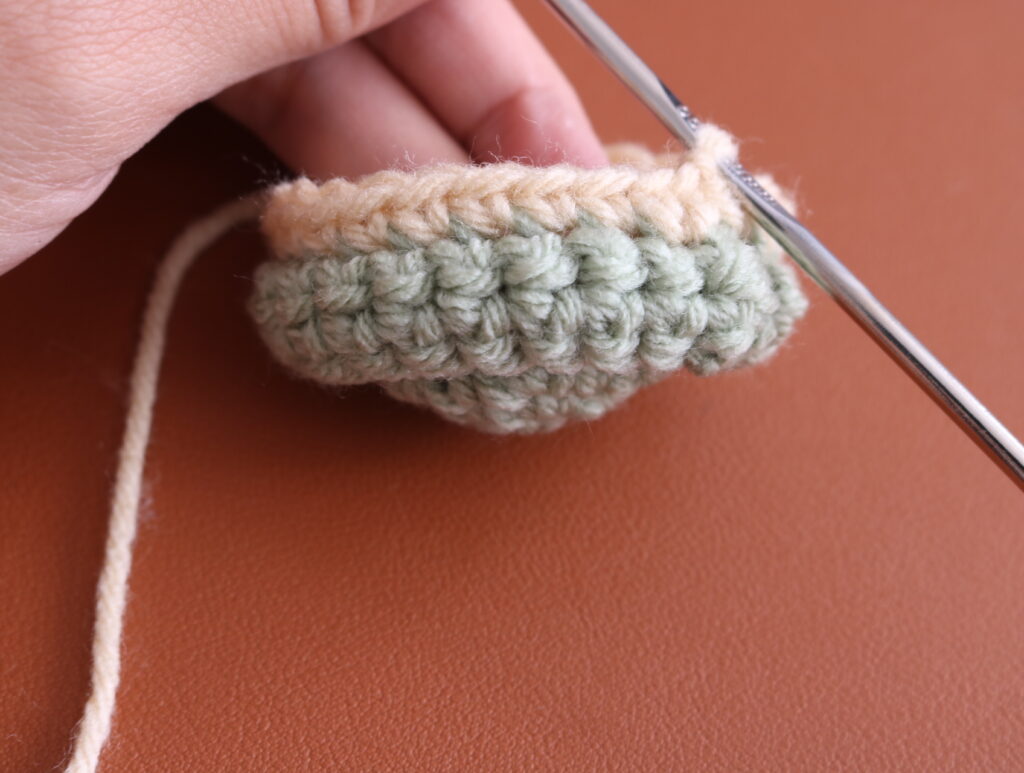
R2: Ch 1, sc in each st around, slst into ch 1 (24 Sts) this is how it looks like with the rows flipped back
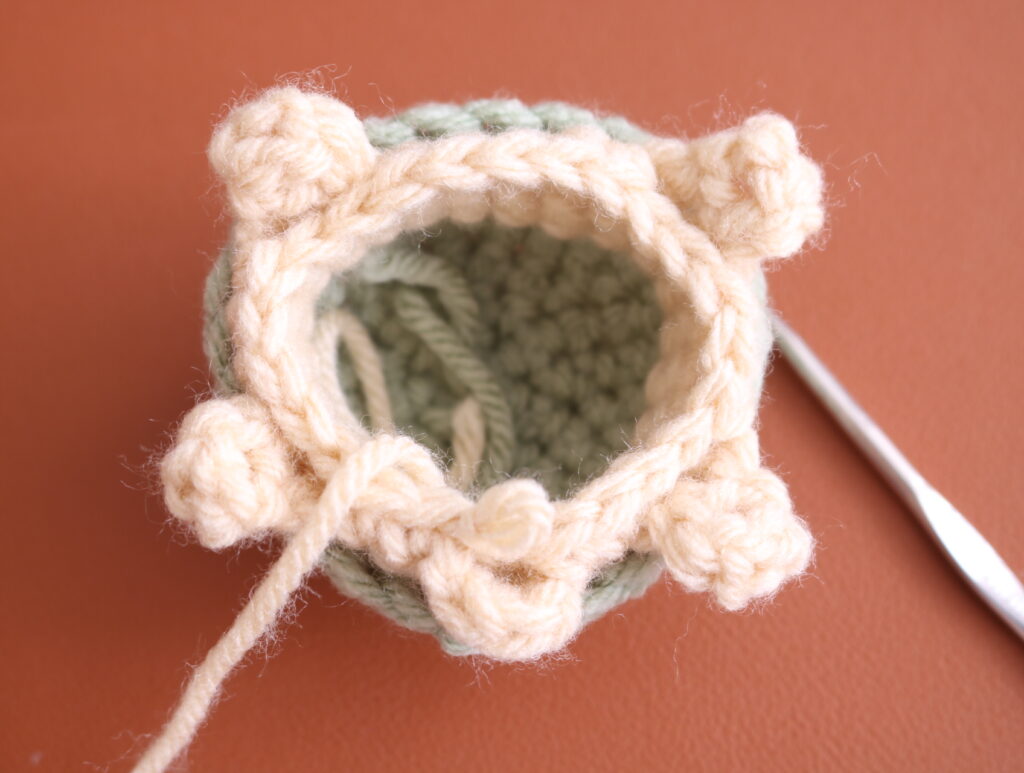
R3: Ch 1, sc, sc, scflo – ch 4 – dc in 3rd ch from hook – hdc in 4th ch from hook, scflo, sc in next 3 sts, scflo – ch 4 – dc in 3rd ch from hook – hdc in 4th ch from hook, scflo, sc in next 5 sts, sc in next 3 sts, scflo – ch 4 – dc in 3rd ch from hook – hdc in 4th ch from hook, scflo, sc in next 2 sts, 3 hdc in flo of the last st, slst into ch 1 to end the round.
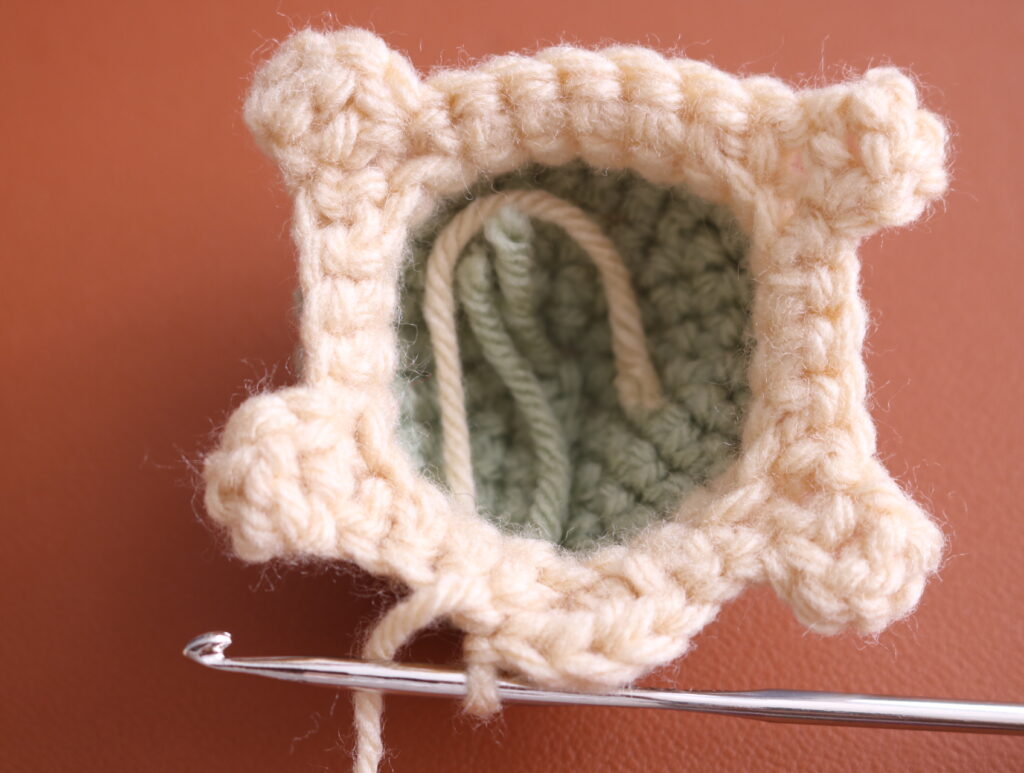
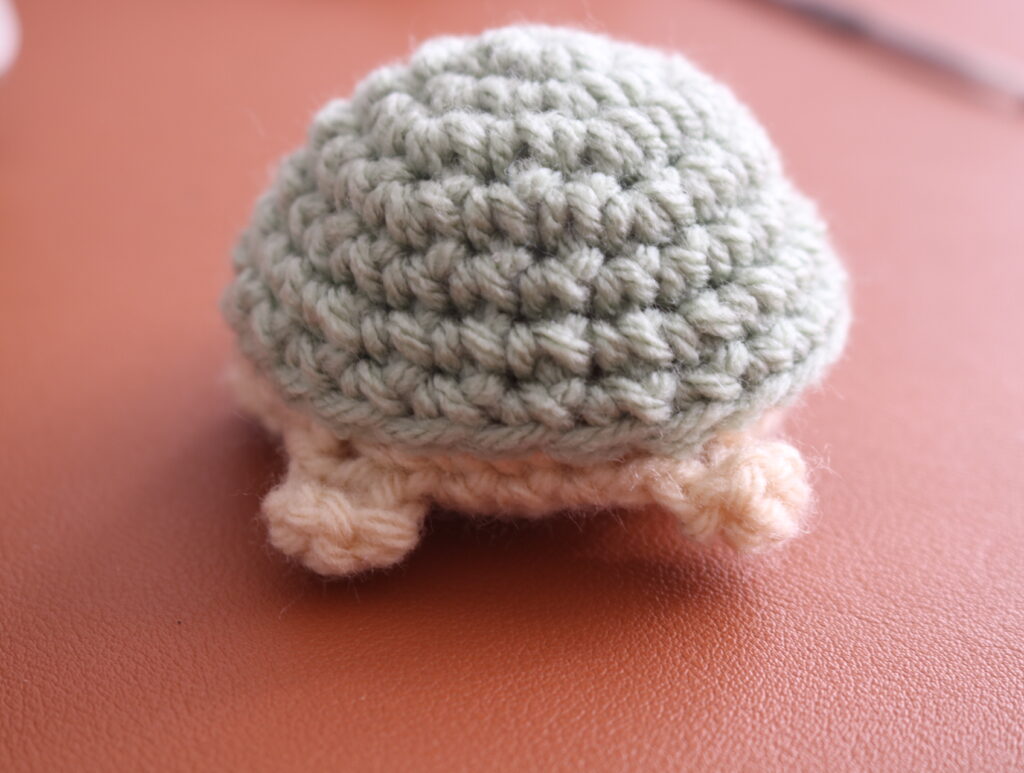
You can see here that you made two front legs, two back legs, and a little tail for the small turtle
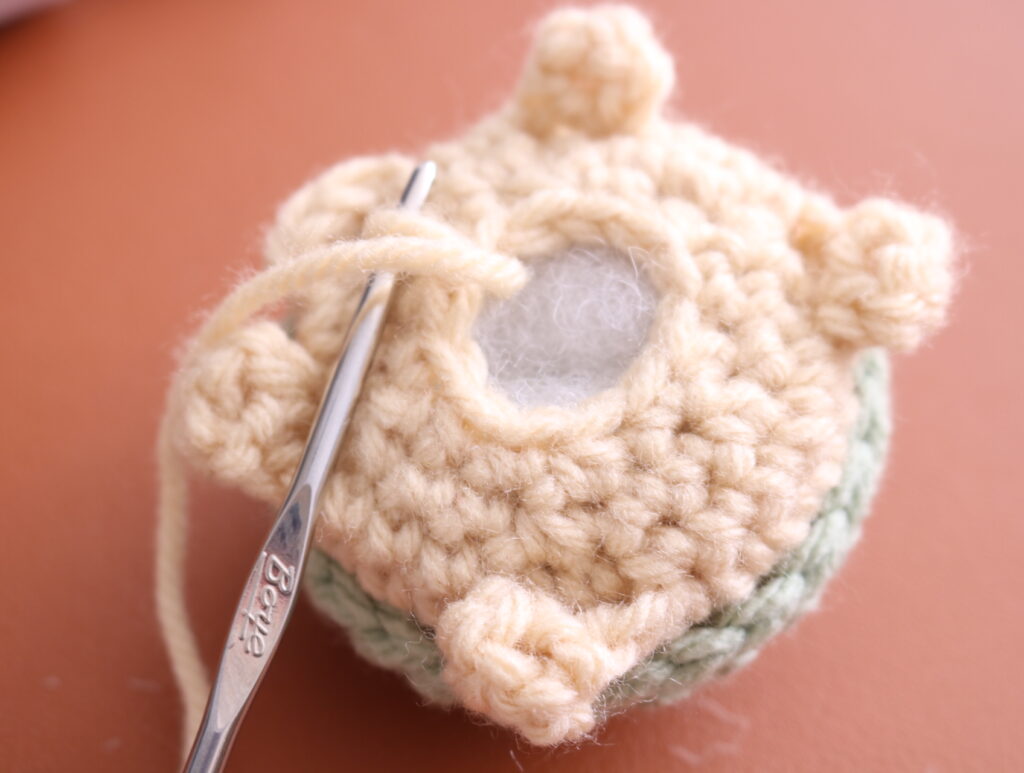
R4: Ch 1, sc, sc, sc in the back loops under fin, sc in next 3 sts, sc in the back loops under fin, sc in next 5 sts, sc in the back loops under fin, sc in next 3 sts, sc in the back loops under fin, sc in next 2 sts, sc in back loop only of tail (24 sts)
R5: ch 1, *sc, sc, sc2tog. Repeat from * until end of the round, slst into ch 1. (18 sts)
R6: ch1, *sc sc2tog. Repeat from * until end of the round, slst into ch 1 (12 sts)
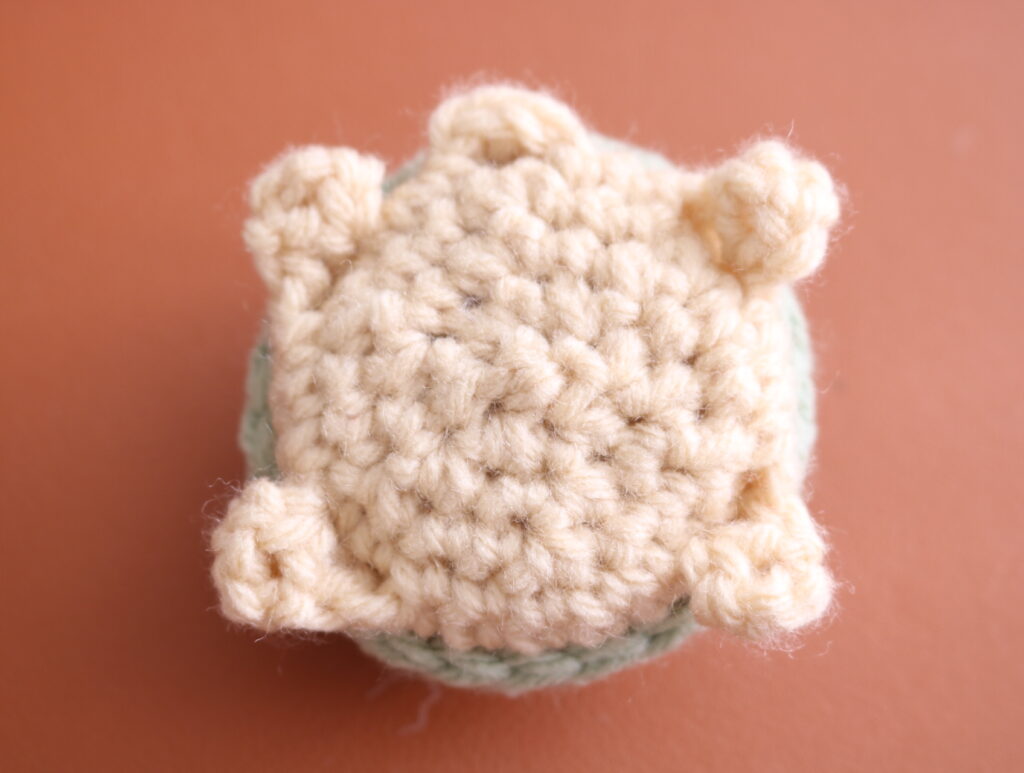
Fill the boat of the turtle with polyfil
R7: ch 1, sc2tog all around (6 sts) close the hole and fasten off
Almost there! We are now going to quickly make the Head of the turtle
Start with a magic ring
R1: Ch 1, 6 sc into circle, slip stitch (slst) into ch 1 to end the round. (6 st)
R2: Ch 1, 2 sc into each st, sl st into ch 1 (12 st)
You can adjust the size of the head to make it bigger by adding another increase row here. For this tutorial I am giving it a regular sized head.
R3-5: Ch 1, sc in each st around, slst into ch 1
Attach the eyes and fill with polyfil
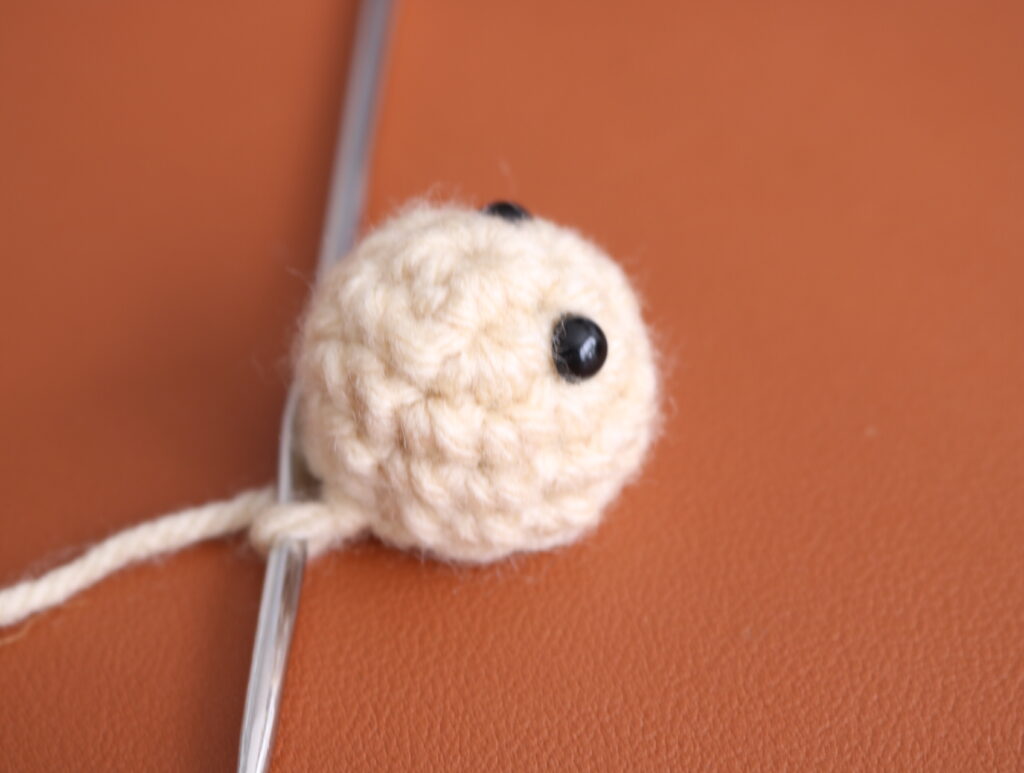
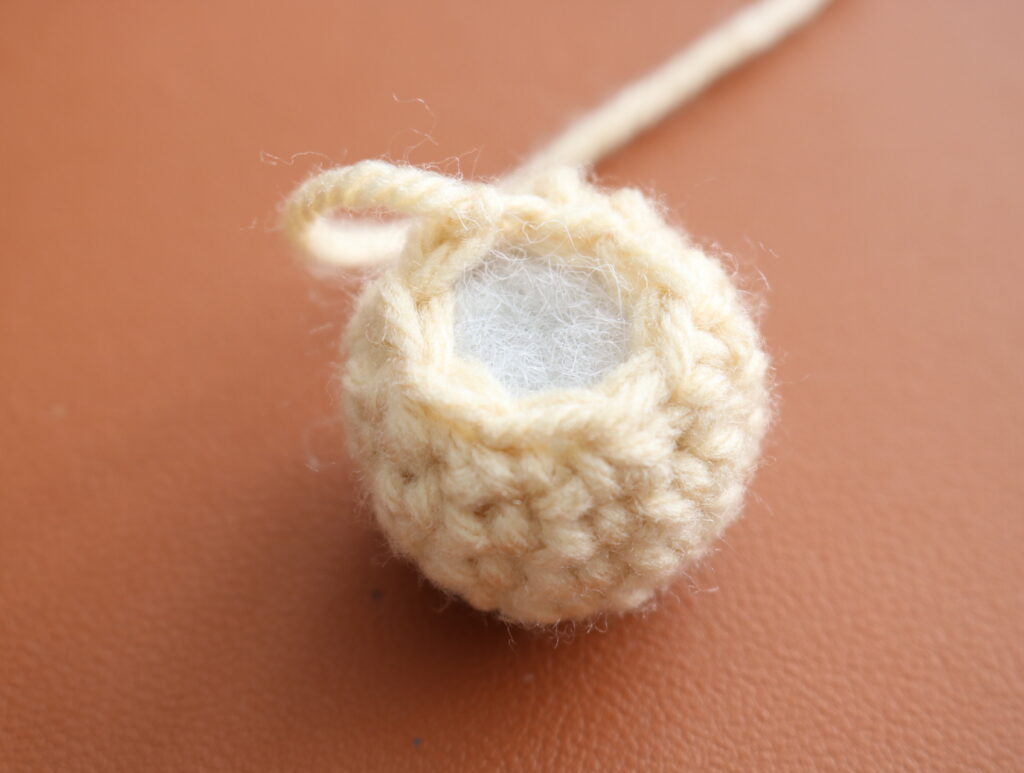
R6: ch 1, *sc, sc2tog. Repeat from * until end of the round, slst into ch 1. (8sts)
Fasten off with a long tail
Using a curved needle, sew the head on to the body of the turtle.
You now crocheted a cute little turtle!
Wasn’t that a super quick project? What did you think of about this free turtle crochet pattern? Let me know in the comments below and tell me what you would like to see next!
I would love to see what you do with your small crochet turtle. Make sure to tag me @knitsandknotsbyame on IG. Until next time, creatives!
Looking for more crochet patterns? Make sure to check out all of my beginner friendly patterns here where you can find garments, amigurumi, and accessories.
That’s all for now my maker friend! Remember, never miss a stitch by subscribing to my newsletter. Happy crocheting!
xoxo
Abigail

3 Comments
Comments are closed.