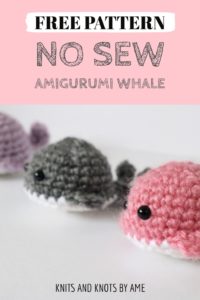
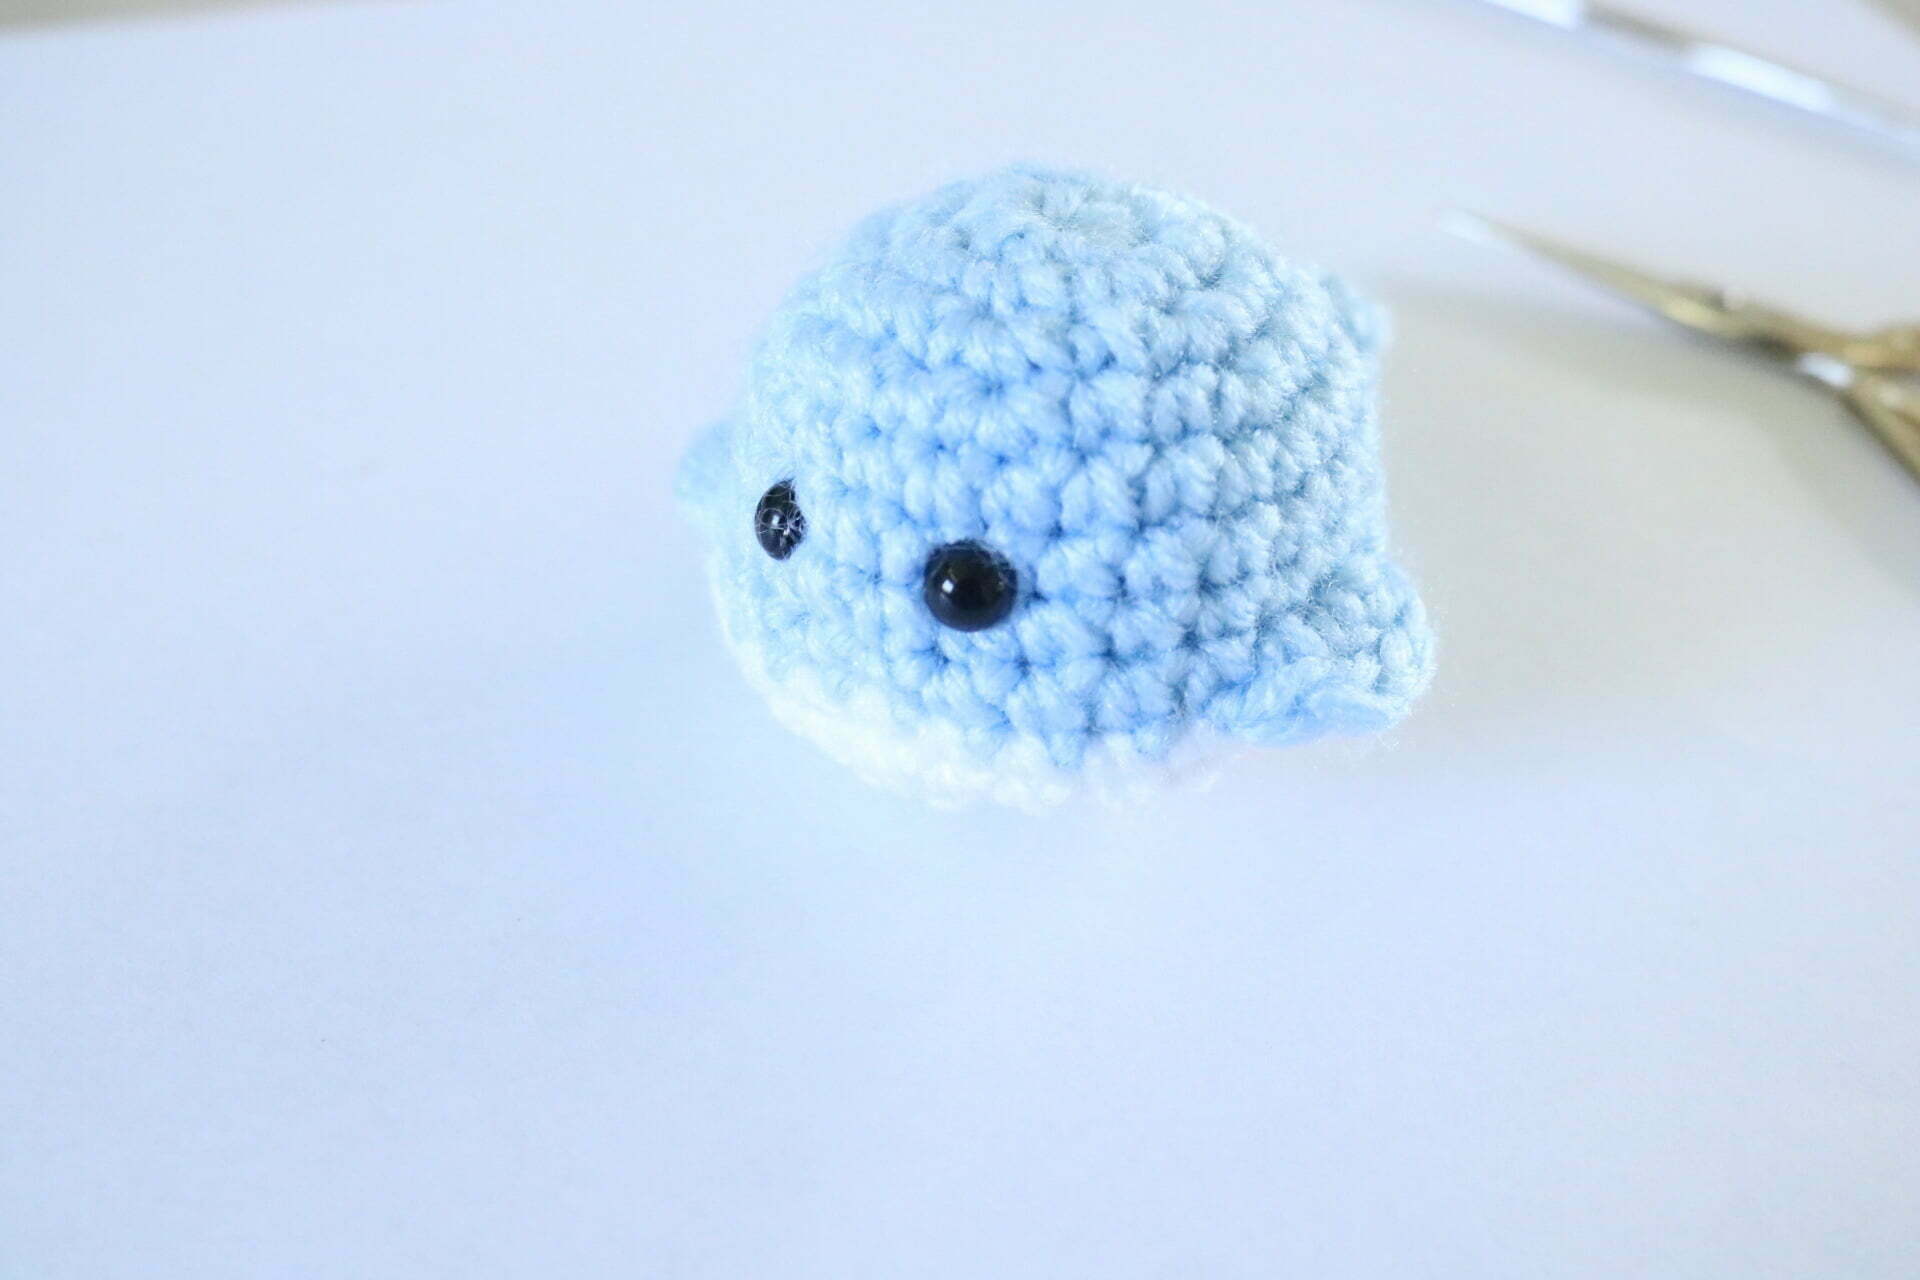
Free No-Sew Amigurumi Whale Crochet Pattern
Hey maker! Be ready for some major kawaii moments with this mini whale crochet pattern. This free pattern includes picture tutorials and written instructions to guide you through making your own mini whale WITHOUT sewing. Yup! I said that right, this pattern involves no sewing at all.
Want more crochet whale patterns? Check out this bigger crochet whale Danny the Whale Pattern here. Danny is baby humpback whale crochet pattern that I know you will love as well!
This post contains affiliate links. I get a small commission from any purchase made through these links at no additional cost to the buyer. This allows me to keep free awesome content coming your way. Check out my privacy policy for a full rundown of disclosures.
There is something about them that just feels so calming. One day while we were on the beach we could see large humpback whales breaching in the horizon. We just sat on the shore drinking and watching the show. That moment was so magical for me and prompted me to make this pattern!
Fast forward to today, I am still in awe with these majestic sea creatures. On our way to Cape Breton we actually discovered a channel that whales and dolphins use during the fall months. It was totally spontaneous and absolutely magical just sitting on the rocks so close to the water and seeing the dolphin’s dorsal fins and the mass of humpbacks come up.
We did not have luck with any unclose breaching that time so we attempted to go on a whale watching tour this year. No luck there either but we did get to see some orcas and dolphins.
What is Amigurumi?
Amigurumi is the art of crochet/knitting miniatures. Any fan of crochet could appreciate the amigurumi. Working on a smaller scale requires a lot of attention to details that can sometimes can be a challenge for even experienced crocheters.
Naturally, everything tiny is considerably cute! It is no secret, I LOVE everything cute! Come on, I know you do too! I mean, you wouldn’t be here on this post if you didn’t right? 🙂
Amigurumi just makes me swoon! Every time I make anything ami it just makes my heart happy. Those tiny miniature creations, so kawaii and so detailed. Oh the details! Details are what bring amigurumi to life, but at the same time, what crocheters dread…especially sewing parts together! Not only does sewing take up time, but – if done wrong – can drastically change how an amigurumi item looks.
Lucky for you, this easy crochet whale pattern involves no sewing at all, uses simple crochet stitches, and beginner friendly! Triple whammy right there making it hands down the best amigurumi crochet whale pattern out there.
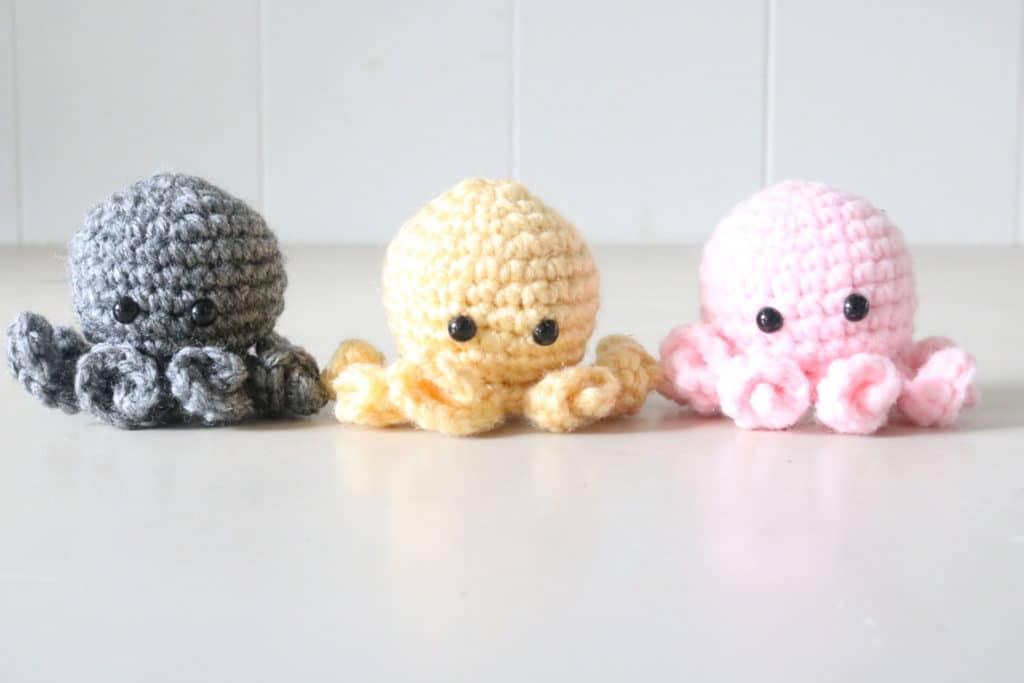
Want to see more no-sew patterns? See the no-sew octopus and no-sew pineapple patterns. Warning: prepare for mega cuteness!
Want more patterns like this?
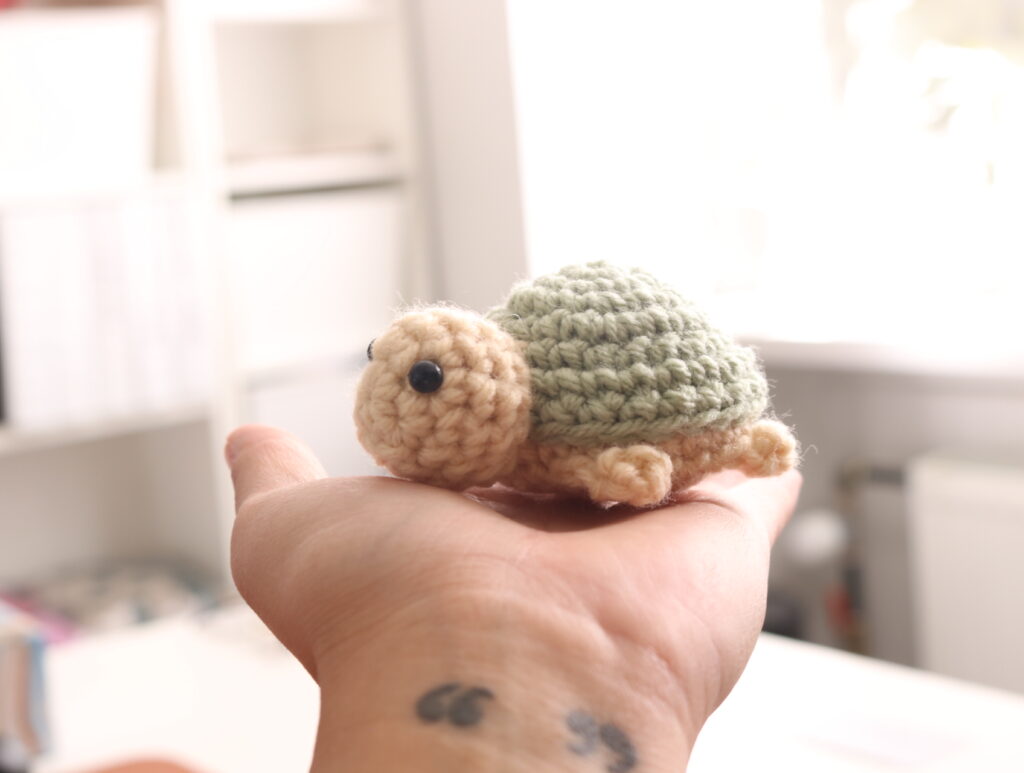
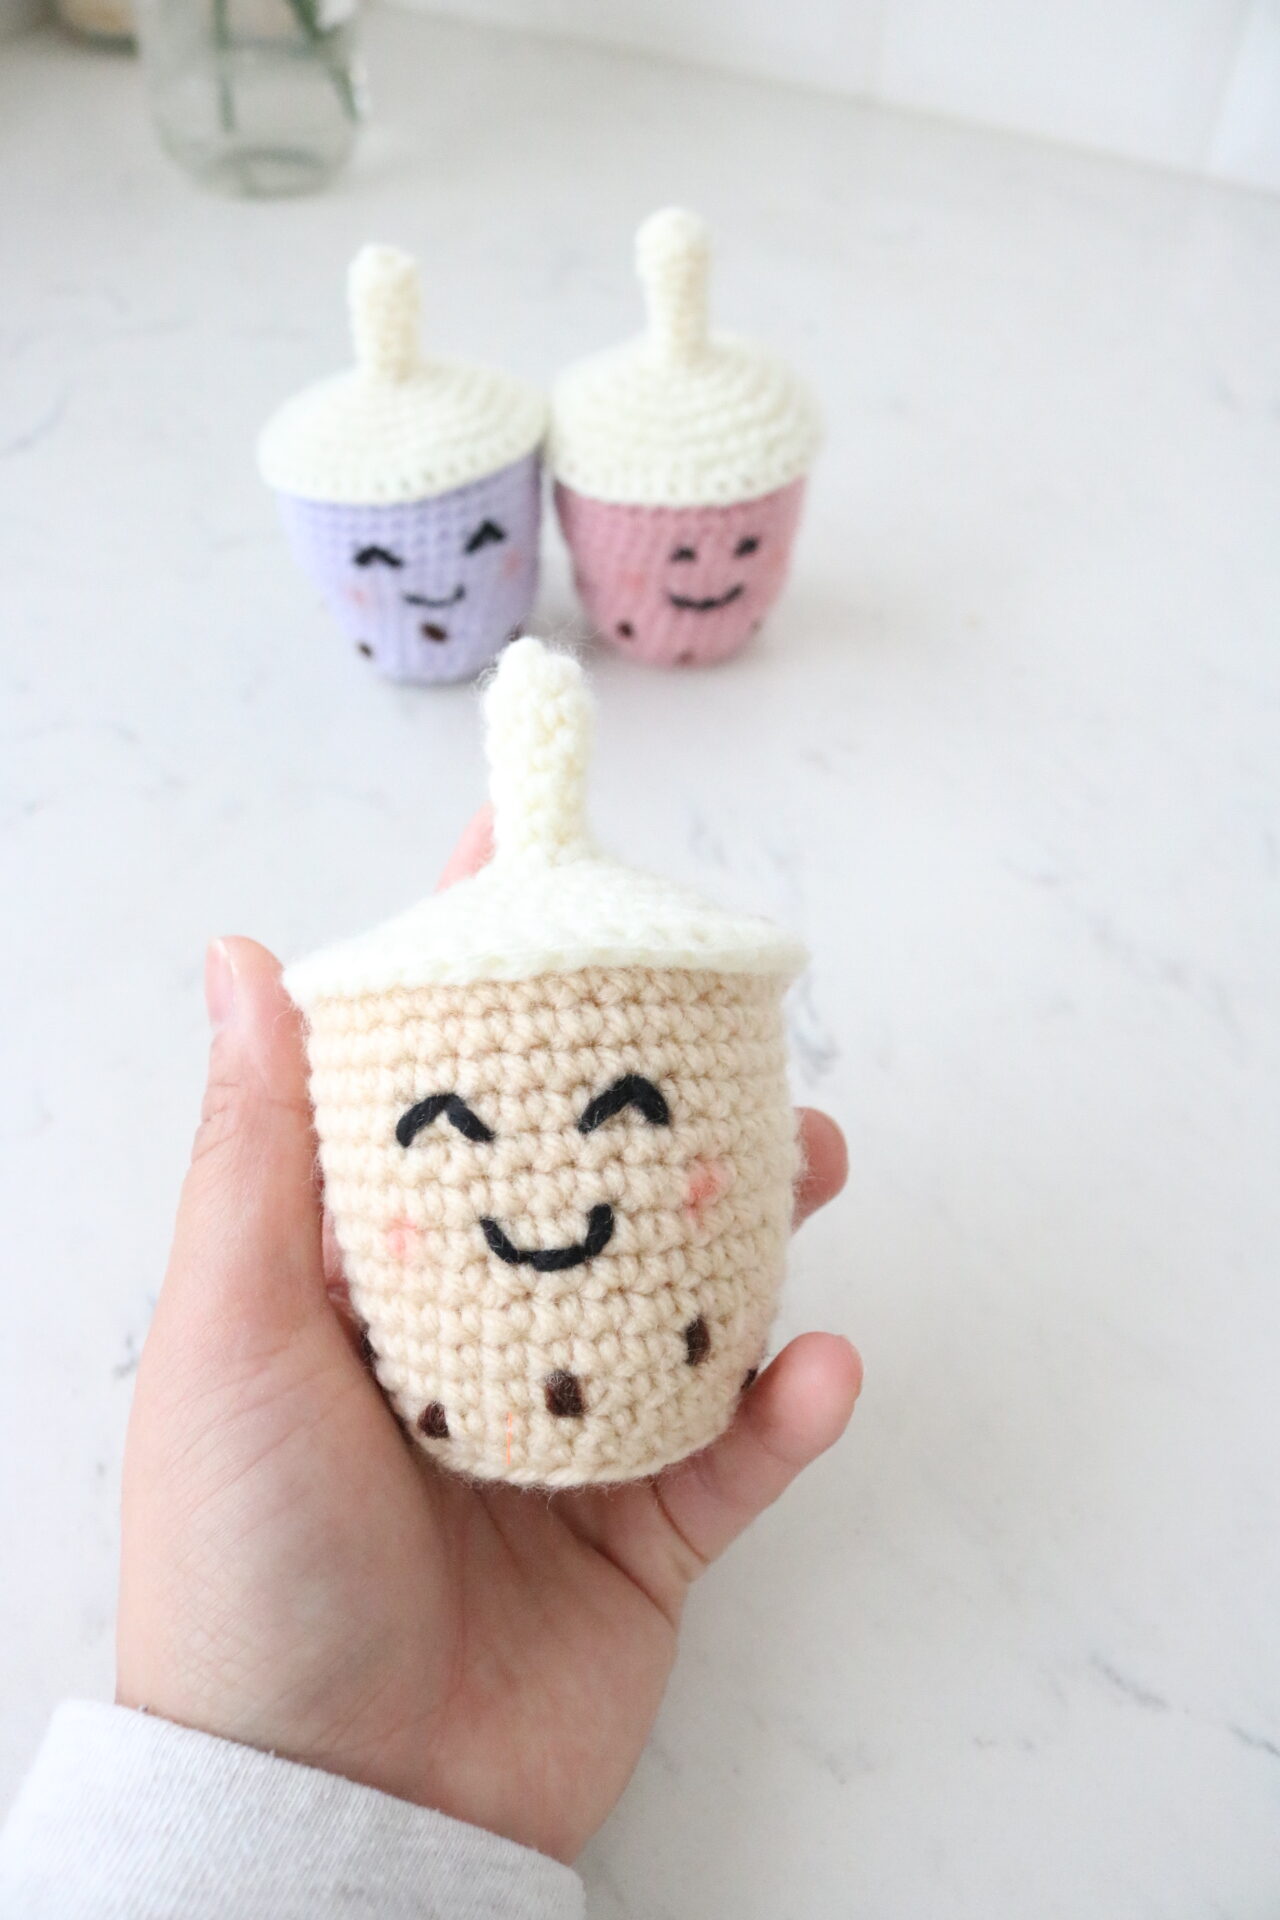
Check out thee patterns (left to right): No-Sew Amigurumi Octopus, Amigurumi Turtle, Amigurumi Boba Tea
Ideas for your cute crochet mini whale
One thing that I see happening a lot is people get really into making amigurumi (it is quite addicting!) but end up having so many plushies around with no use for them. The quick wins of amigurumi can easily do that for you! Here are some ideas of things you can do with your amigurumi whales:
- Sell them at craft fairs – these whales ware very quick to make and do not take a lot of materials. In one hour, you can make around 5-6 whales, leaving you a good profit margin if you intend to sel the finished product.
- Christmas ornaments – these whales are actually very popular as Christmas ornaments during the holiday! Especially when you live in coastal places like I did. Just add an ornament hook or string and you are good to go!
- Party favours – because these little whales are small and quick to make, they are the perfect addition to loot bags for under the sea themed parties! Add in other marine animals like our no-sew octopus and you’ve got one heck of a goody bag.
- Baby shower gift – the finished whale is a great size for a baby gift. They fit perfectly in their tiny hands and something the babies can actually appreciate having. Alternatively, you can get really crafty and use them on a baby mobile for a cute sea creatures themed nursery.
NO-SEW Mini Whale Crochet Pattern
Let’s start making our little whale. Please keep in mind that this pattern is for personal use only and should not be sold or claimed as your own. You are welcome to sell finished products using the pattern, in fact, these little guys were among my best sellers when I used to vend at craft fairs!
The pattern instructions for this mini crochet whale are easy to follow, uses basic crochet stitches, and very quick to make. The size of this adorable whale fits right into your hands, making it the perfect size giveaway for sea creatures themed parties, ornaments, and last minute gift for baby showers.
NO SEW Amigurumi Whale
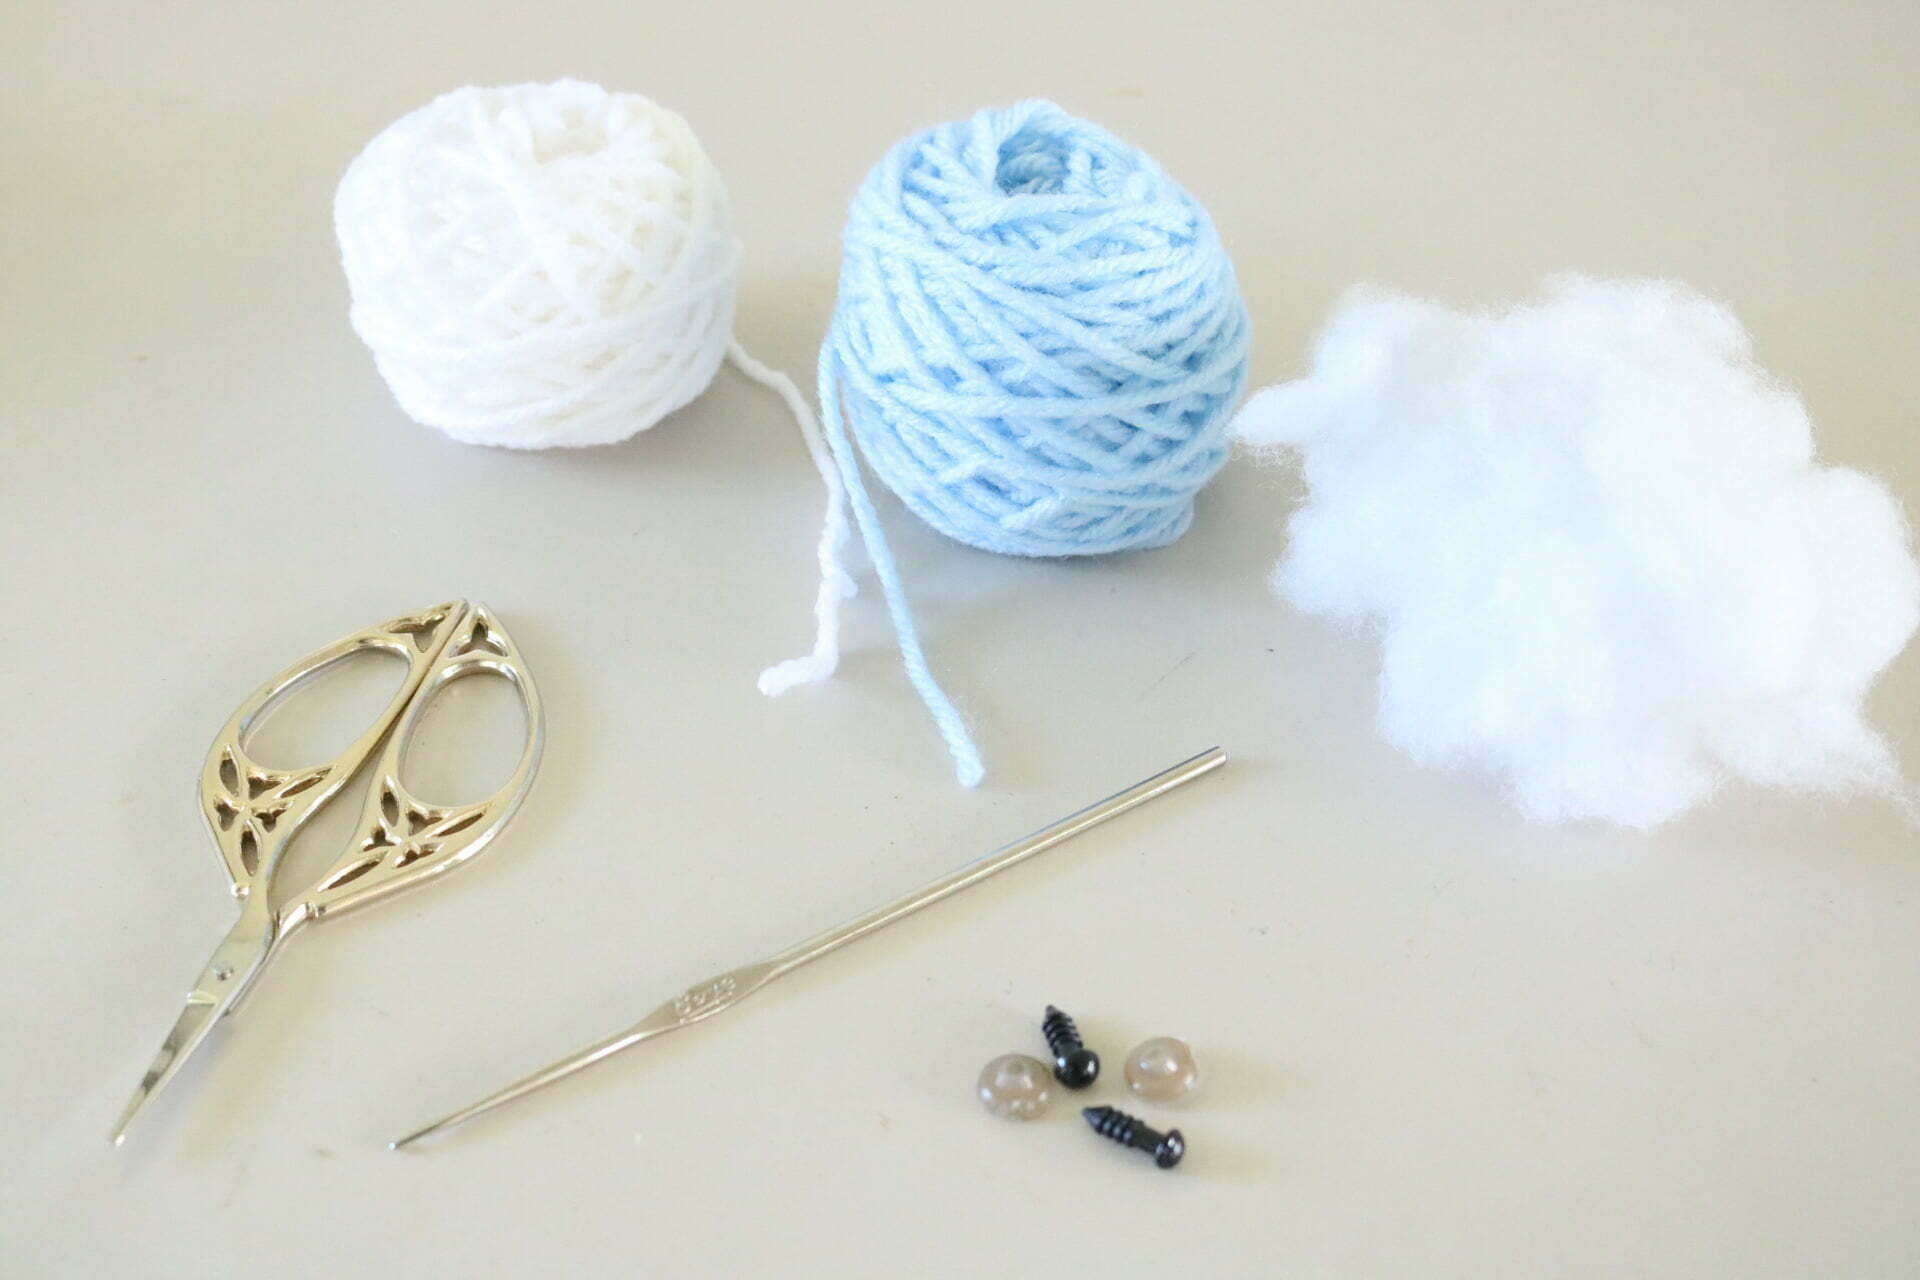
Materials:
- 0.3 oz Level 4 (worsted weight) yarn in color of your choice and white for the belly. Check out my post about the Best Yarn for Amigurumi here.
- 1.8 mm crochet hook size
- Polyester fiber fill
- 2pcs 6 mm safety eyes
- Scissors (I got mine from Etsy)
Abbreviations:
- ch – chain
- sc – single crochet
- slst – slip stitch
- st/s – stitch/es
- flo – front loop only
- blo – back loop only
Pattern
The pattern begins at the top of the whales and ends on the bottom.
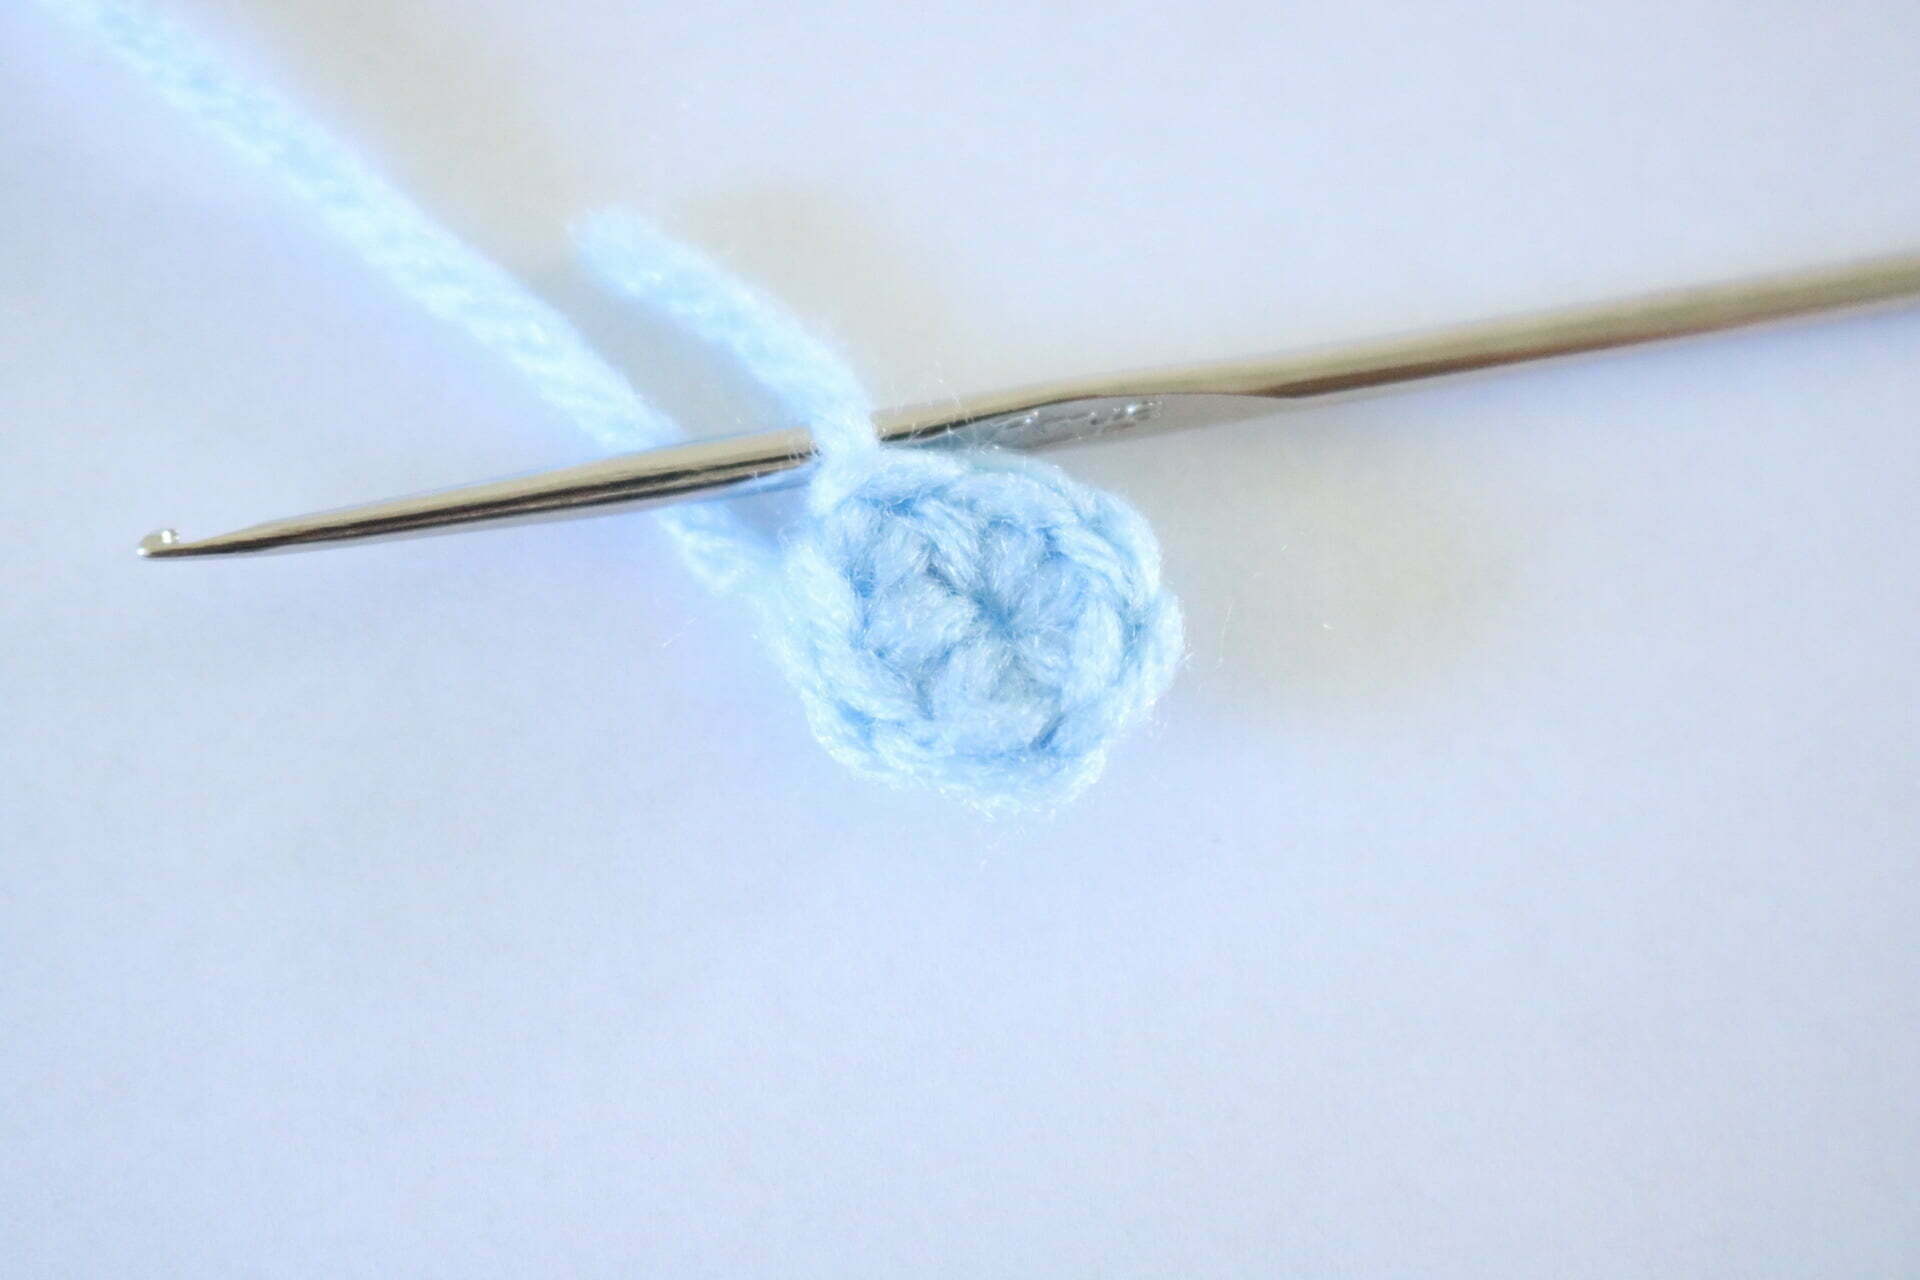
You are going to want to start with a magic ring
R1: Ch 1, 6 sc into circle, slip stitch (slst) into ch 1 to end the round. (6 st)
R2: Ch 1, 2 sc into each st, sl st into ch 1 (12 st)
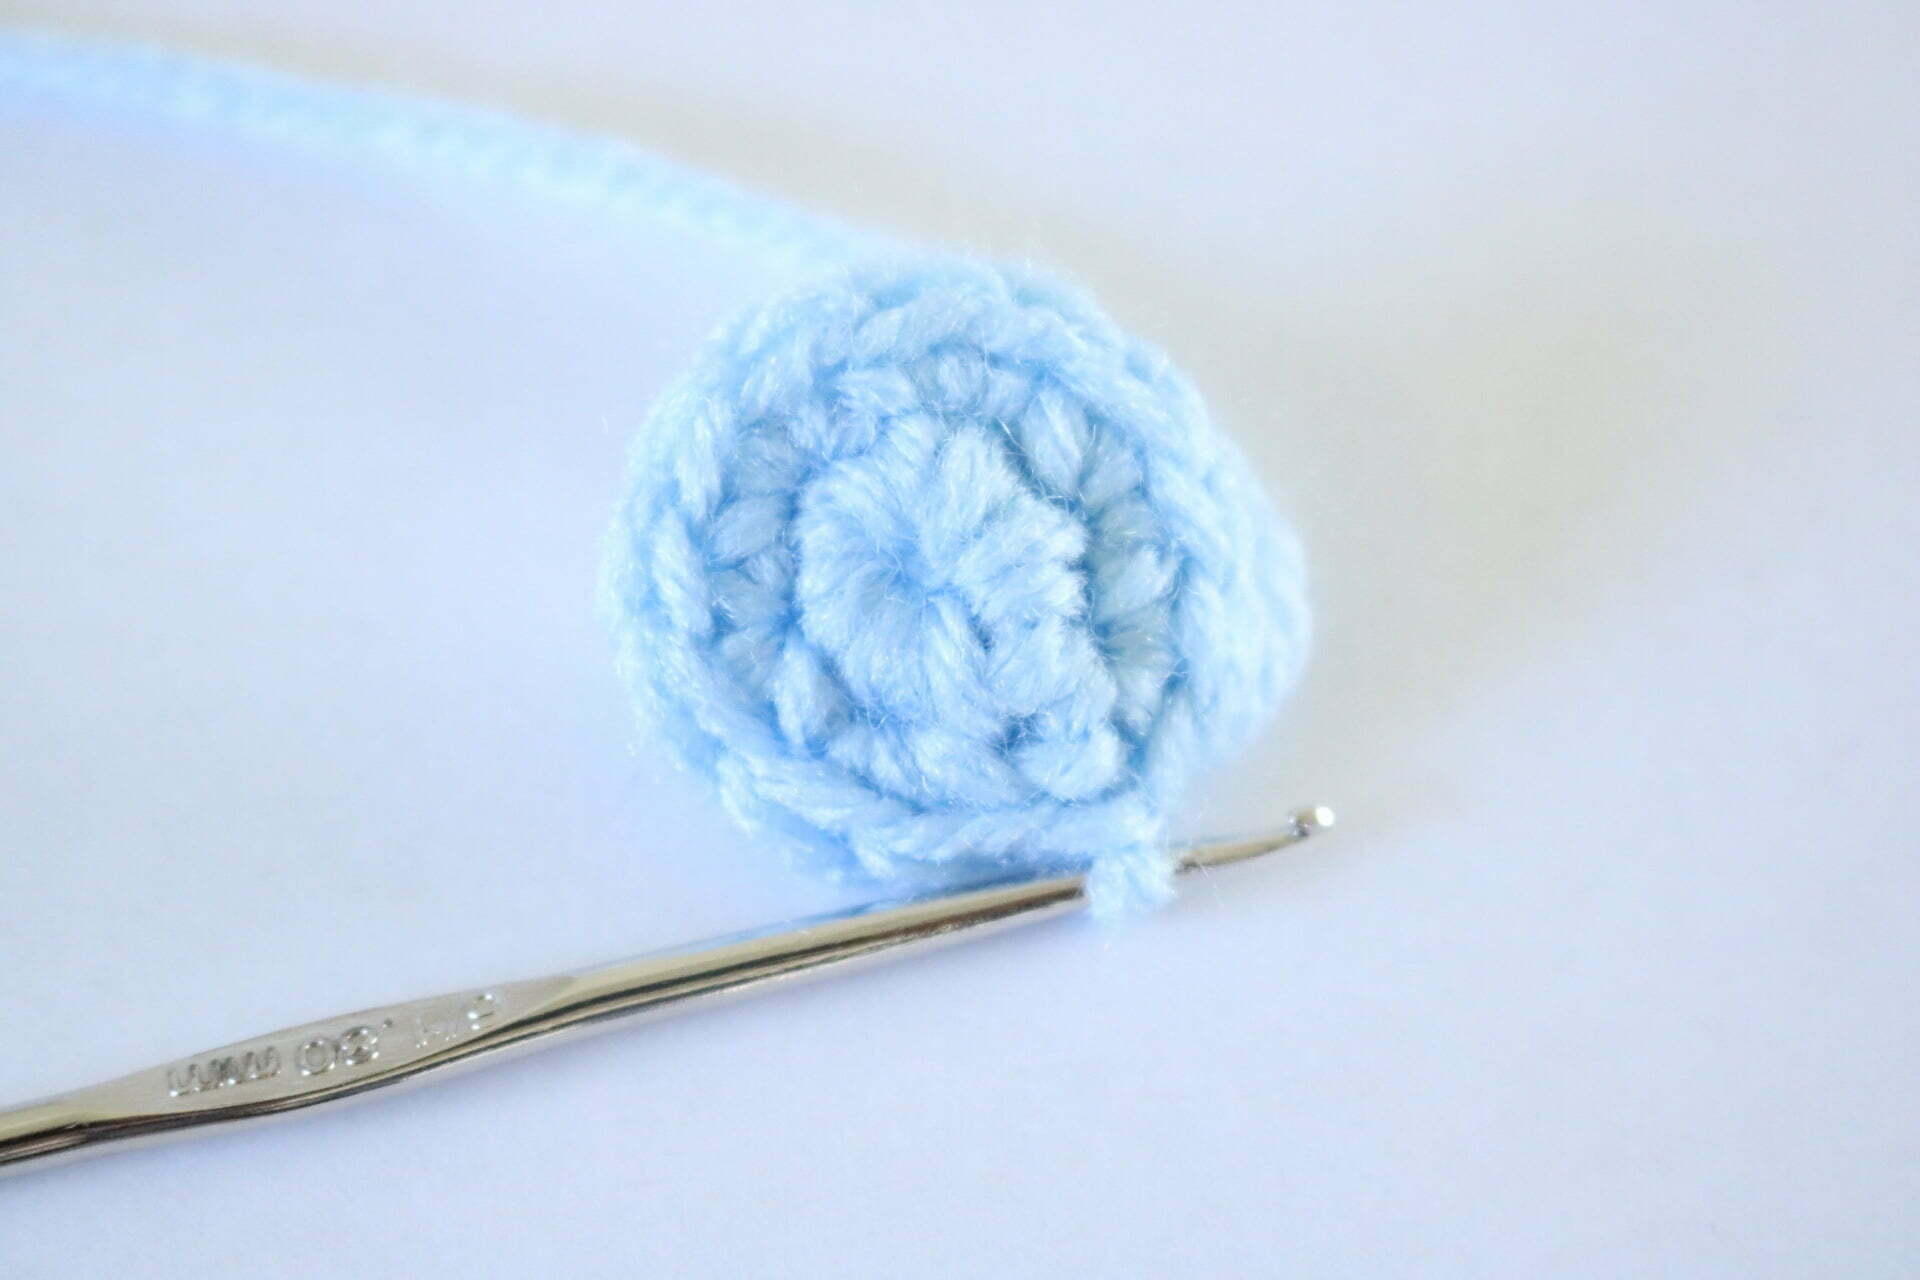
R3: Ch 1, *sc, 2 sc. Repeat from * until last st, sl st into ch 1 (18 sc)
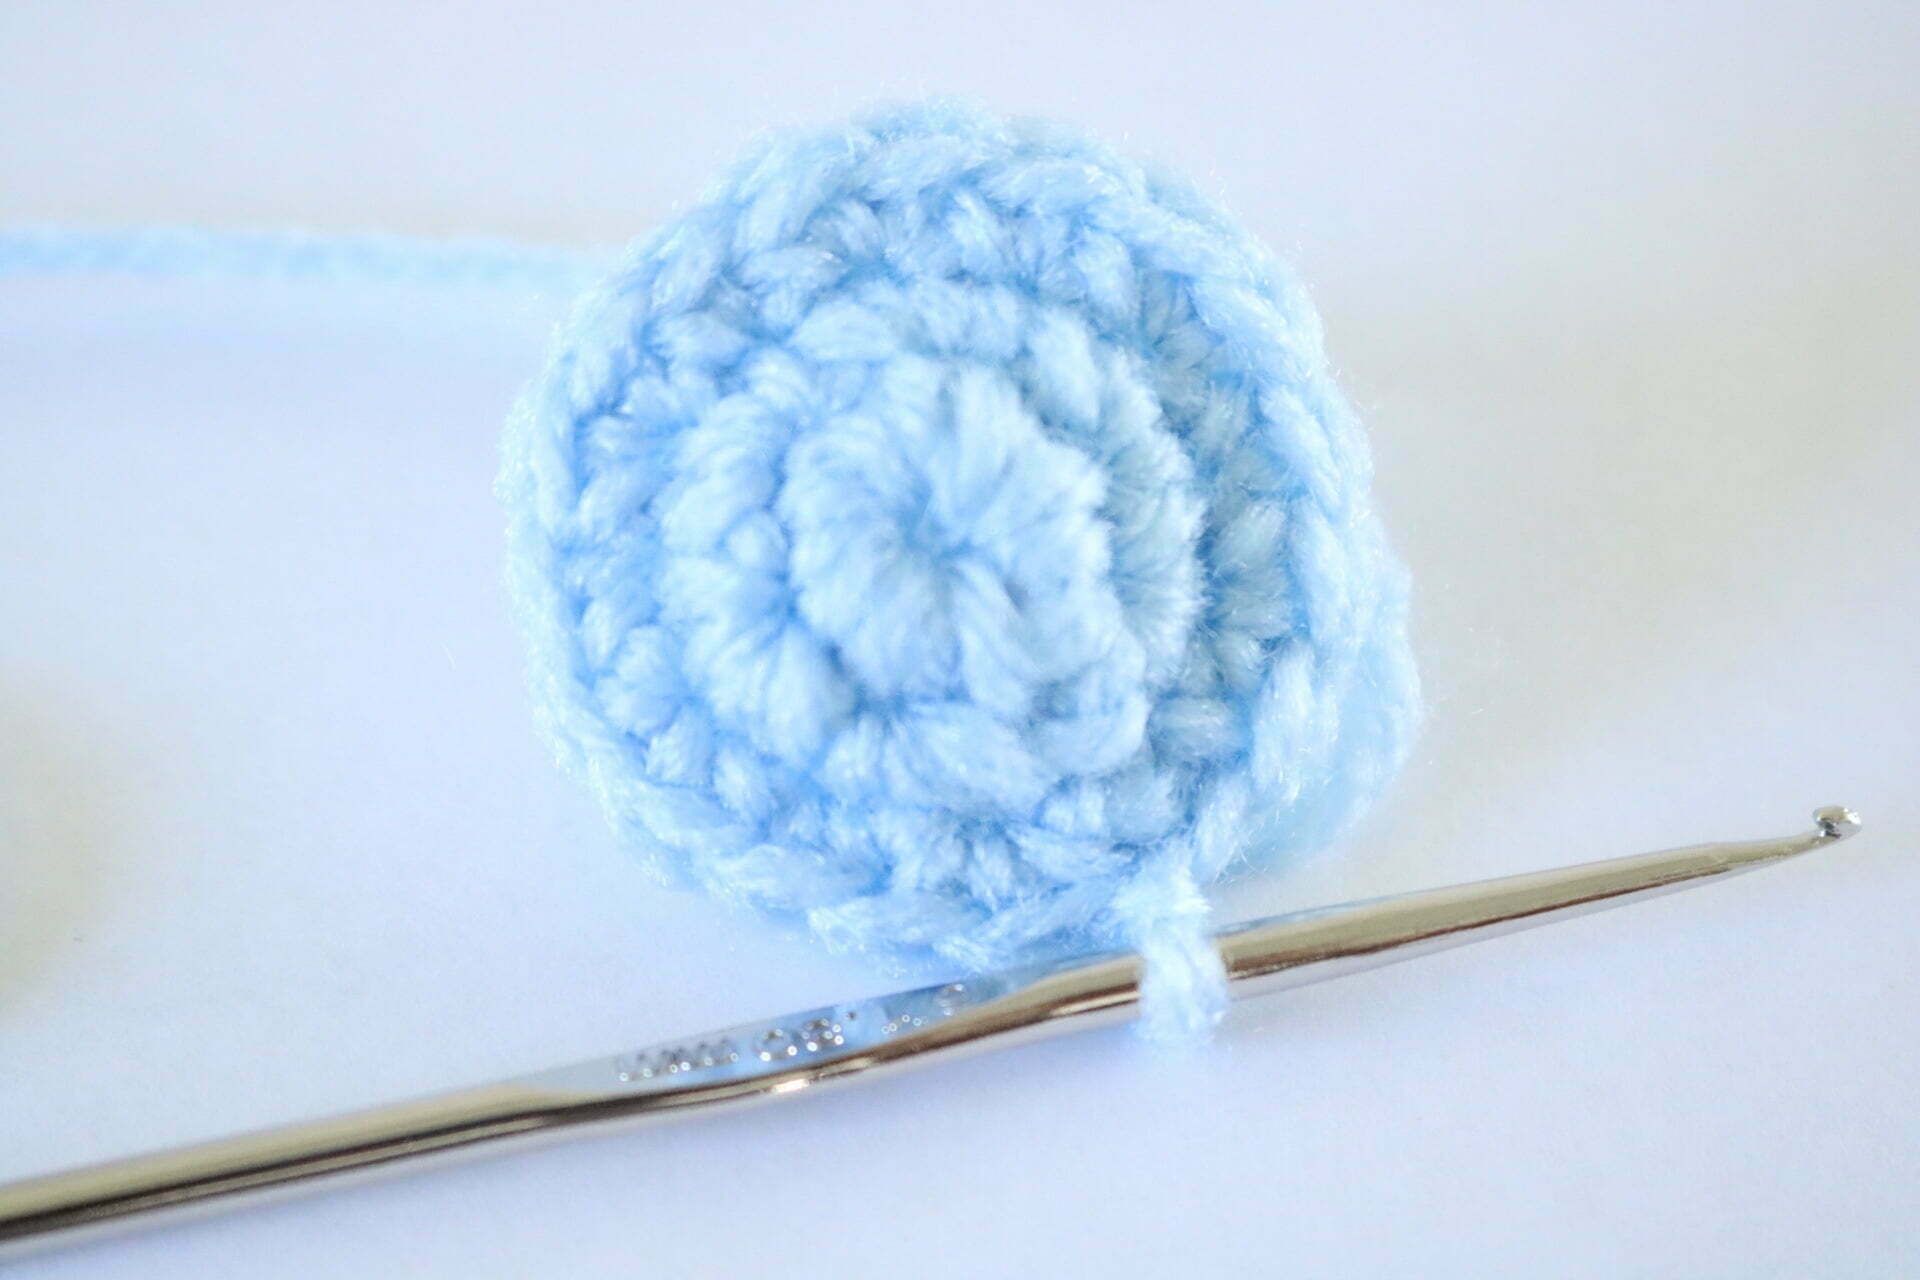
R4: Ch 1, *sc, sc, 2 sc. Repeat from * until last st, sl st into ch 1 (24 sc)
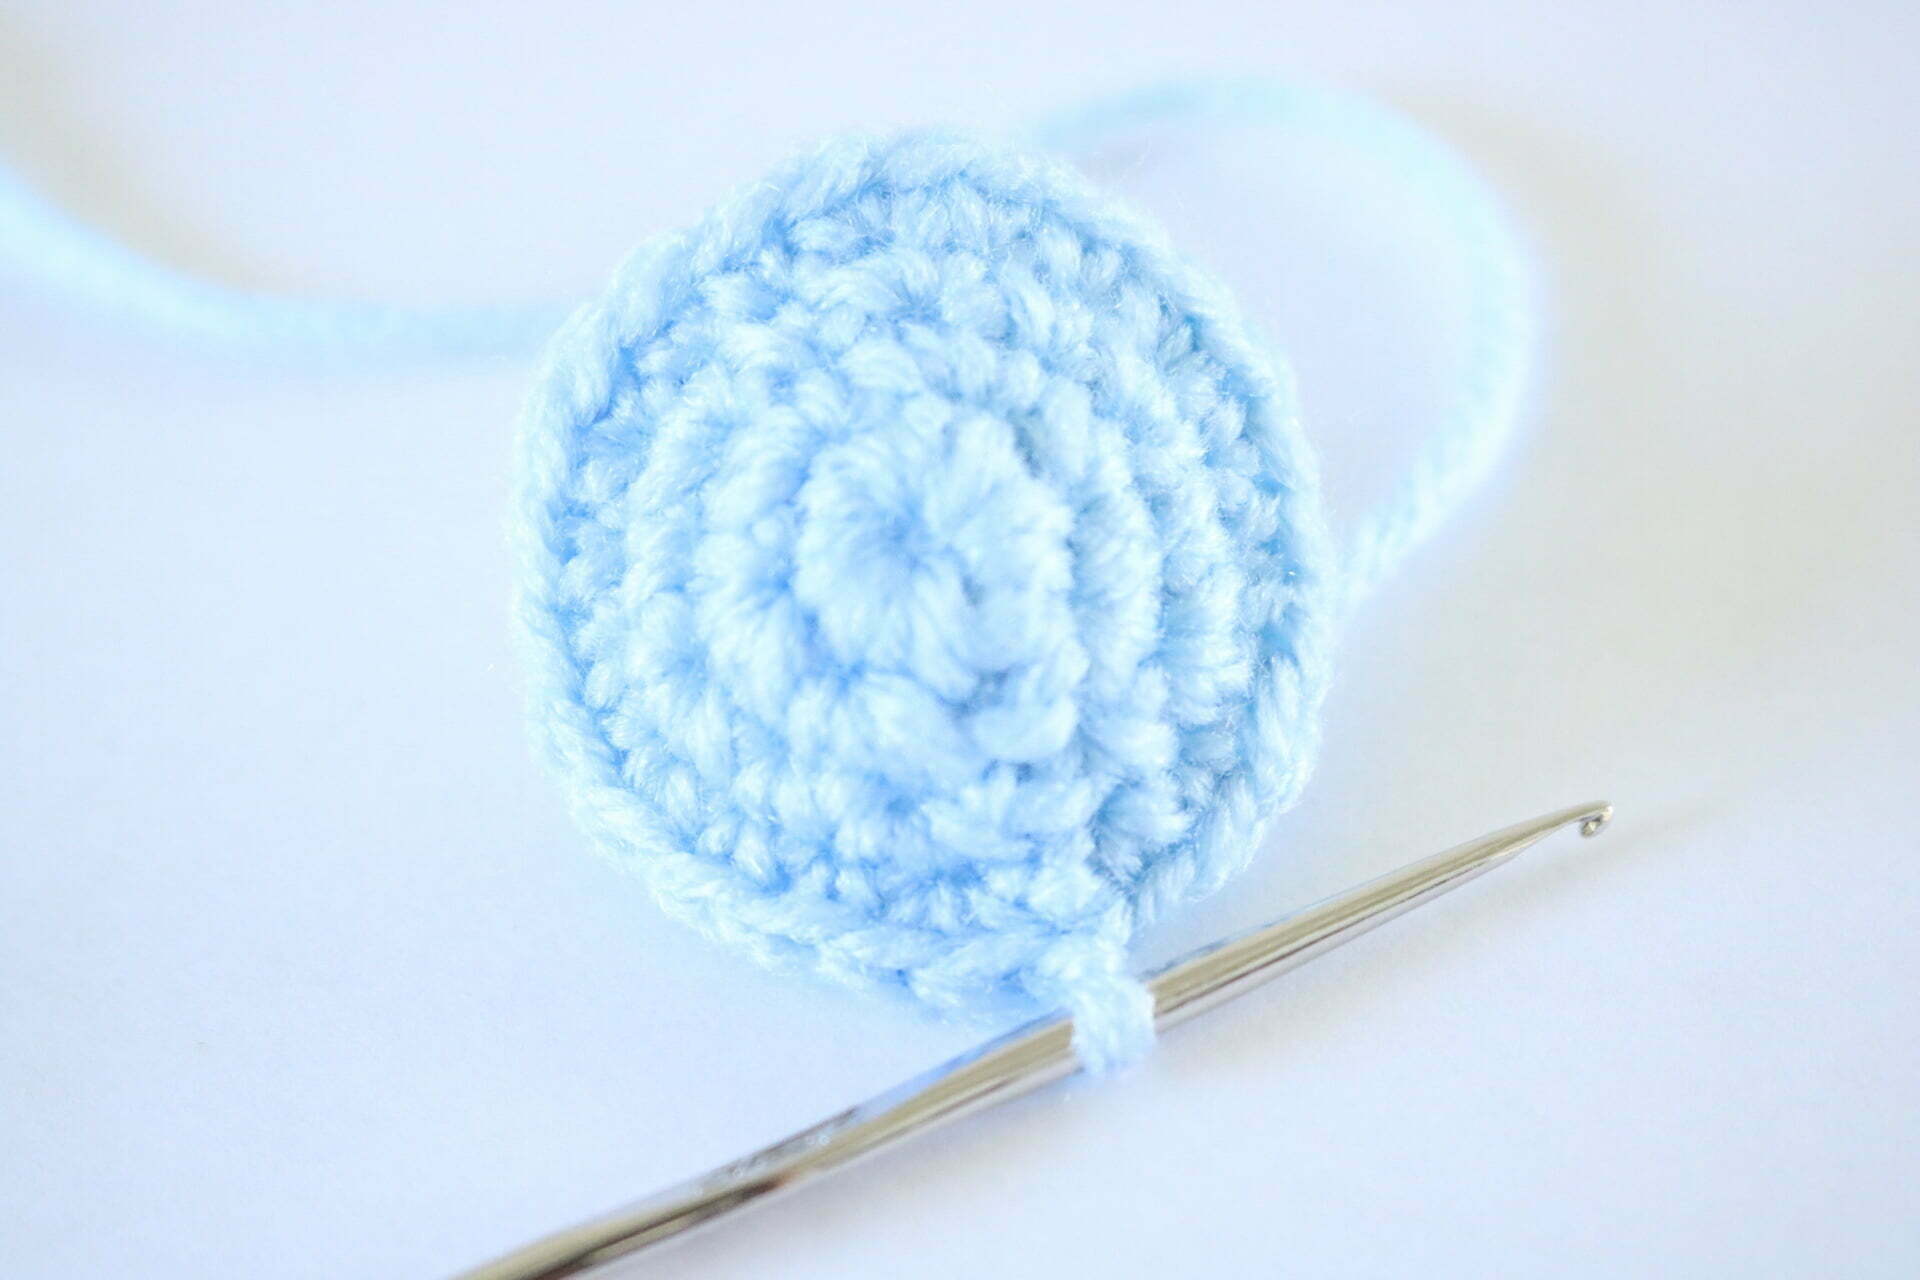
R5-7: Ch 1, sc into each st, sl st into ch 1 (24 sc)
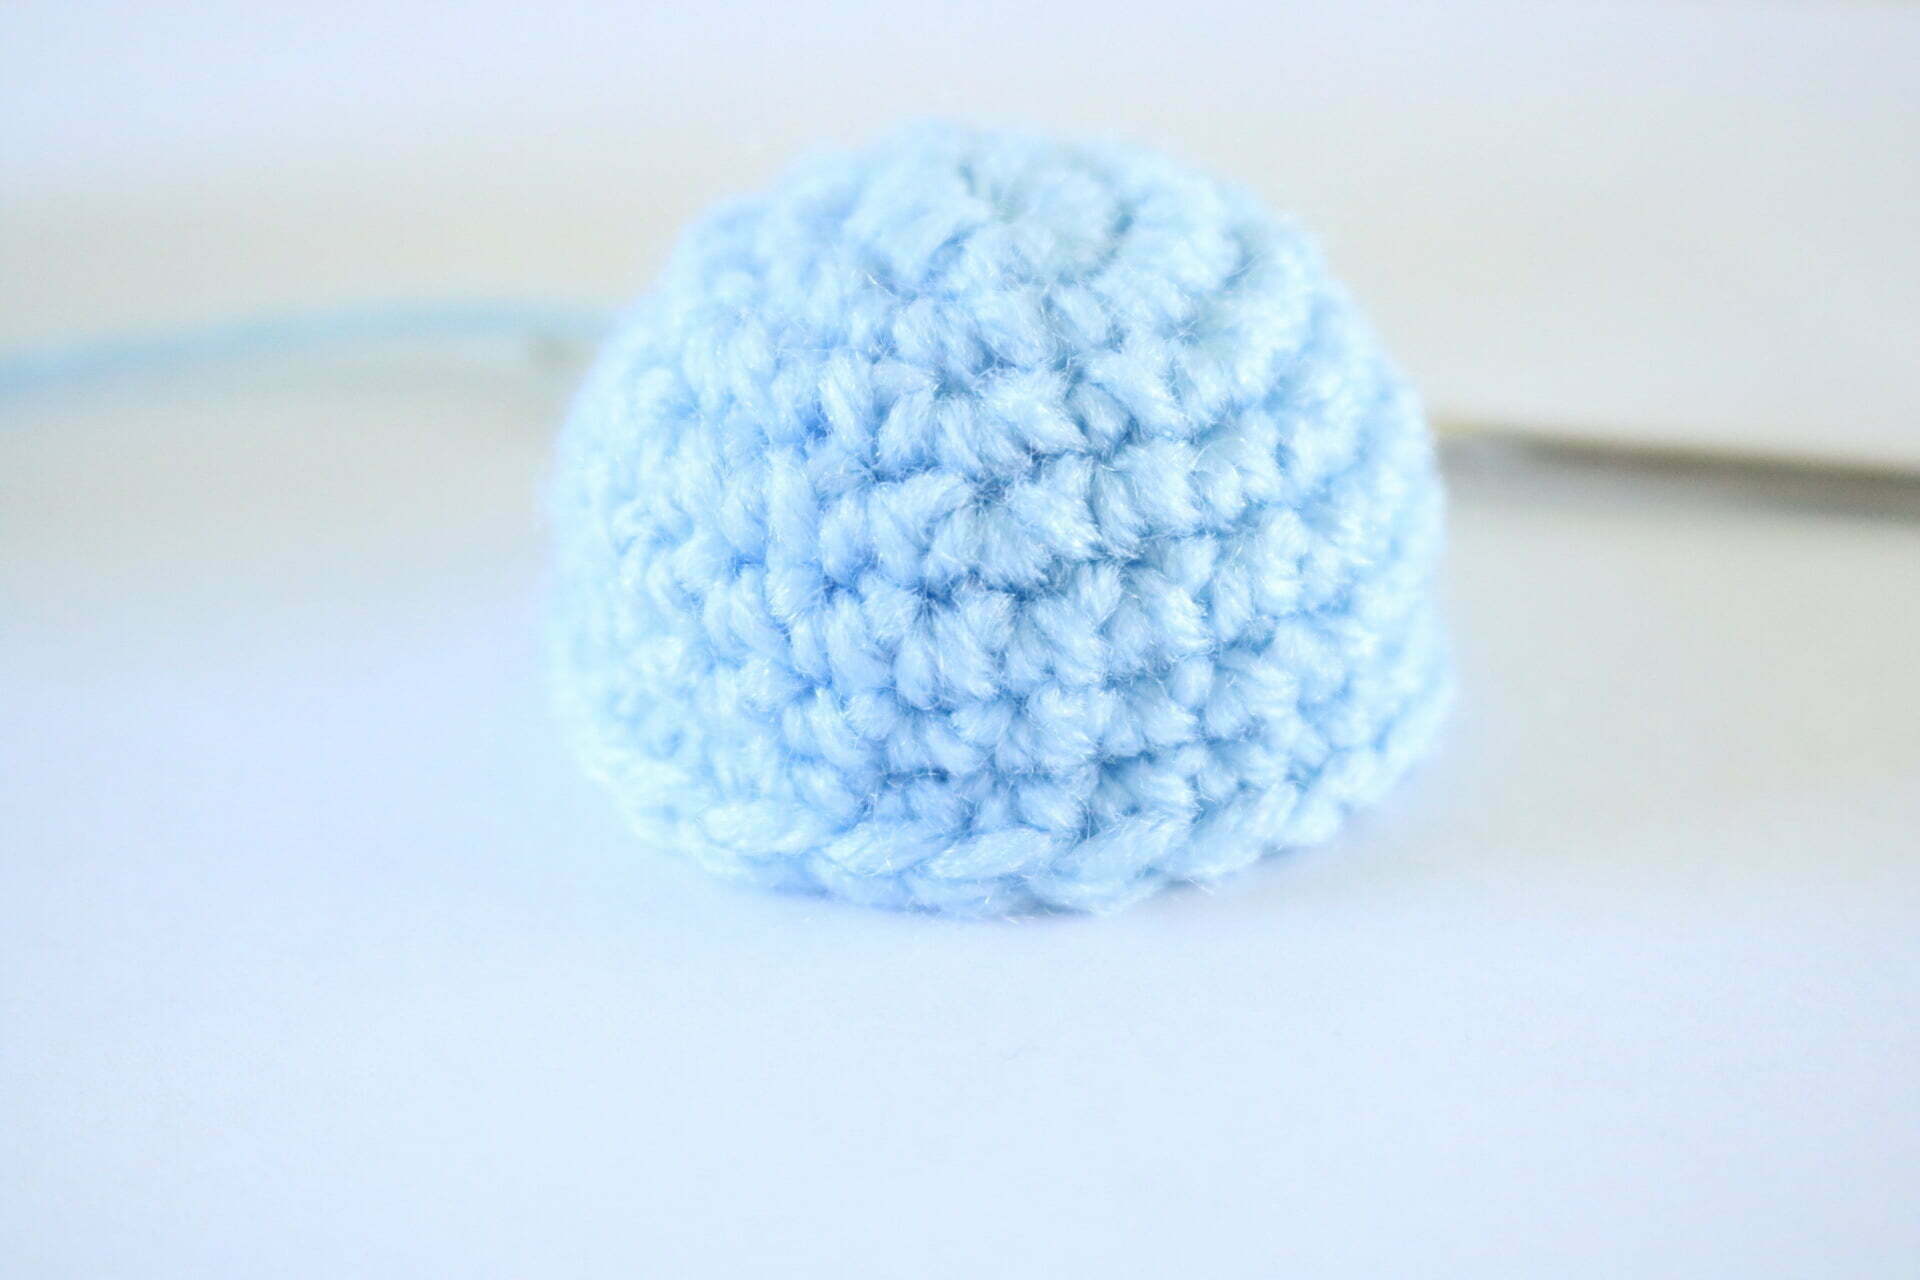
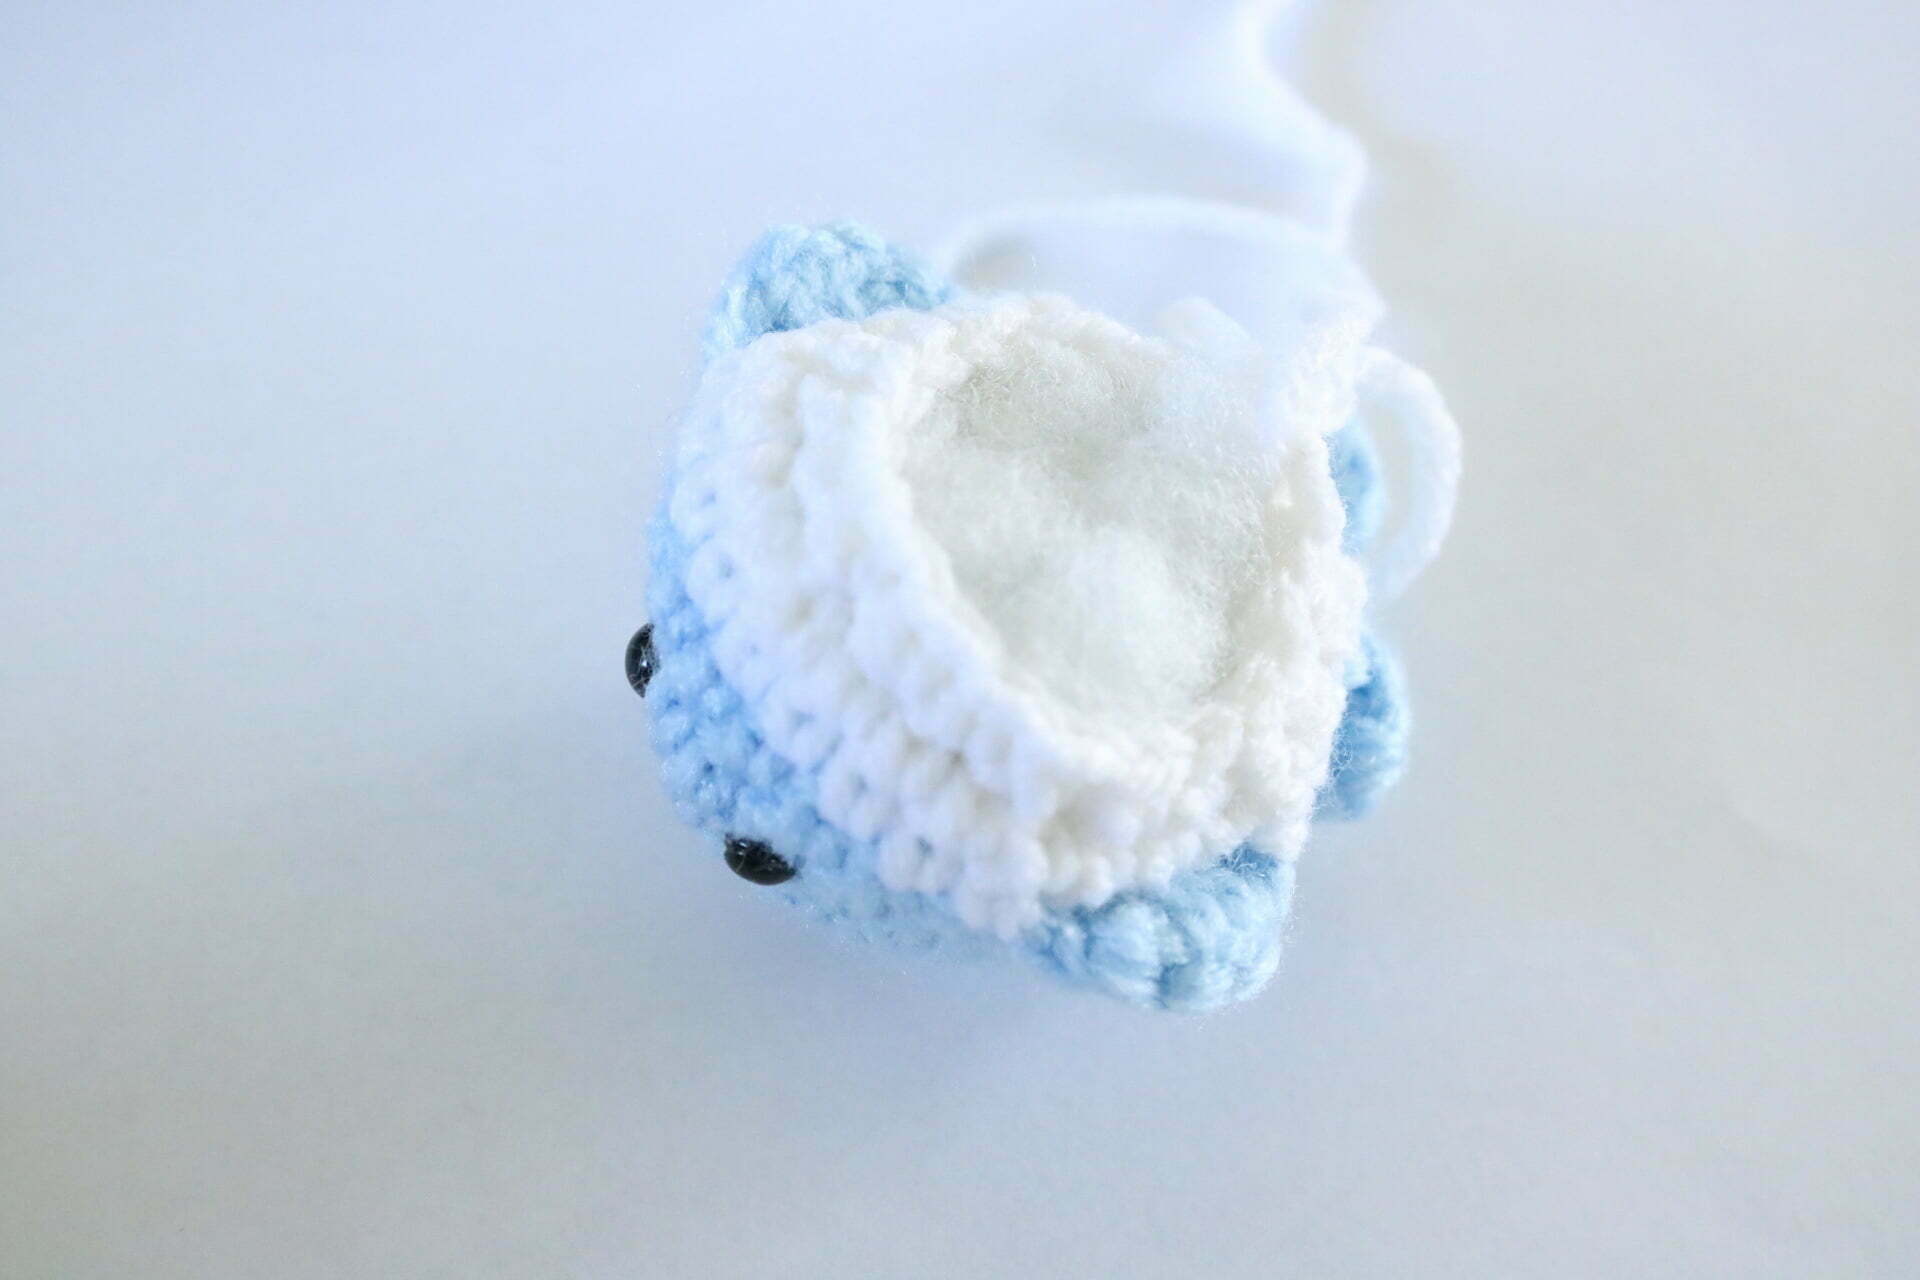
Now it’s time for the magic. In working up no sew patterns you are going to need to make use of the front and back loops of your piece to your advantage. In this case I used them to define the fins and tail of the whale.
R8: Ch 1, sc, sc, sc, sc flo, 3 dc into flo, sc flo, sc into next 9 st, sc flo, 3 dc flo, sc flo, sc, sc, sc, sc *sc flo ch 6, dc into 2nd ch from hook, dc, hdc, sc, sc into flo. Repeat from * into last st, sl st into ch 1 with white yarn
In this portion, you are going to work the side fins and the tail all in the same round.
Working into the front loops only
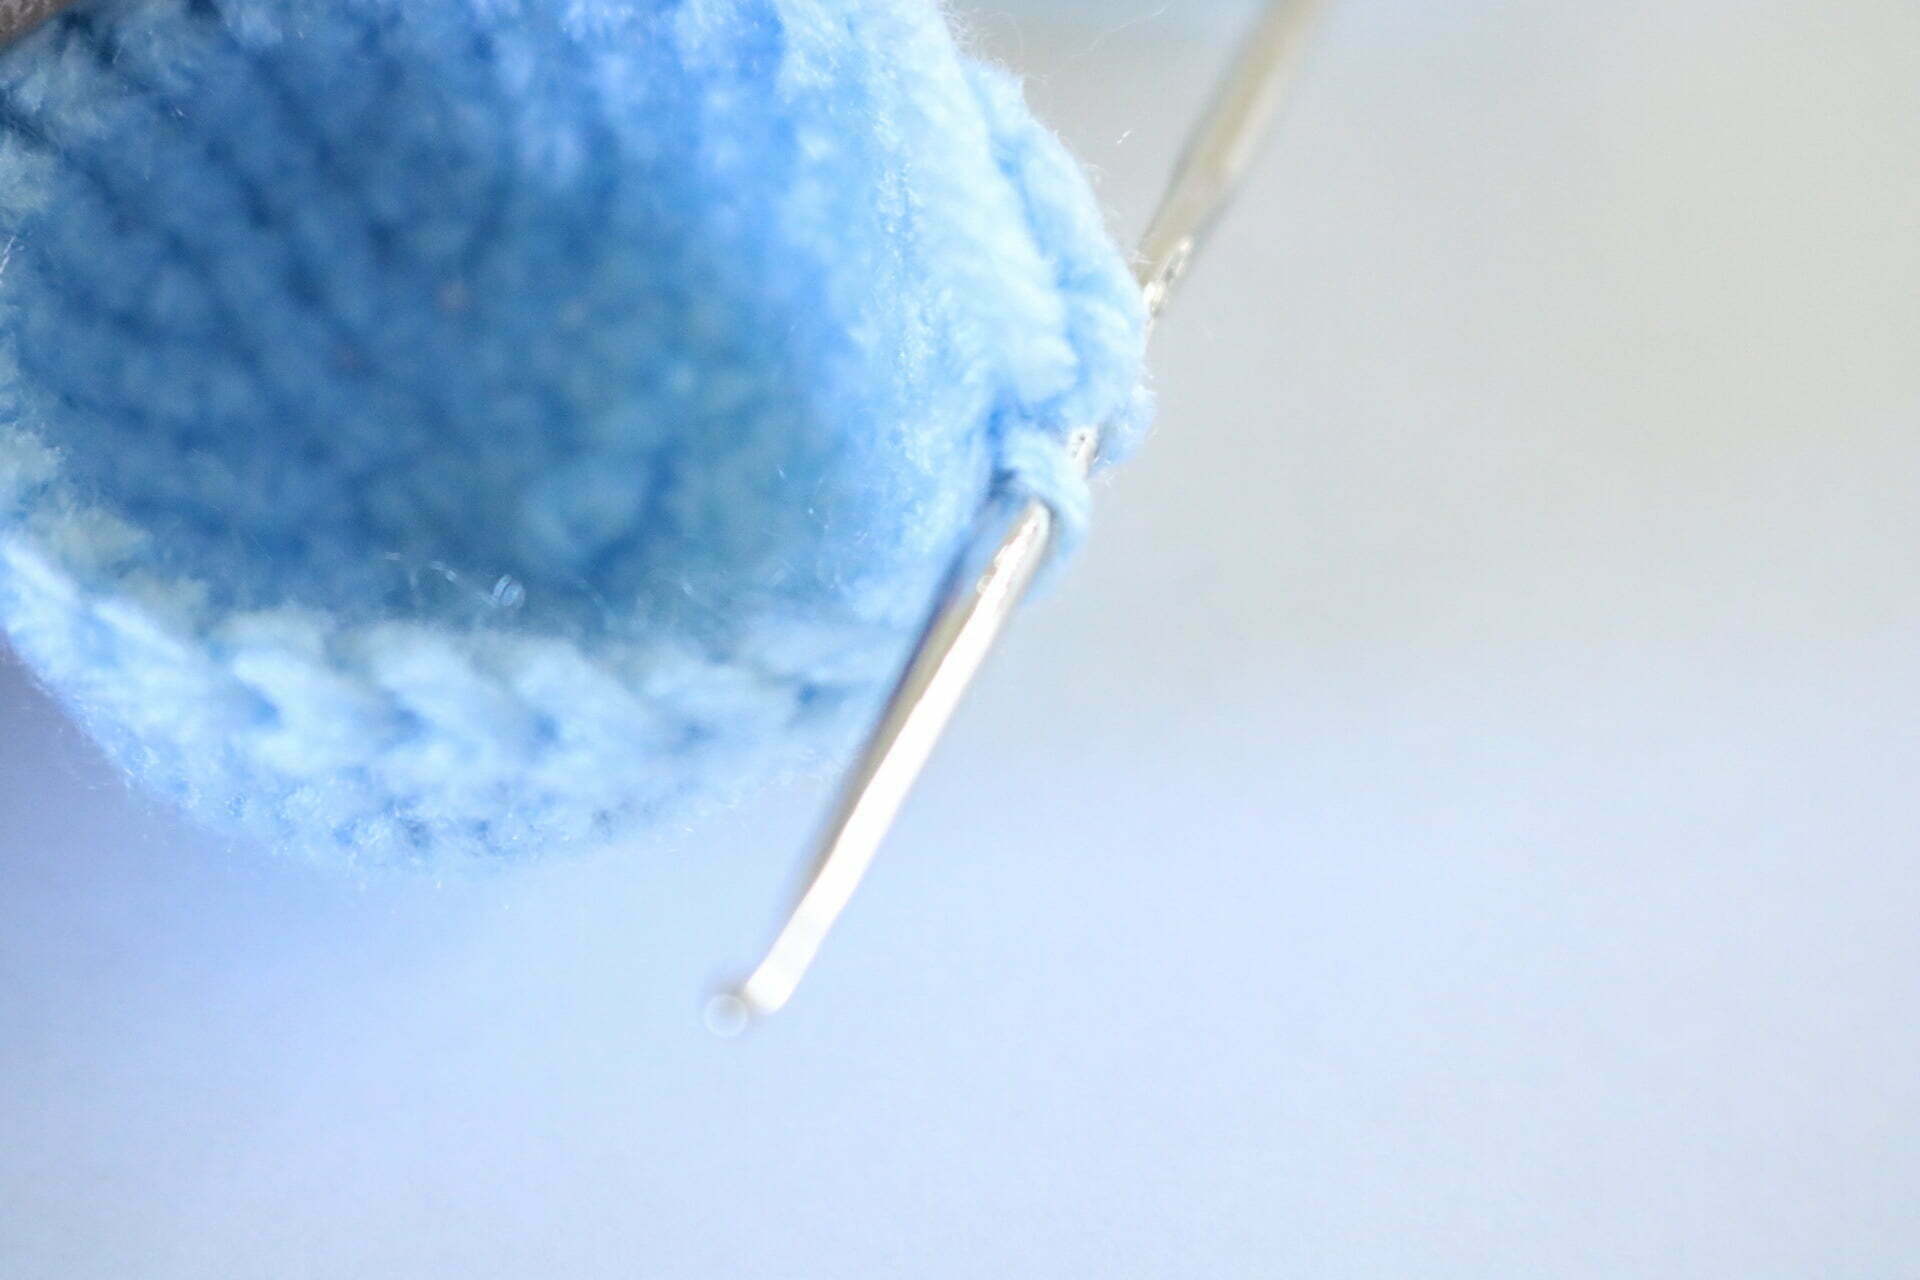
Back of the side fin
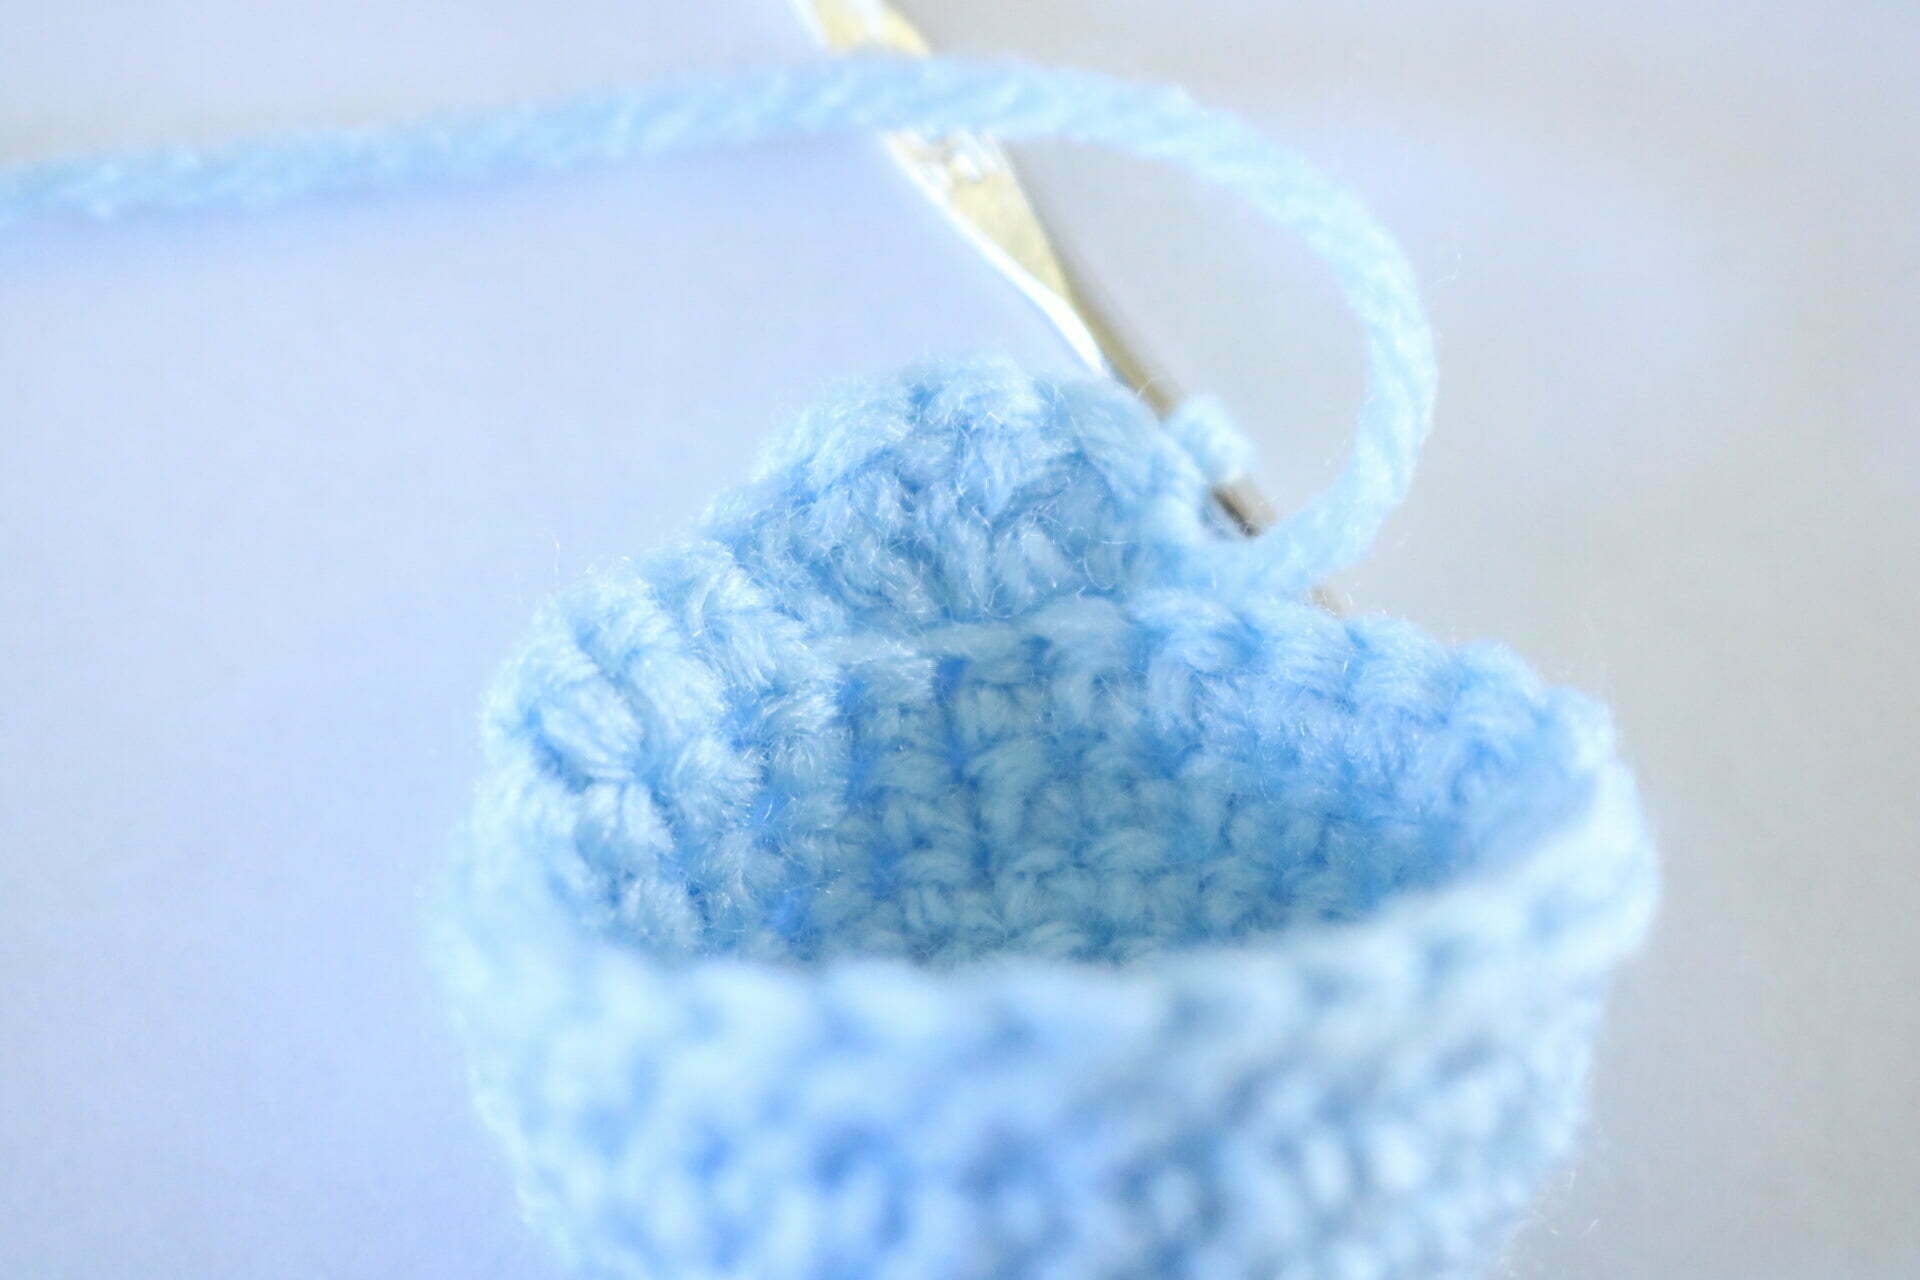
Starting the tail
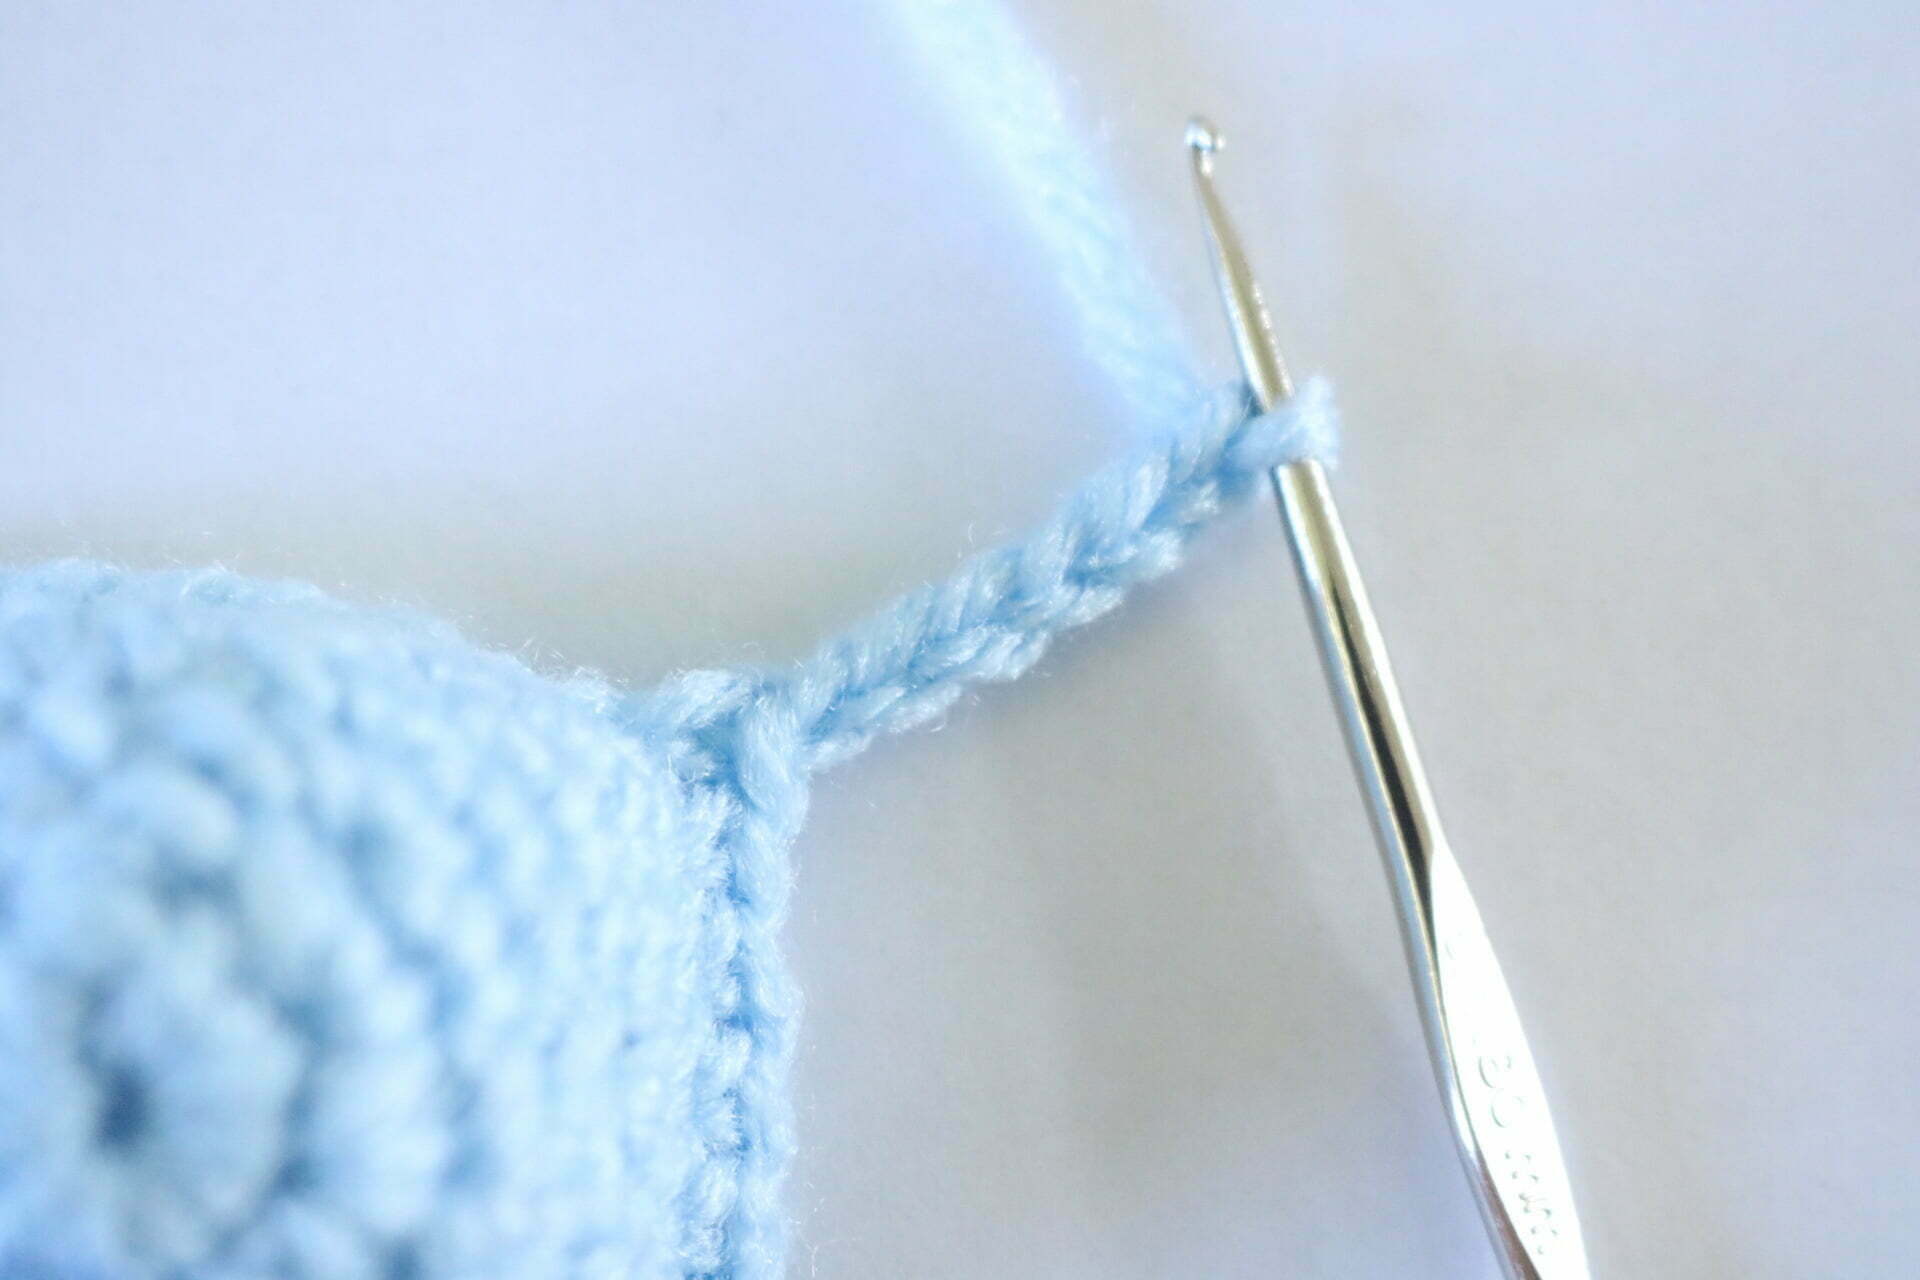
First tail fin

Second tail fin
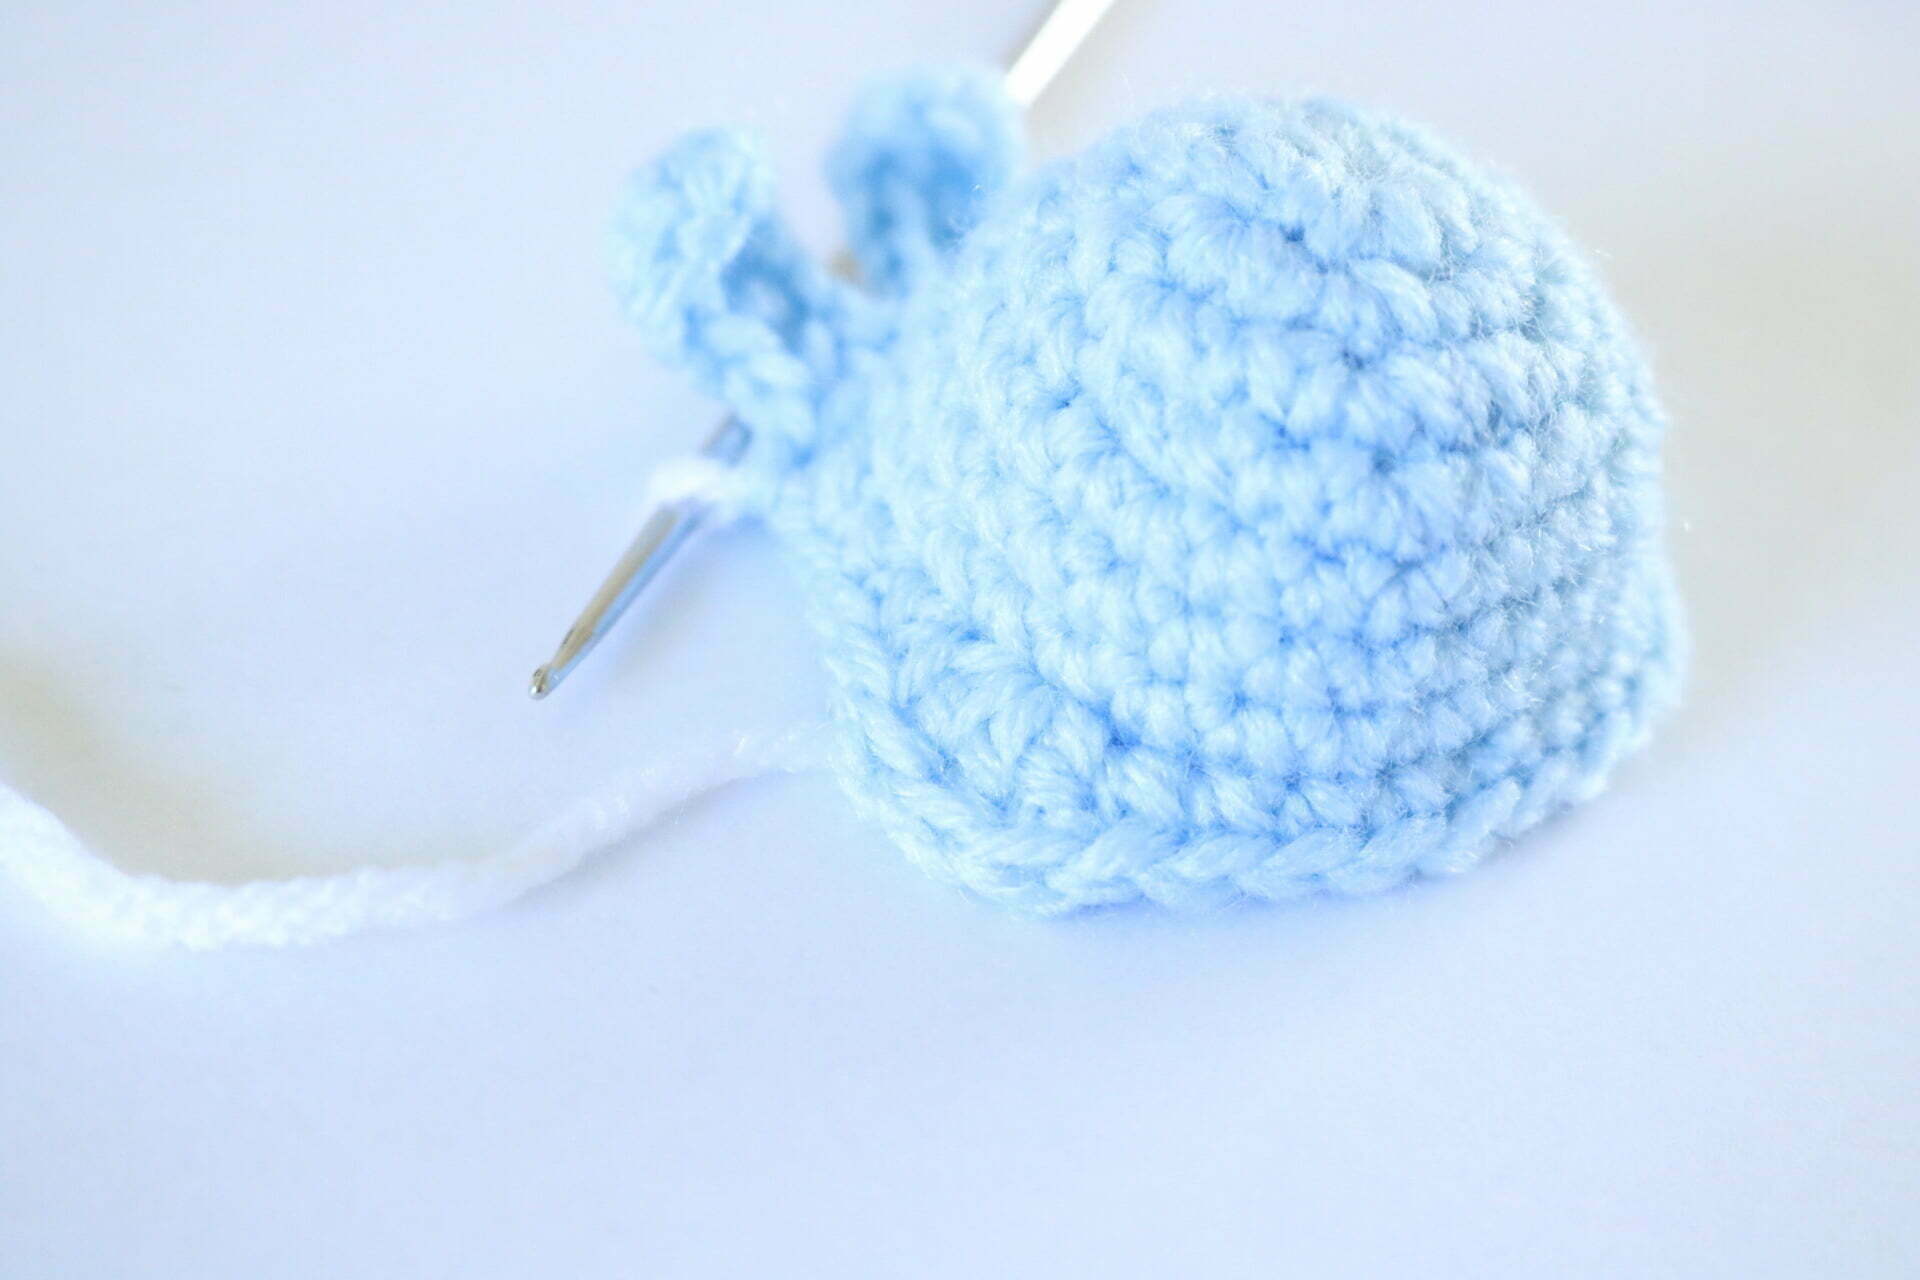
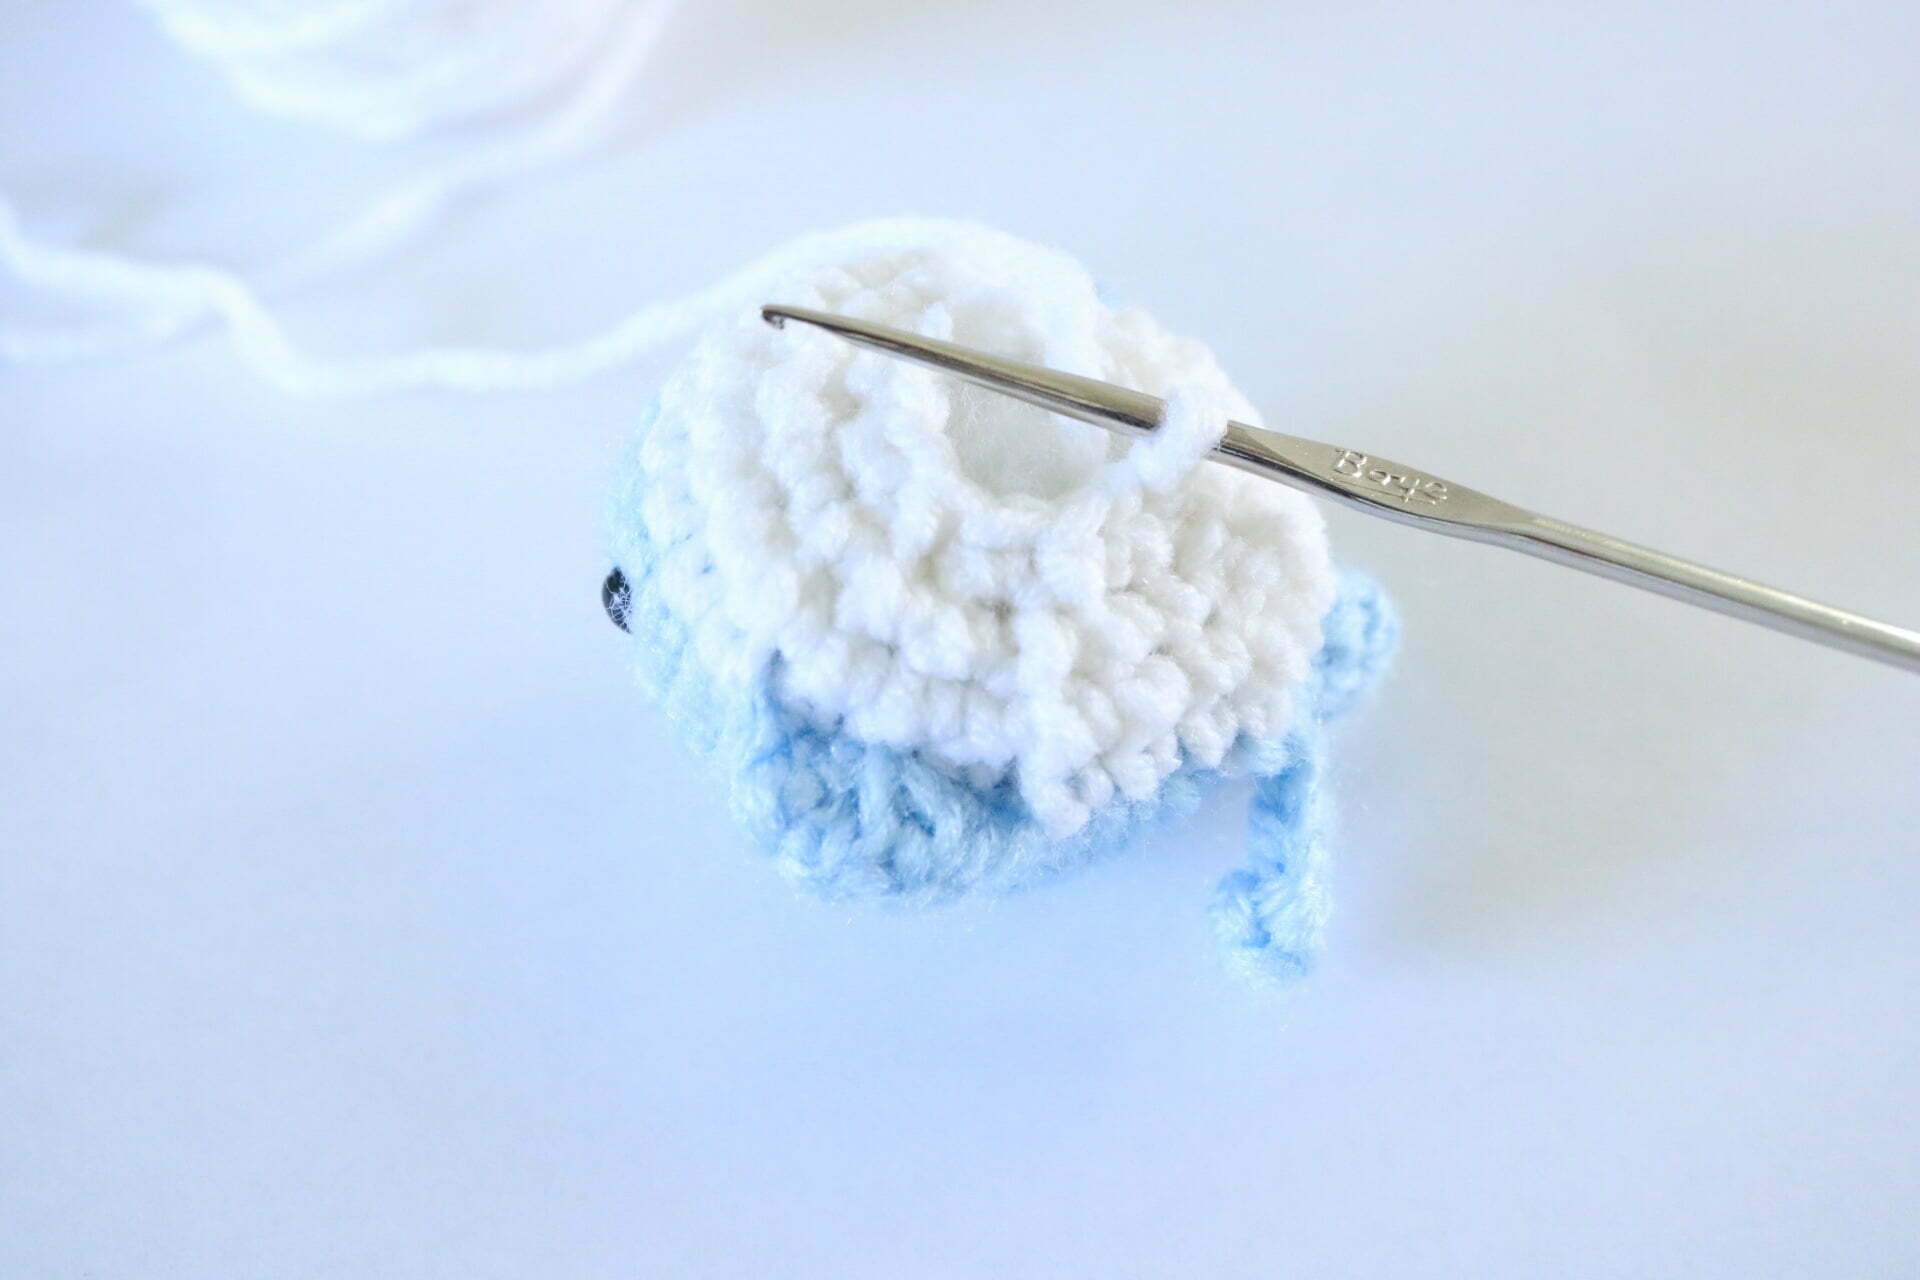
Now you are done with the whale body and time to for a color change. This tutorial here shows you how to seamlessly change yarn colours in crochet. For this whale we are going to switch from blue yarn (or whatever color you are using) to white.
In this round, you are going to want to make use of the back loops – of the stitches you used only the front loops – when going all around. In detail,
R9: Ch 1, sc, sc. Single crochet into back loop of next three sts from row 7. Single crochet into next 8 st. Sc into back loop of next three sts from row 7. Sc, sc. Sc into back look of last two sts from row 7, sl st into ch 1 (24 sts)
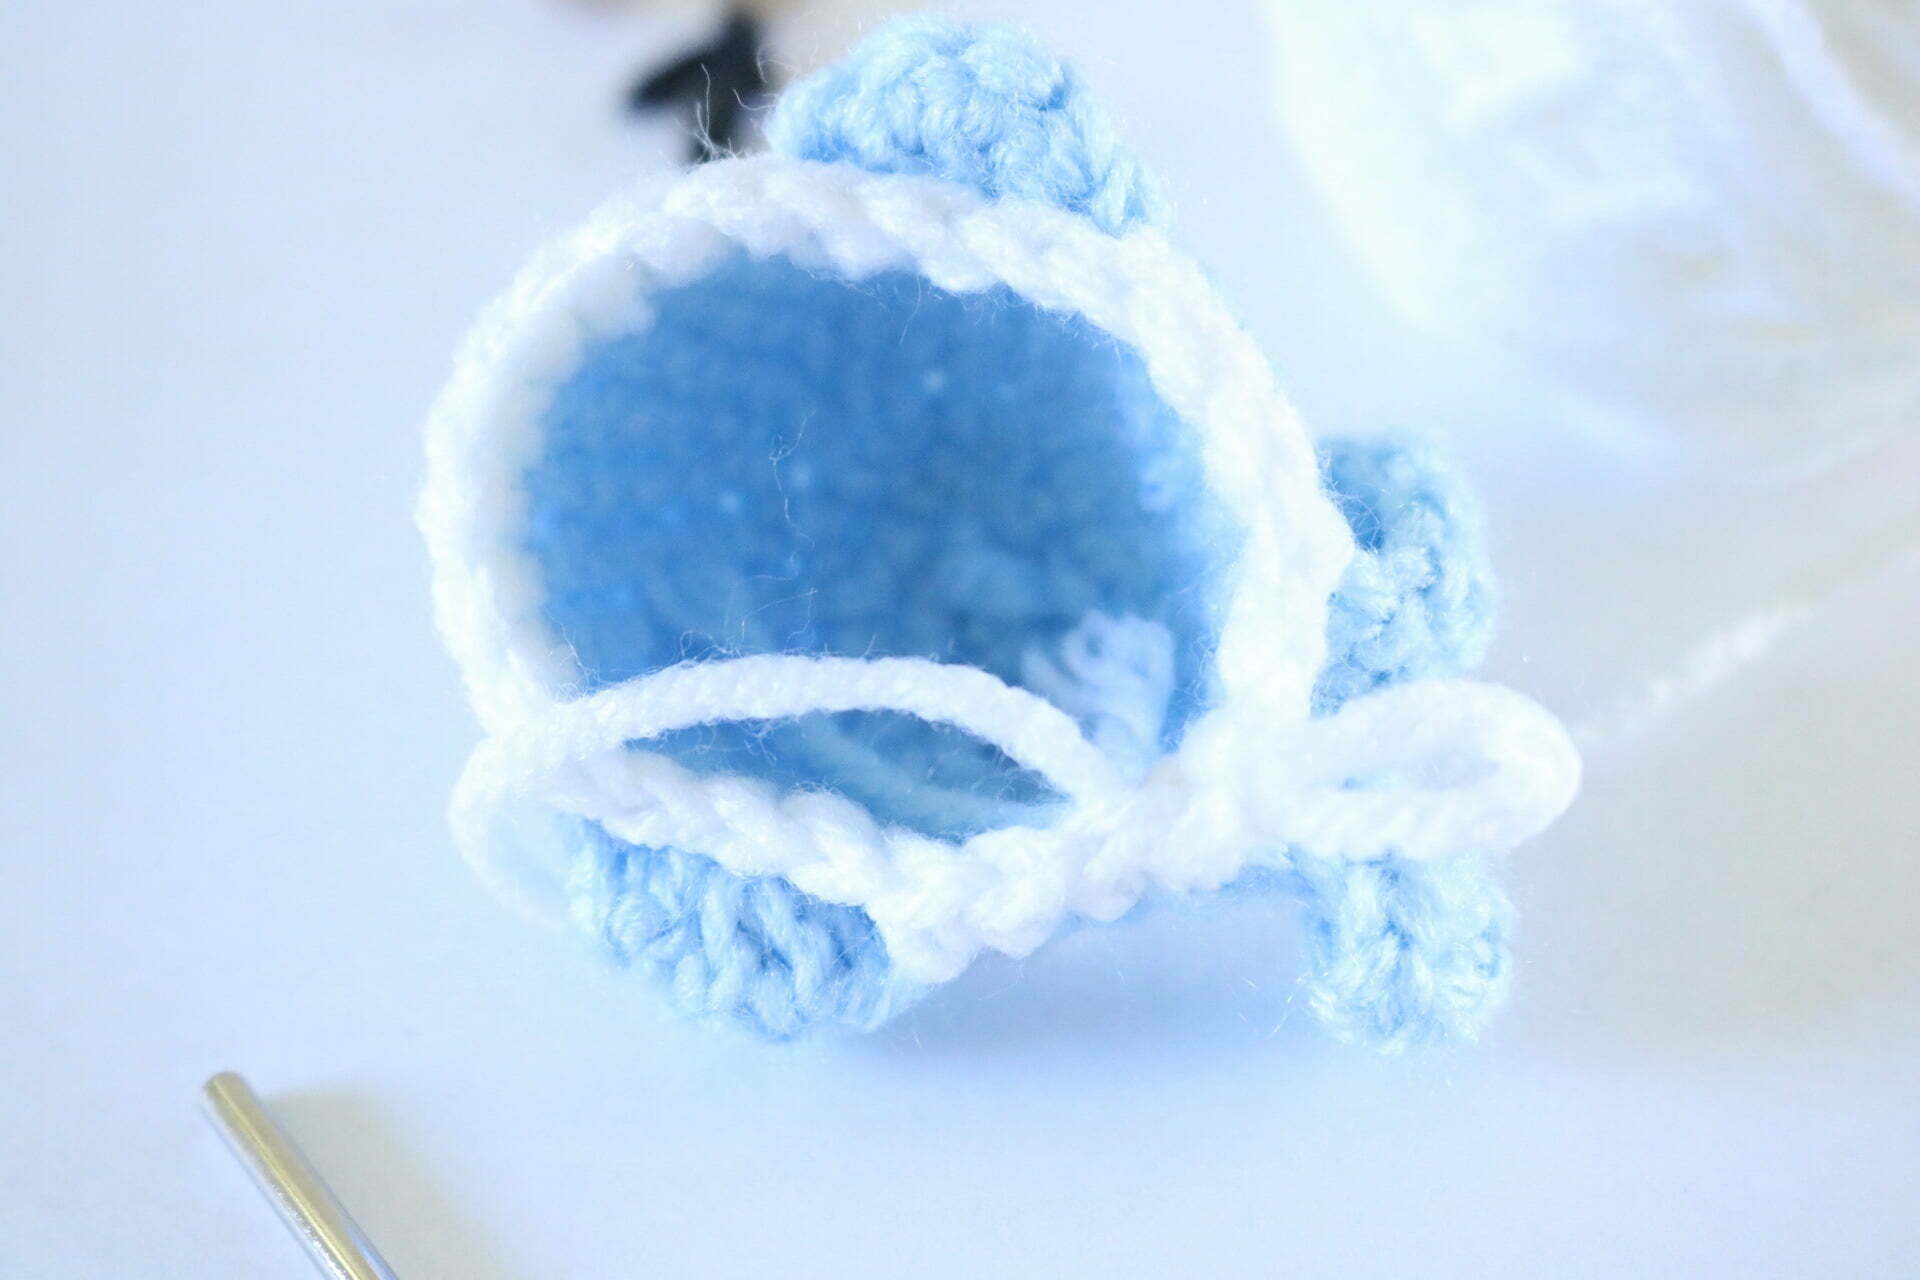
R10: Ch 1, sc into each st, sl st into ch 1 (24 sts)
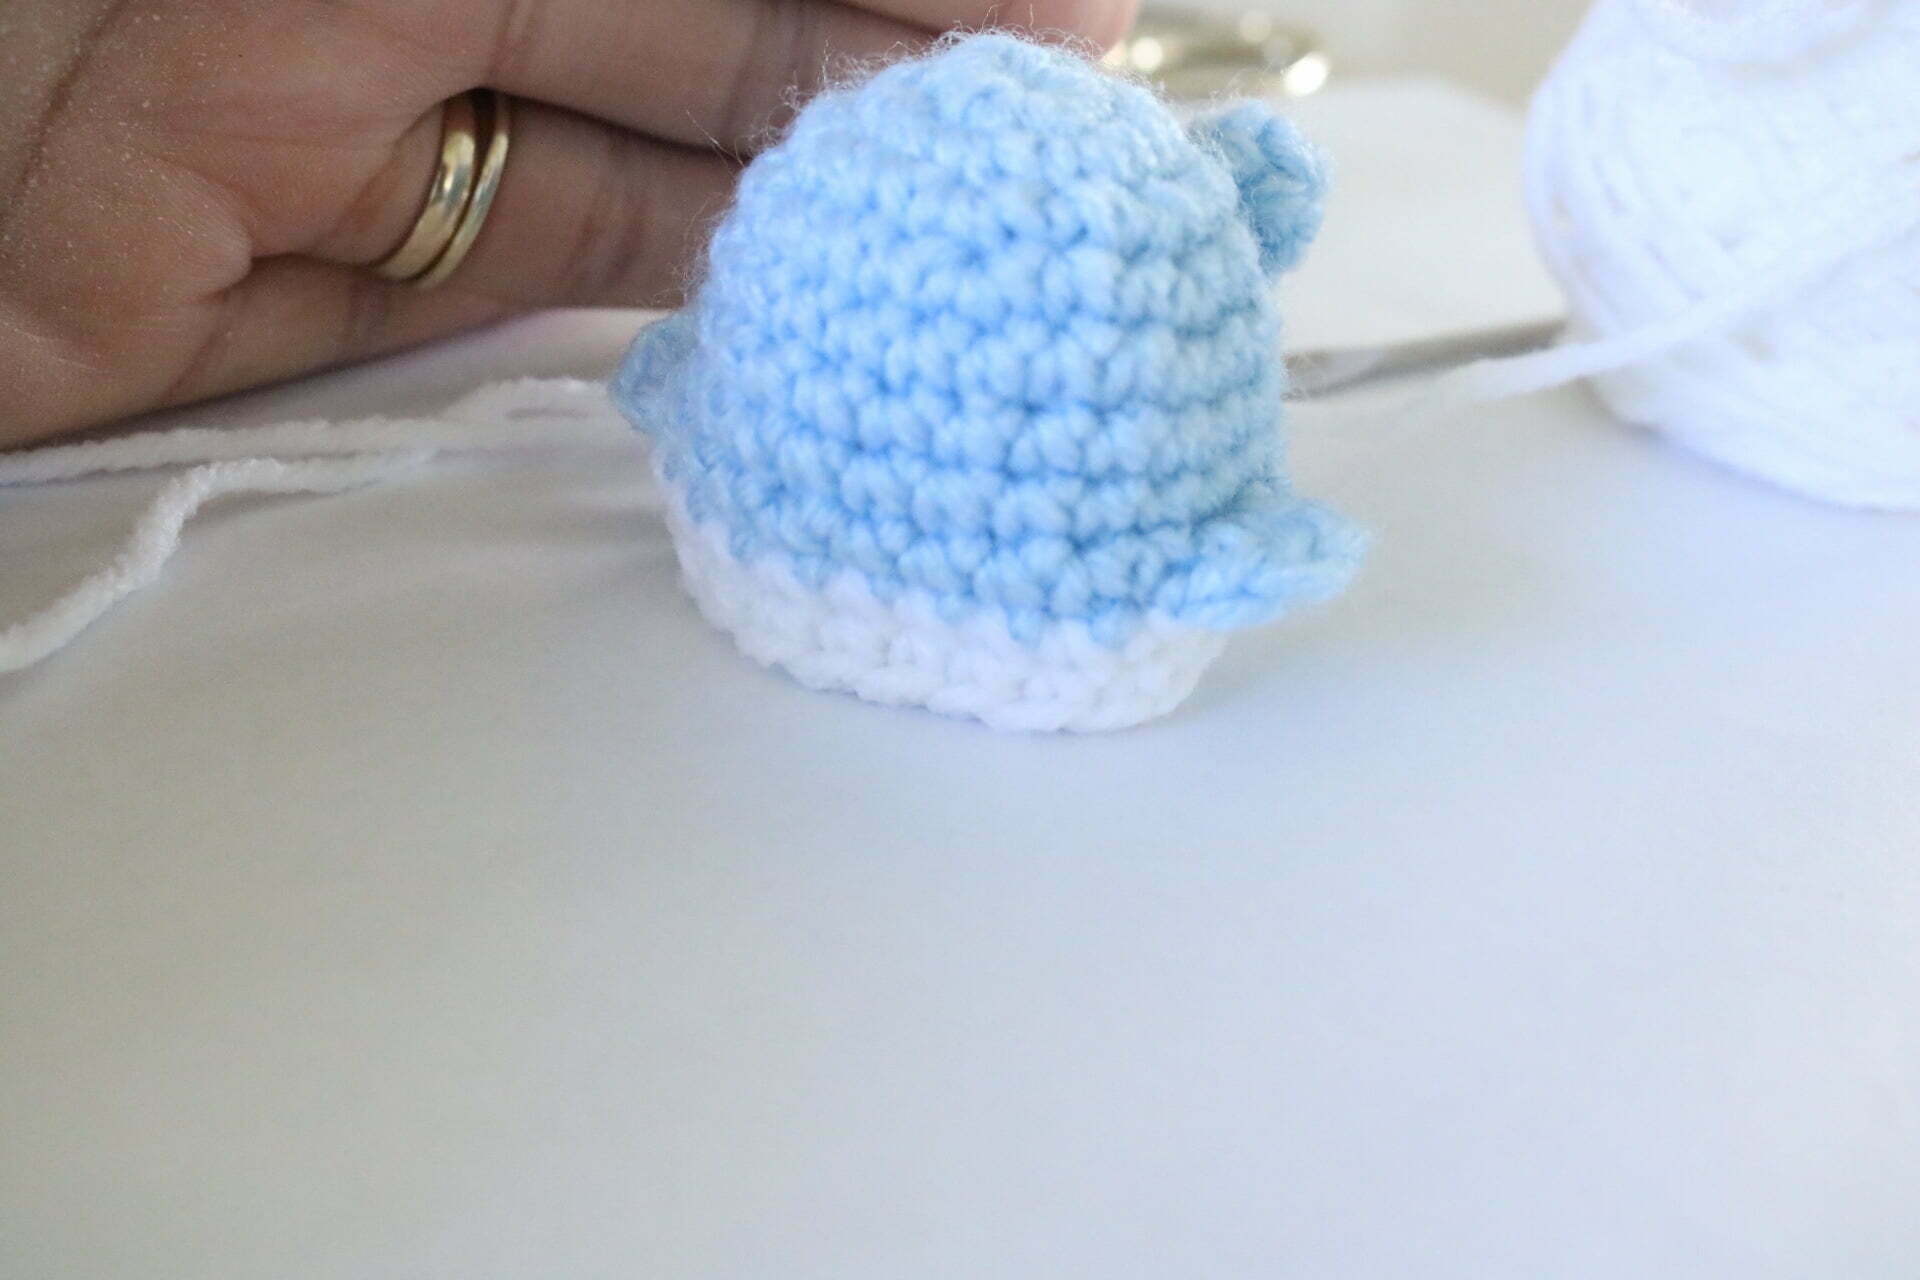
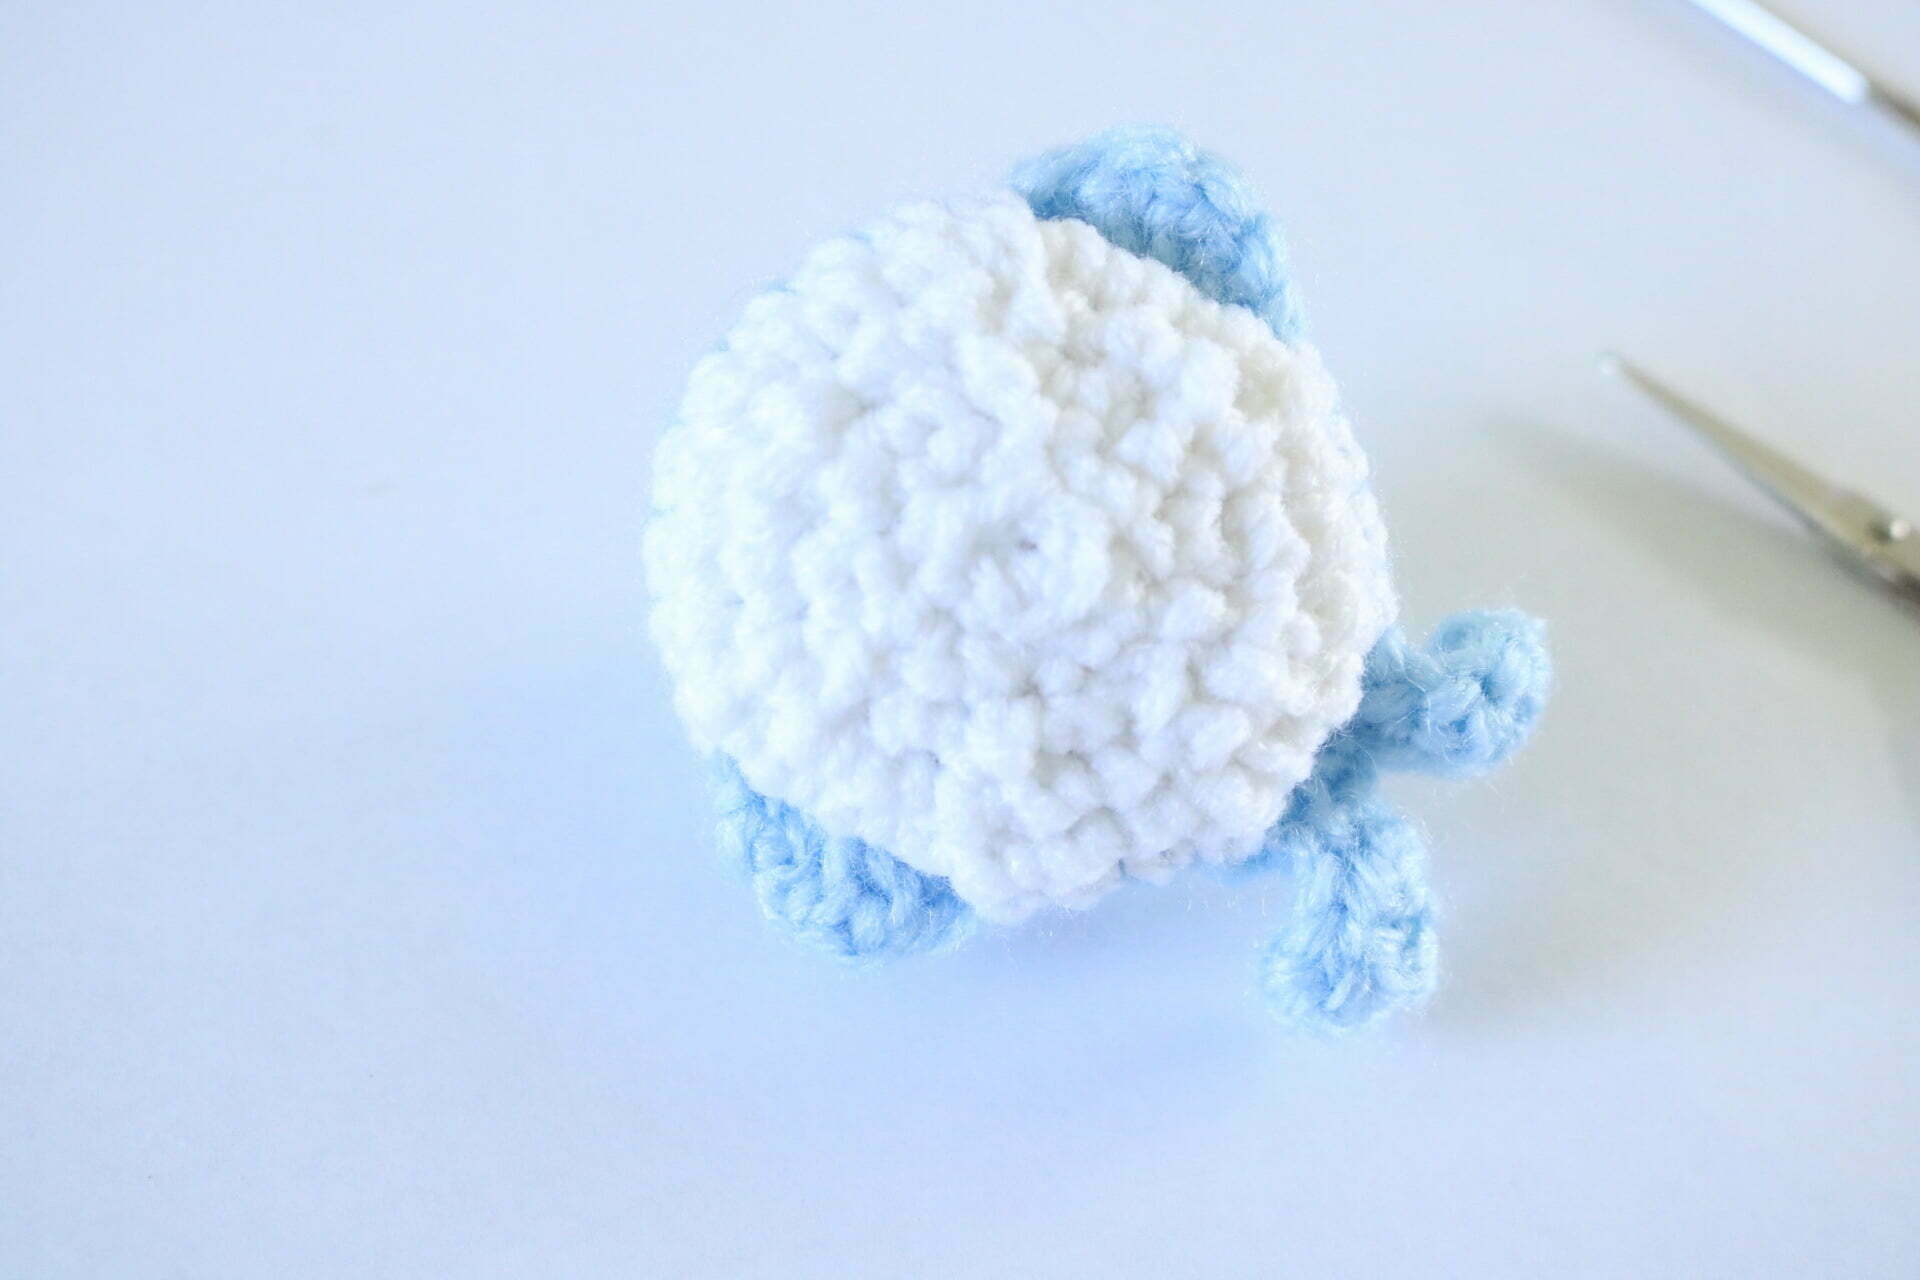
Attach safety eyes and insert fiber. Alternatively, you can sew eyes on to the whale so that they are more child friendly.
R11: Ch 1, *sc, sc, dc2tog using invisible decrease. Repeat from * until end. Sl st into ch 1 (18 sts)
R12: Ch 1, *sc, dc2tog using invisible decrease. Repeat from * until end. Sl st into ch 1. (12 sts).
R13: Ch1, *skip next st, sc. Repeat from * until end. Sl St into ch 1. Fasten off and tuck tail into whale
Did you know you can use this exact pattern to make bigger cuddly whales? Try making this whale with bulky polyester yarn and a larger crochet hook. I would love to see how those turns out!
And there you have it! You’re no sew amigurumi whale!
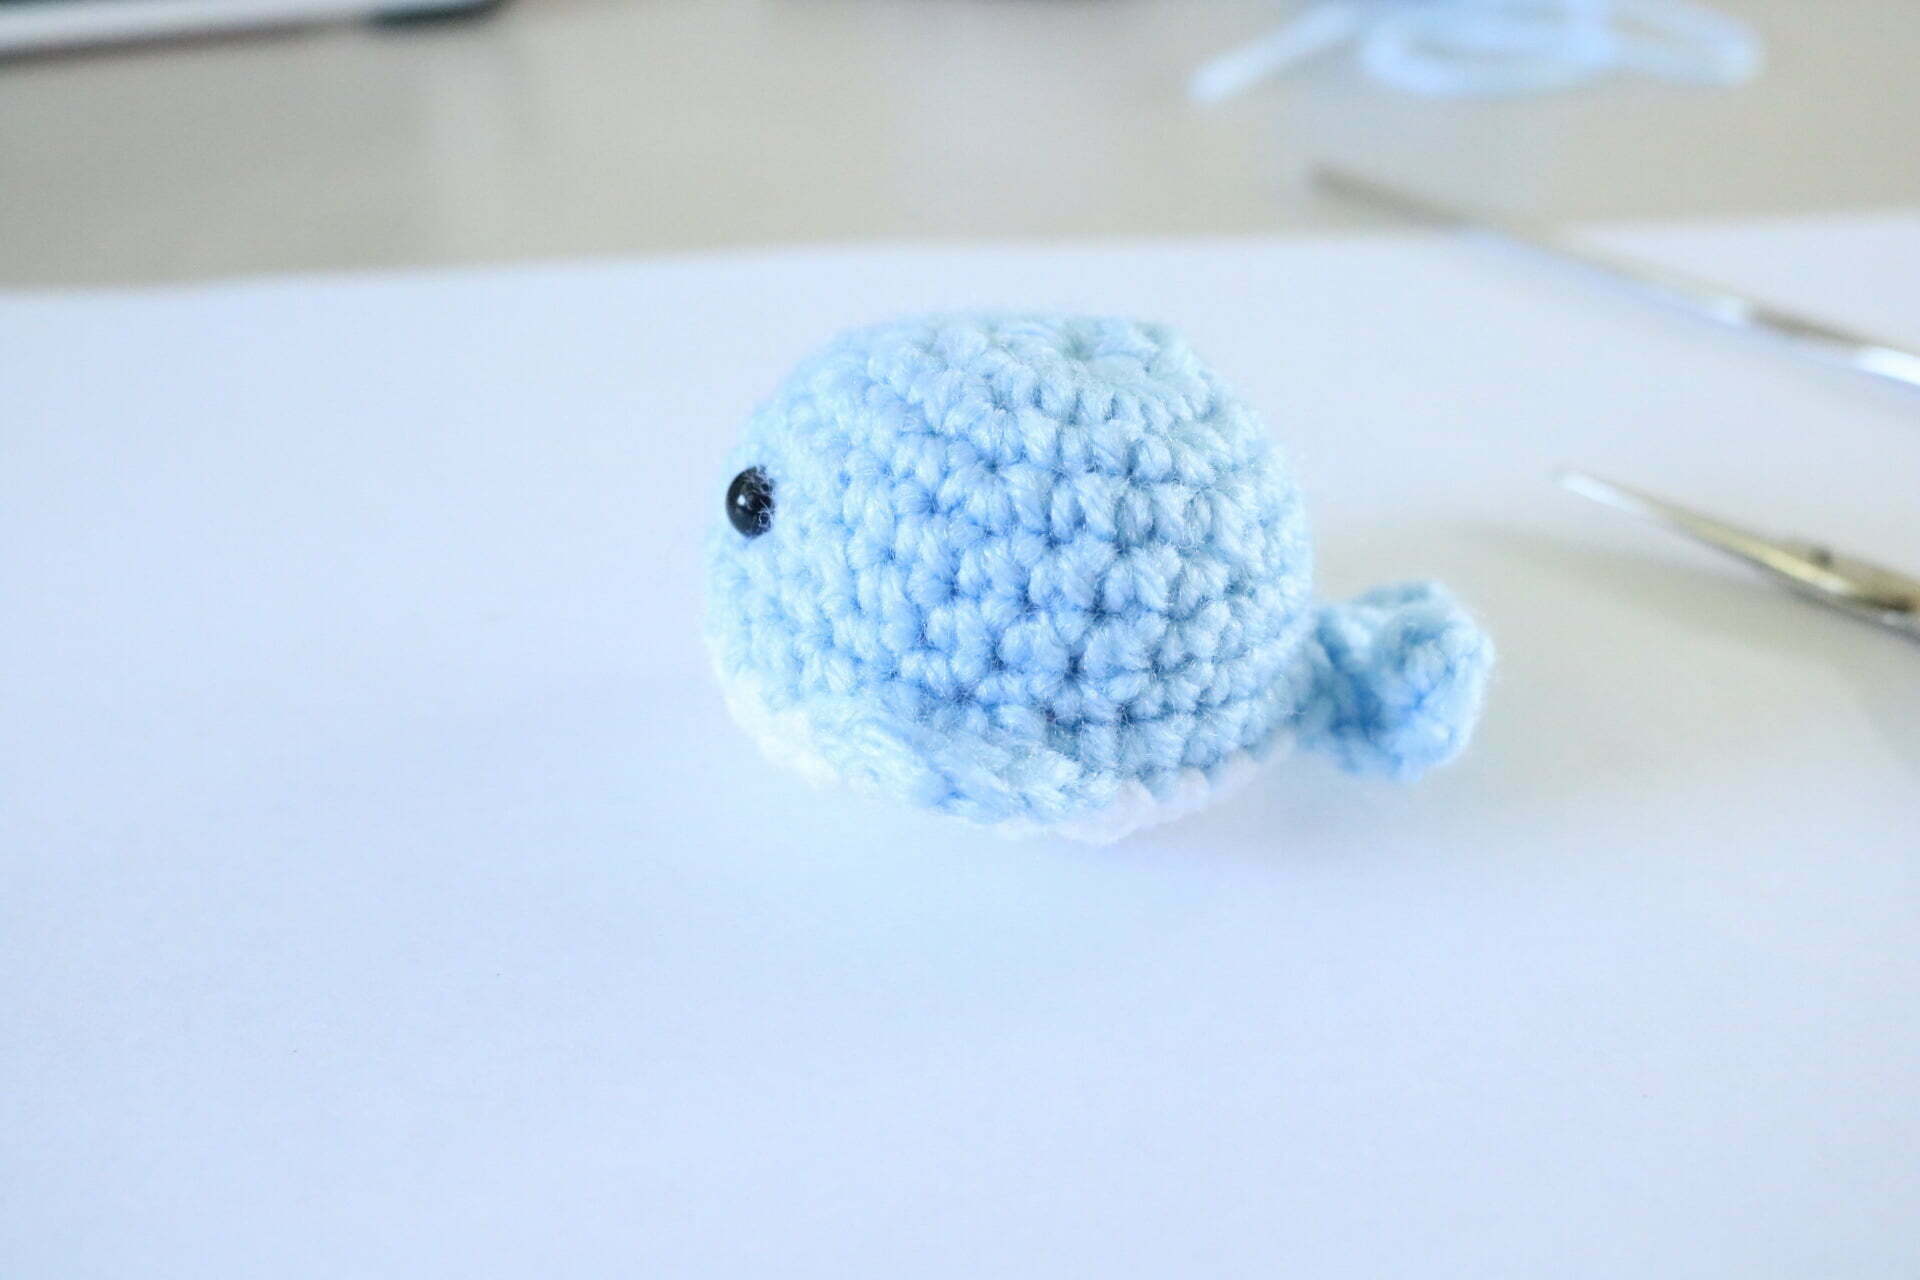
Wasn’t that so quick and easy? I love these mini whales that fit right into the palm of your hand. I would love to see your whales! Make sure to tag @knitsandknotsbyame on IG to me featured 🙂
Until next time my maker friend!
Mahalo!
Abigail
One Comment
Comments are closed.