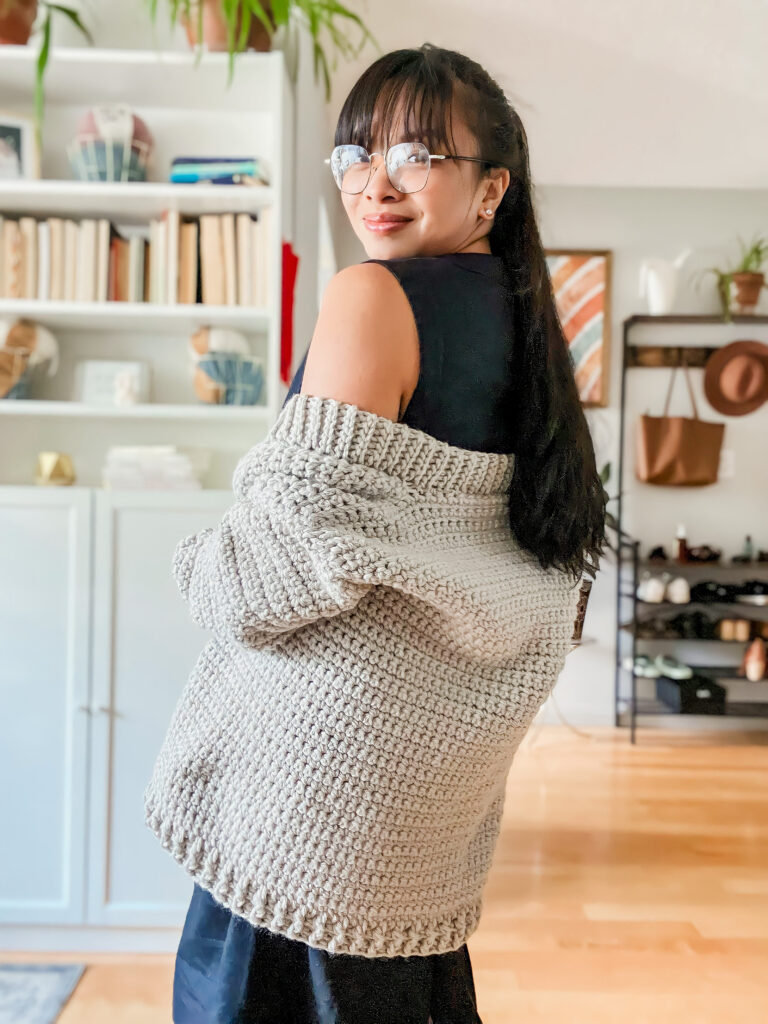
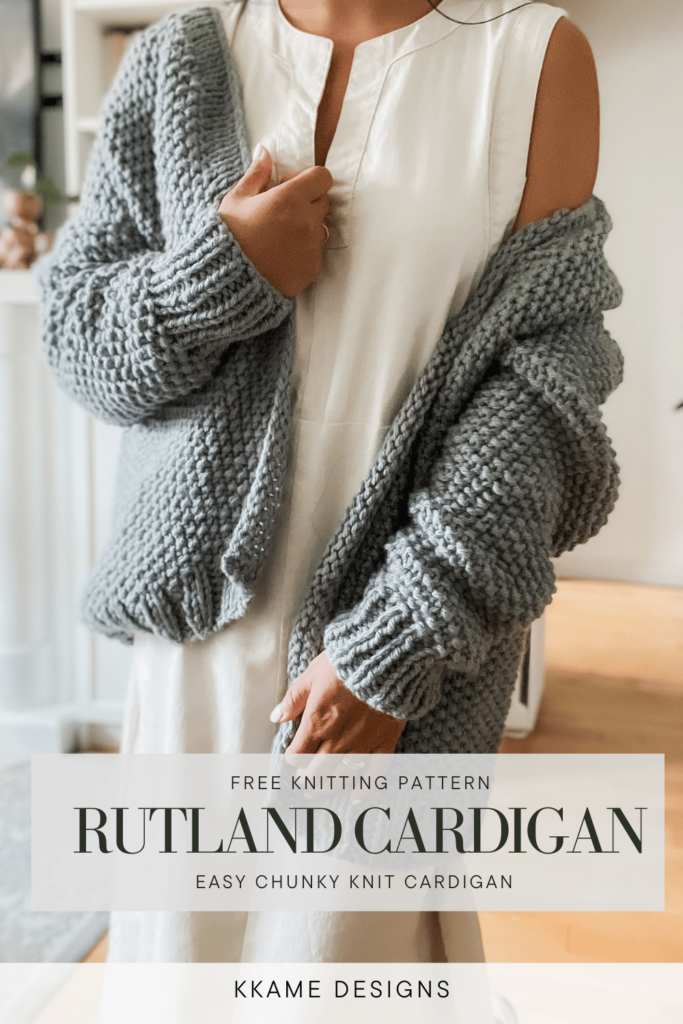
How to Knit this Easy Chunky Cardigan for Beginners this Fall
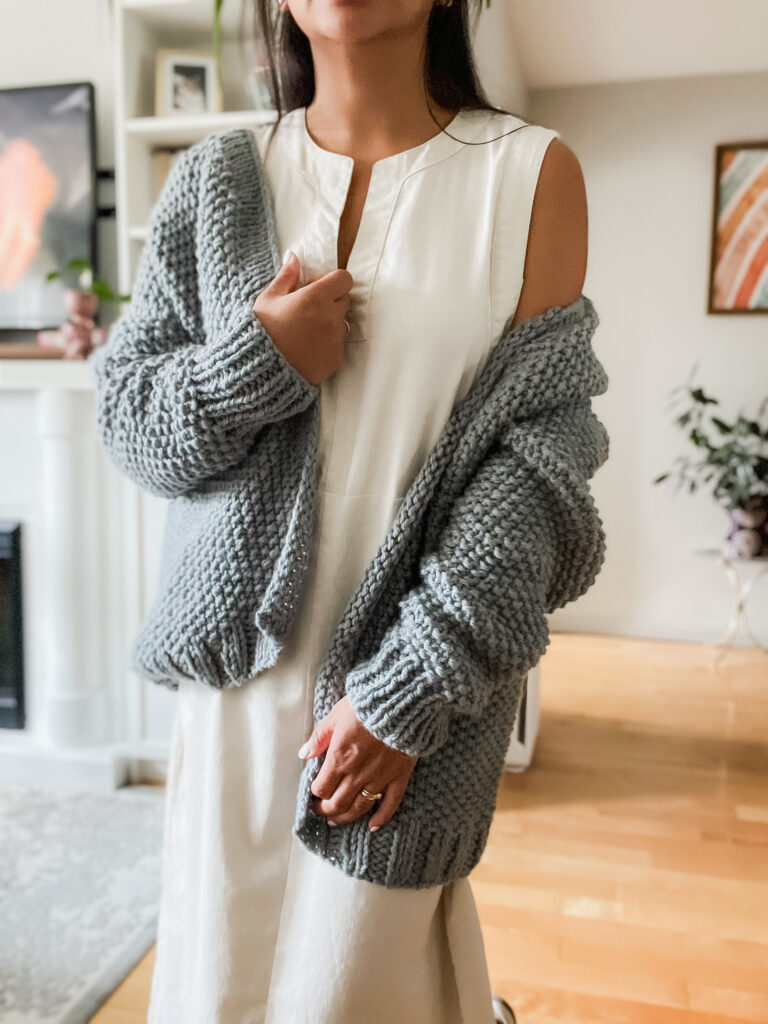
It is cozy season and the perfect time to wear chunky knit cardigans. This post shares the free pattern for the knitted version of the Rutland Cardigan.
This post contains affiliate links. I get a small commission from any purchase made through these links at no additional cost to the buyer. This allows me to keep free awesome content coming your way. Check out my privacy policy for a full rundown of disclosures.
The Rutland cardigan comes in both a knit and crochet version and a part of Lion Brand Yarn’s 2023 Countdown to Christmas.
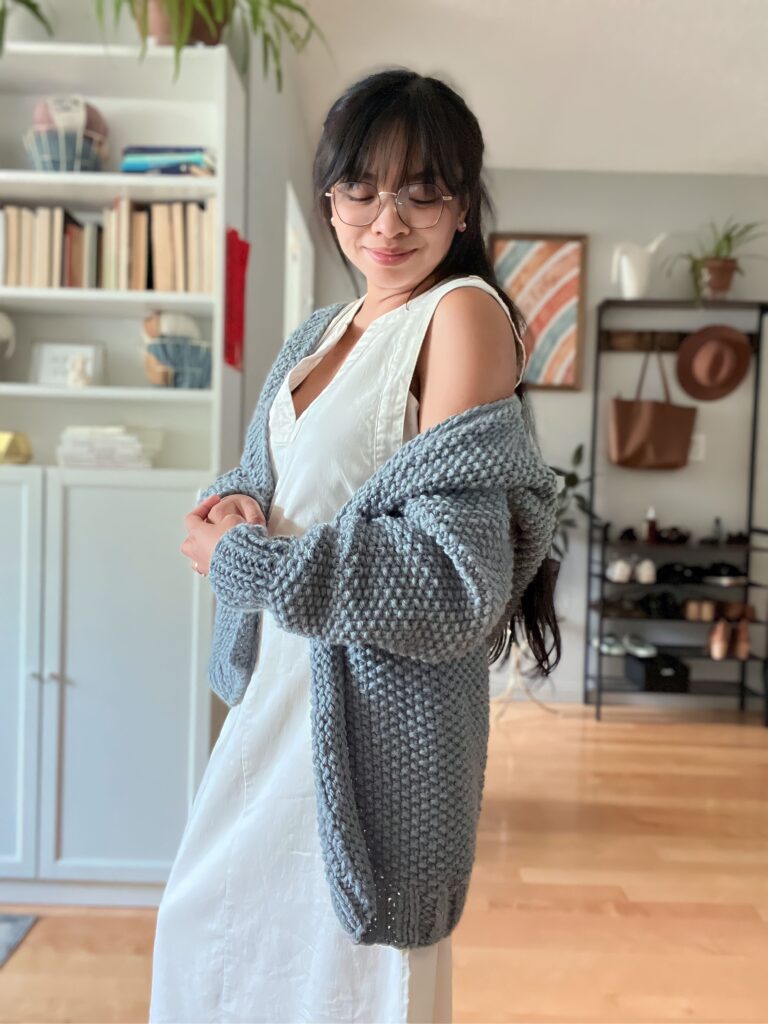
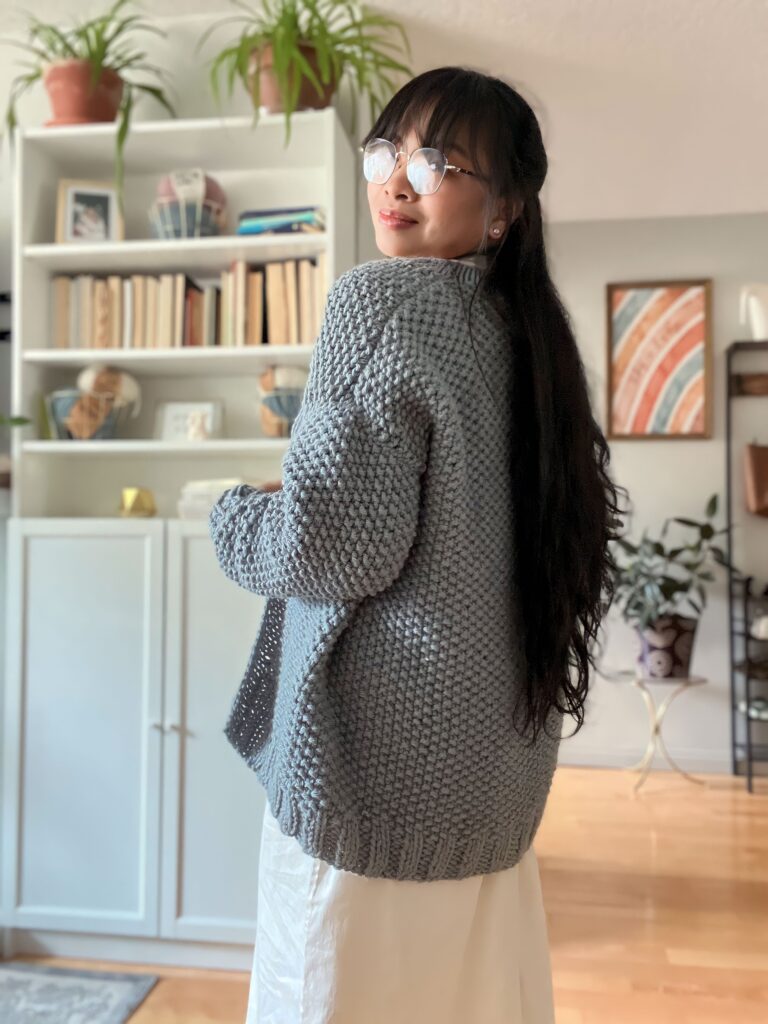
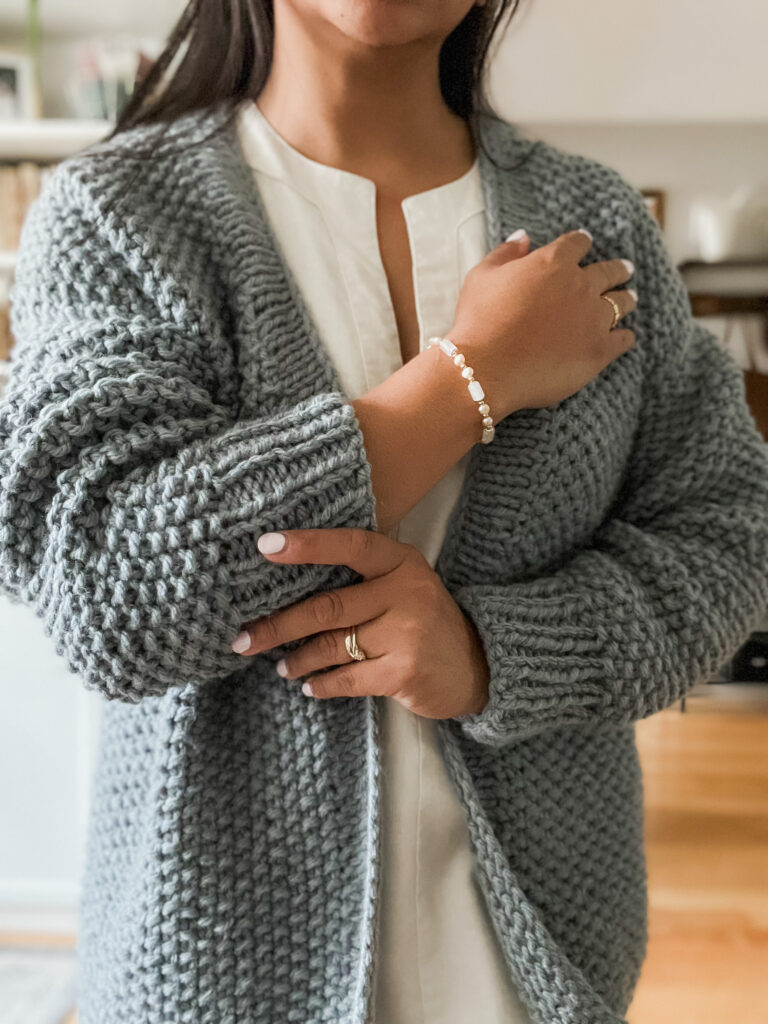
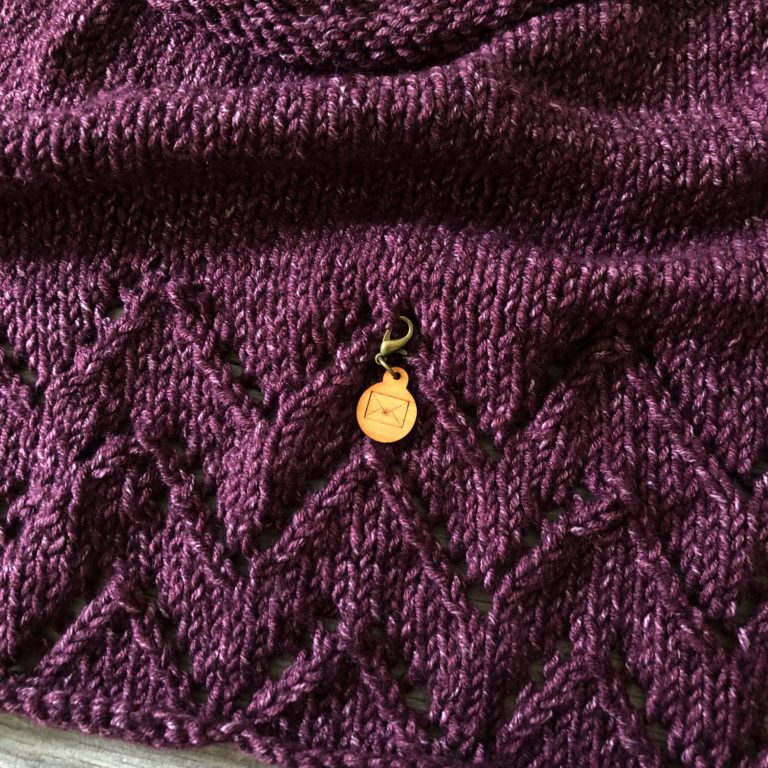
This cardigan features a simple Knit Purl stitch, ribbing on the bottom and cuffs, with a stockinette stitch border around the front opening. The cardigan is made using an easy construction and just three separate pieces for minimal seaming. Rated intermediate due to stitches, minimal shaping, and some techniques used.
Get the inexpensive ad-free pattern for this pattern here. The paid pattern includes step-by-step instructions and picture tutorials to help you with chunky knit cardigan.
About this chunky knit cardigan
This cardigan was designed when I moved into our new apartment. I was extremely inspired by the charm of our historic building with its little quirks here and there. The building is called Rutland House hence the name for these cardigans.
This was a case of the yarn choosing me and I did not know what to do at first. All I knew was I wanted to make an easy chunky knit cardigan but did not have the design in mind yet.
I am a big fan of simple textured stitches. They are such a great way to elevate garments that use basic construction. So naturally, for this design, I played around with A TON of stitches before settling on this one. And in true KKAME Designs fashion, I almost even completed a whole cardigan using a different stitch then scraping it all because it did not feel right.
The final result of both the knit and crochet cardigans represent the feeling that I had all along and wanted to translate through yarn. So excited to pair these cardigans with just about everything all fall long!
Construction of this chunky knit cardigan
The knitted version of the Rutland Cardigan is made in four different parts: Body, 2 sleeves, and the collar/edging. The body is made bottom up and then split into three sections for the armholes. Drop sleeve construction was used for this chunky knit cardigan making it beginner friendly and easy to follow and wear.
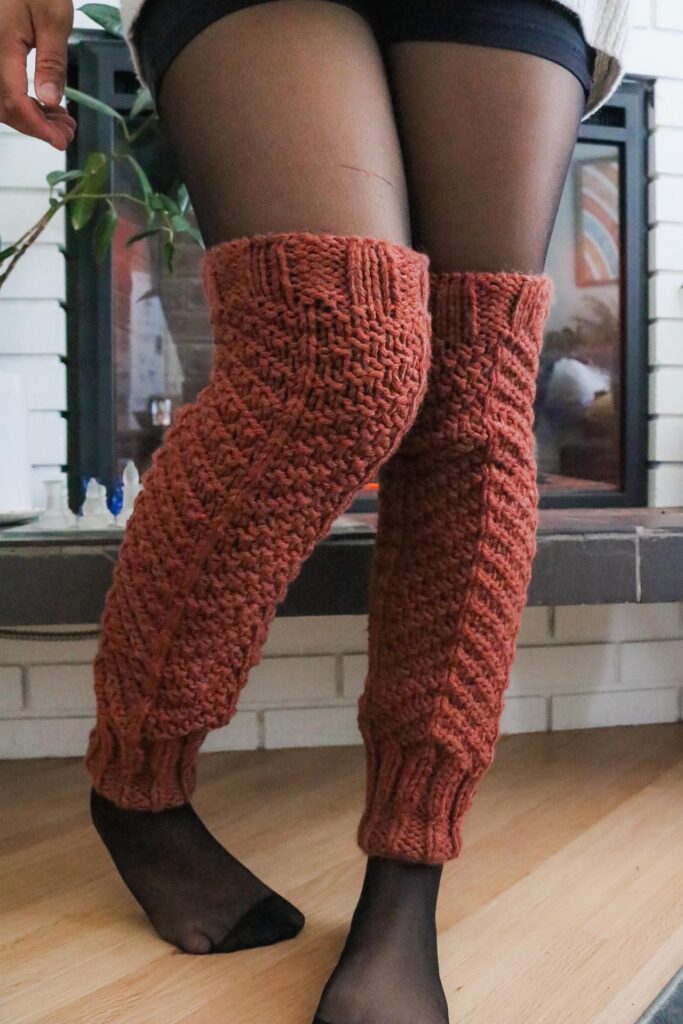
Related Post: Check out this Faux Fur Fanny Pack
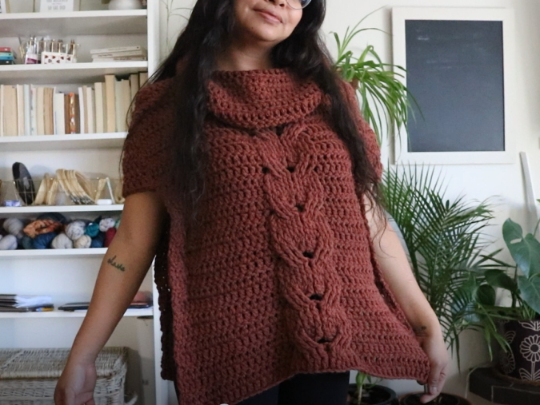
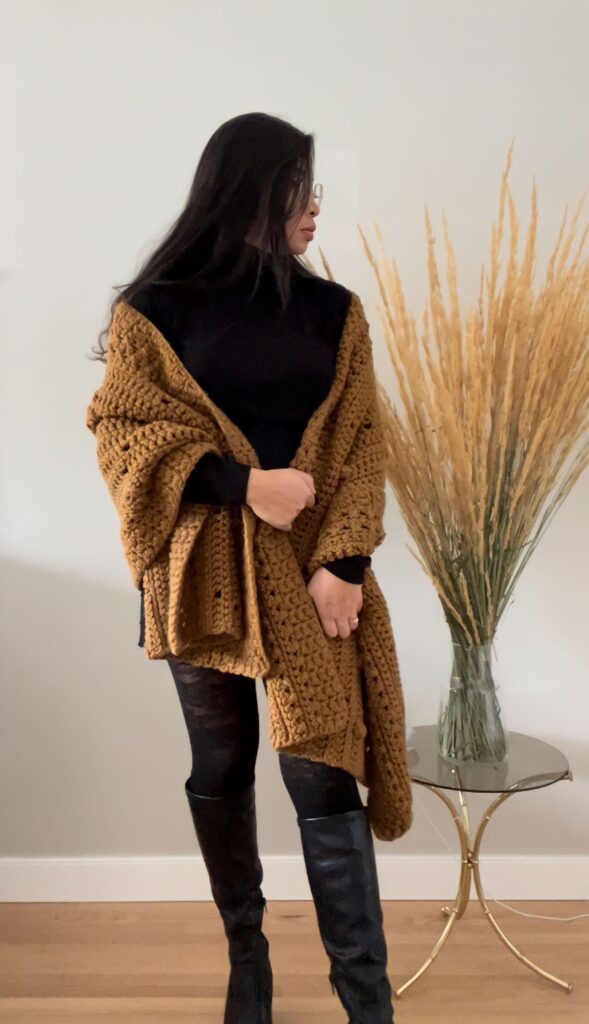
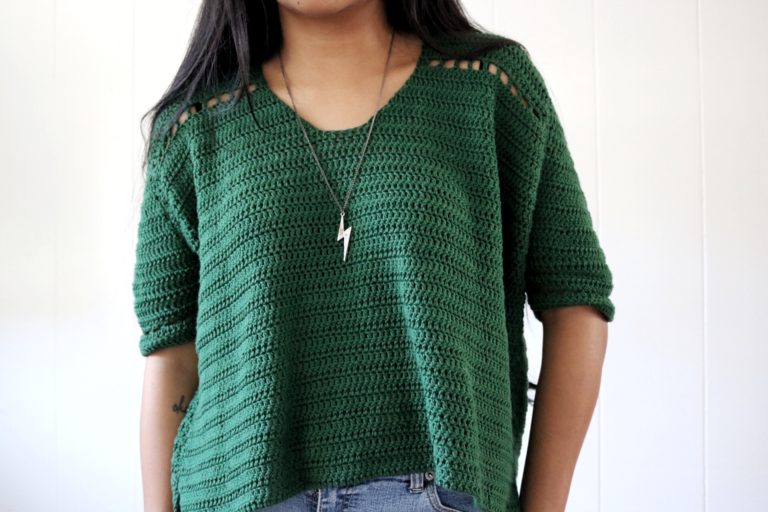
Want more fall designs?
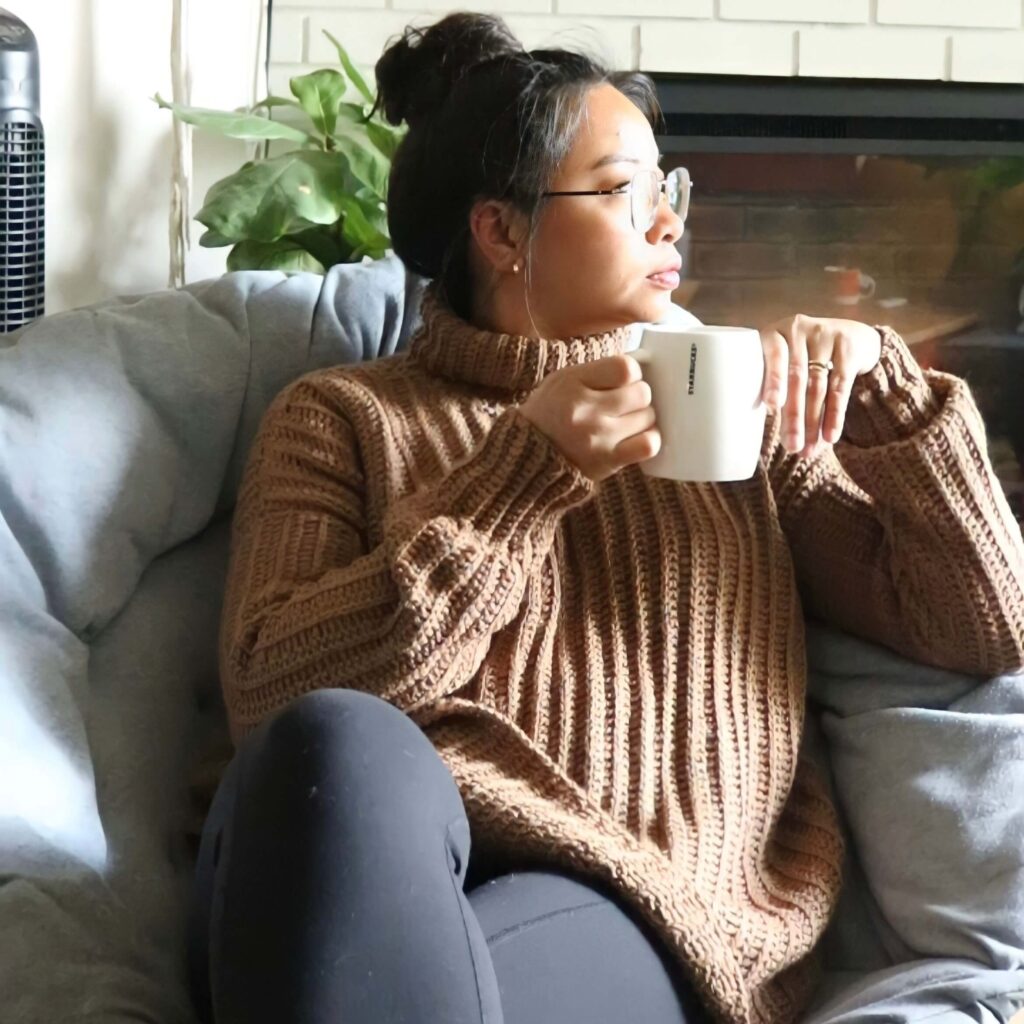
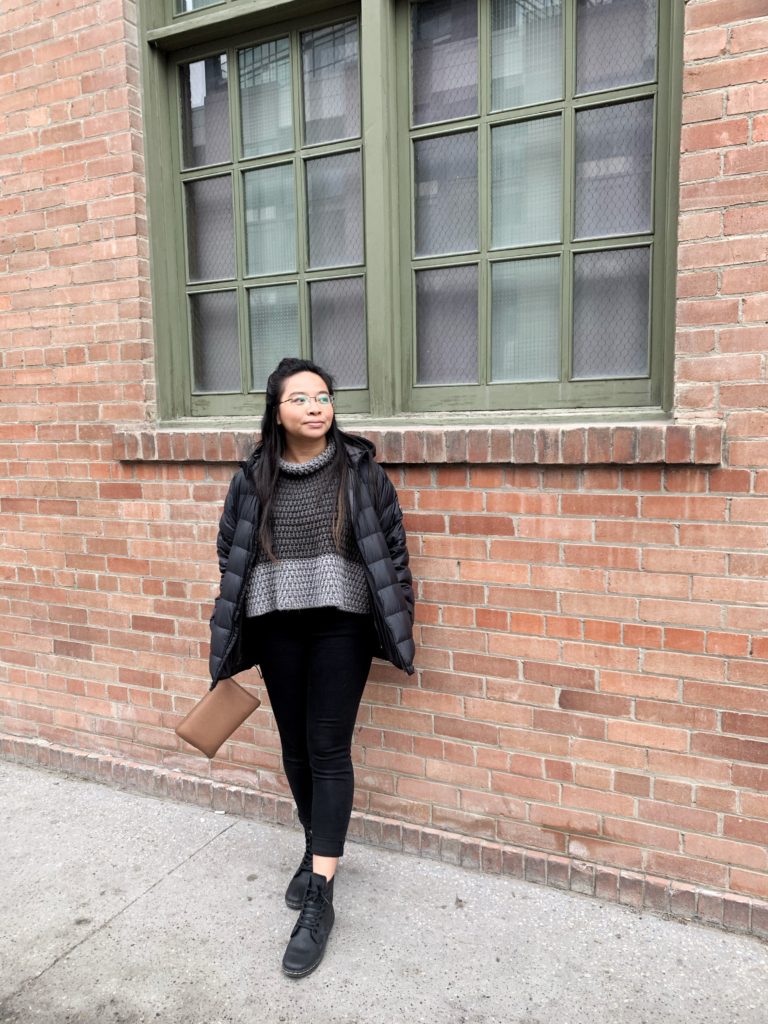
Check out these patterns (left to right): Fiddle Sweater and the Shu Poncho
Yarn used for a chunky knit cardigan
For this chunky knit cardigan I used Lion Brand Yarn’s Hue + Me in the colorway Harbor.
I have the most amount of patterns in this yarn! I have to be honest, bulky yarn is not my favourite but after trying Hue + Me and experiencing how this bulky yarn transforms and softens after washing – OH MY GOSH – I instantly fell in love!
Unlike other bulky yarns, Hue+Me works does not work up into a tight fabric. It actually has amazing drape and only gets softer after every wash.
See all of my designs with this yarn below:
Free Easy Chunky Knit Cardigan -Rutland Cardigan (knit version)
First off, this is a free written pattern for the Rutland Cardigan (knit) for sizes S/M and L/XL. Due to the length of the pattern I have only included these sizes, the other sizes 2X-5X can be found in the premium ad-free pattern. The PDF pattern includes extra picture tutorials for visual learners too. This pattern is for personal use only.
Pattern notes:
- This cardigan is made bottom up as one piece at first then split into three sections for the armholes and back.
- Adjust the length of the cardigan by adding extra rows before working on the armhole splits.
- This pattern calls for holding stitches, using interchangeable needles and knitting cords are highly recommended. You will also need a long cord to knit the inner border where the cardigan opens.
- This pattern also integrates a three needle bind off at the shoulders. If you do not have an extra needle, simply bind off the needed stitches and seam shoulders together
Materials:
- CYC 5 Bulky Weight Yarn
- 8.00mm knitting needles + extra (preferably in the same size for three needle bind off)
- Scissors
- Needle
- Stitch Markers
Gauge – Do not forget to make your gauge!
10sts x 18 rows = 4” in the following st pattern for gauge swatch
Cast on 16 sts
R1: *K, P. Repeat from * until end of the row
R2: *P, K. Repeat from * until end of the row
R3-22: Repeat R1 and R2′
Sizes and finished measurements
| Size | Length | Width | Sleeve length (not including yardage from shoulder drop) |
| S/M | 24” | 44” | 17” |
| L/XL | 25” | 52” | 16” |
| 2X/3X | 25” | 66” | 16” |
| 4X/5X | 26” | 68” | 15” |
Abbreviations (US Terms)
- K – Knit
- P – Purl
- K2tog – knit 2 together
- P2tog – purl 2 together
Body of the Cardigan
Cast on 102 (120, 140, 164)
Bottom Ribbing:
R1-8: *K, K, P, P. Repeat until end of the row. 102 (120, 140, 164) sts
Body
R9: *K, P. Repeat from * until end of the row. 102 (120, 140, 164) sts
R10: *P, K. Repeat from * until end of the row. 102 (120, 140, 164) sts
R11-71 (71, 67, 63): Repeat R9 and R10 respectively. 102 (120, 140, 164) sts
You are now going to start working in sections. These sections are the right front panel, back, and the left front panel.
First Section
First section (note: shaping is done on the outer sides)
S/M and L/XL only
R72 (72): *P, K. Repeat from * for 22 (26) more sts. 24 (28) sts
R73 (73): *K, P. Repeat from * until end of the row.24 (28) sts
L/XL Only
R74: *P, K. Repeat from * until the end. 28 sts
R75: *K, P. Repeat from * until end of the row.28 sts
R74 (76): K2tog, *P, K. Repeat from * until end of the row. 23 (27) sts
R75 (77): *K, P. Repeat from * until last st, K. 23 (27) sts
R76 (78): K. *P, K. Repeat from * until end of the row. 23 (27) sts
R77 (79): *K, P. Repeat from * until last 3 sts. K, P2tog. 22 (26) sts
R78 (80): *P, K. Repeat from * until end of the row. 22 (26) sts
R79 (81): *K, P. Repeat from * until end of the row. 22 (26) sts
P80 (82): K2tog, *P, K. Repeat from * until end of the row. 21 (25) sts
R81 (83): *K, P. Repeat from * until last st, K. 21 (25) sts
R82 (84): K. *P, K. Repeat from * until end of the row.21 (25) sts
R83 (84):*K, P. Repeat from * until last 3 sts. K, P2tog. 20 (24) sts
R84 (86): *P, K. Repeat from * until end of the row. 20 (24) sts
R85 (87): *K, P. Repeat from * until end of the row. 20 (24) sts
P86 (88): K2tog, *P, K. Repeat from * until end of the row. 19 (23) sts
R87 (89): *K, P. Repeat from * until last st, K. 19 (23) sts
R88 (90): K.*P, K. Repeat from * until end of the row. 19 (23) sts
R89 (91) – 107 (112): Repeat R87 and R88 respectively. 19 (23) sts
Cut working yarn off with a long tail. Secure the loops on an extra needle or cord. You are going to fasten off with a three needle bind off later.
Middle Section
(attach yarn to the next portion. The section you just finished is sitting on the right side of you)
R72 (72): *P, K. Repeat from * 52 (62) more sts. 54 (64) sts
R73 (73, 69, 65): *K, P. Repeat from * until end of the row. 54 (64) sts
R74 (74) – R107 (112): Repeat R72 and R73 respectively. 54 (64) sts
Cut working yarn off with a long tail. Secure the loops on an extra needle or cord. You are going to fasten off with a three needle bind off later.
Third Section
S/M and L/XL only
R72 (72): *P, K. Repeat from * for 22 (26) more sts. 24 (28) sts
R73 (73): *K, P. Repeat from * until end of the row.24 (28) sts
L/XL Only
R74: *P, K. Repeat from * until the end. 28 sts
R75: *K, P. Repeat from * until end of the row.28 sts
R74 (76): *P, K. Repeat from * until last 2 sts, P2tog. 23 (27) sts
R75 (77): P. *K, P. Repeat from * until the end of the row. 23 (27) sts
R76 (78): *P, K. Repeat from * until last st, P. 23 (27) sts
R77 (79): K2tog, P. *K, P. Repeat from * until lastend of the row. 22 (26) sts
R78 (80): *P, K. Repeat from * until end of the row. 22 (26) sts
R79 (81): *K, P. Repeat from * until end of the row. 22 (26) sts
R80 (82): *P, K. Repeat from * until last 2 sts, P2tog. 21 (25) sts
R81 (83): P. *K, P. Repeat from * until the end of the row. 21 (25) sts
R82 (84): *P, K. Repeat from * until last st, P. 21 (25) sts
R83 (85): K2tog, P. *K, P. Repeat from * until lastend of the row. 20 (24) sts
R84 (86): *P, K. Repeat from * until end of the row. 20 (24) sts
R85 (87): *K, P. Repeat from * until end of the row. 20 (24) sts
R86 (88): *P, K. Repeat from * until last 2 sts, P2tog. 19 (23) sts
R87 (89): P. *K, P. Repeat from * until the end of the row. 19 (23) sts
R88 (90): *P, K. Repeat from * until last st, P. 19 (23) sts
R89 (91) – 107 (112): Repeat R87 and R88 respectively. 19 (23) sts
Cut working yarn off with a long tail. Secure the loops on an extra needle or cord. You are going to fasten off with a three needle bind off later.
Closing the shoulders
With wrong sides facing you (right sides inside), fold the first section over the middle. You are now going to do a three needle bind off to close the shoulders, leaving an opening for the armhole.
Collar/Edging
Now it is time to add the collar.
Fix the cardigan so that it lays right side of the front panels facing you. Attach yarn to the bottom of the left mid section.
Pick up 60 (63) sts from the left side bottom to the top, make sure to distribute these sts evenly.
Transfer the remaining stitches of the neckline on to the needle
Pick up 60 (63) sts from the top to the bottom of the right side, make sure to distribute these sts evenly.
R1: Purl
R2: Knit
R3-4: Continue in stockinette
R5: Bind off Purl wise
Fasten off
Sleeve pattern
S/M
Cast on 40
R1: *K, P. Repeat from * until end of the row. (40 sts)
R2: *P, K. Repeat from * until end of the row. (40 sts)
R3-4: Repeat R1 and R2 respectively. (40 sts)
R5: P2tog, *K, P. Repeat from * until last 2 sts. K2tog. (38 sts)
R6: *K, P. Repeat from * until end of the row. (38 sts)
R7: *P, K. Repeat from * until end of the row. (38 sts)
R8-12: Repeat R6 and R7 respectively. (38 sts)
R13: K2tog, *P, K. Repeat from * until last 2 sts. P2tog. (36 sts)
R14: *P, K. Repeat from * until end of the row. (36 sts)
R15: *K, P. Repeat from * until end of the row. (36 sts)
R16-20: Repeat R14 and R15 respectively. (36 sts)
R21: P2tog, *K, P. Repeat from * until last 2 sts. K2tog. (34 sts)
R22: *K, P. Repeat from * until end of the row. (34 sts)
R23: *P, K. Repeat from * until end of the row. (34 sts)
R24-28: Repeat R22 and R23 respectively(34 sts)
R29: K2tog, *P, K. Repeat from * until last 2 sts. P2tog. (32 sts)
R30: *P, K. Repeat from * until end of the row. (32 sts)
R31: *K, P. Repeat from * until end of the row. (32 sts)
R32-36: Repeat R30 and R31 respectively. (32 sts)
R37: P2tog, *K, P. Repeat from * until last 2 sts. K2tog. (30 sts)
R38: *K, P. Repeat from * until end of the row. (30 sts)
R39: *P, K. Repeat from * until end of the row. (30 sts)
R40-44: Repeat R38 and R39 respectively. (30 sts)
R45: K2tog, *P, K. Repeat from * until last 2 sts. P2tog. (28 sts)
R46: *P, K. Repeat from * until end of the row. (28 sts)
R47: *K, P. Repeat from * until end of the row. (28 sts)
R48-52: Repeat R46 and R47 respectively. (28 sts)
R53: P2tog, *K, P. Repeat from * until last 2 sts. K2tog. (26 sts)
R54: *K, P. Repeat from * until end of the row. (26 sts)
R55: *P, K. Repeat from * until end of the row. (26 sts)
R56-60: Repeat R54 and R55 respectively(26 sts)
R61: K2tog, *P, K. Repeat from * until last 2 sts. P2tog. (24 sts)
R62: *P, K. Repeat from * until end of the row. (24 sts)
R63: *K, P. Repeat from * until end of the row. (24 sts)
Ribbing Cuff
R64-74: *P, K. Repeat from * until end of the row.(24 sts)
R75: Bind off.
L/XL
Cast on 46
R1: *K, P. Repeat from * until end of the row. (46 sts)
R2: *P, K. Repeat from * until end of the row. (46 sts)
R3-6: Repeat R1 and R2 respectively. (46 sts)
R7: P2tog,*K, P. Repeat from * until last 2 sts. K2tog. (44 sts)
R8: *K, P. Repeat from * until end of the row. (44 sts)
R9: *P, K. Repeat from * until end of the row. (44 sts)
R10-12: Repeat R6 and R7 respectively. (44 sts)
R13: K2tog, *P, K. Repeat from * until last 2 sts. P2tog. (42 sts)
R14: *P, K. Repeat from * until end of the row. (42 sts)
R15: *K, P. Repeat from * until end of the row. (42 sts)
R16-18: Repeat R14 and R15 respectively. (42 sts)
R19: P2tog, *K, P. Repeat from * until last 2 sts. K2tog. (40 sts)
R20: *K, P. Repeat from * until end of the row. (40 sts)
R21: *P, K. Repeat from * until end of the row. (40 sts)
R22-23: Repeat R22 and R23 respectively. (40 sts)
R24: P2tog, *K, P. Repeat from * until last 2 sts. K2tog. (38 sts)
R25: *K, P. Repeat from * until end of the row. (38 sts)
R26: *P, K. Repeat from * until end of the row. (38 sts)
R27-28: Repeat R25 and R26 respectively. (38 sts)
R29: P2tog, *K, P. Repeat from * until last 2 sts. K2tog. (36 sts)
R30: *K, P. Repeat from * until end of the row. (36 sts)
R31: *P, K. Repeat from * until end of the row. (36 sts)
R32-33: Repeat R30 and R31 respectively. (36 sts)
R34: P2tog, *K, P. Repeat from * until last 2 sts. K2tog. (34 sts)
R35: *K, P. Repeat from * until end of the row. (34 sts)
R36: *P, K. Repeat from * until end of the row. (34 sts)
R37-38: Repeat R35 and R36 respectively. (34 sts)
R39: P2tog, *K, P. Repeat from * until last 2 sts. K2tog. (32 sts)
R40: *K, P. Repeat from * until end of the row. (32 sts)
R41: *P, K. Repeat from * until end of the row. (32 sts)
R42-43: Repeat R40 and R41 respectively. (32 sts)
R44: P2tog, *K, P. Repeat from * until last 2 sts. K2tog. (30 sts)
R45: *K, P. Repeat from * until end of the row. (30 sts)
R46: *P, K. Repeat from * until end of the row. (30 sts)
R47-48: Repeat R45 and R46 respectively. (30 sts)
R49: P2tog, *K,P. Repeat from * until last 2 sts. K2tog. (28 sts)
R50: *K, P. Repeat from * until end of the row. (28 sts)
R51: *P, K. Repeat from * until end of the row. (28 sts)
R52-53: Repeat R50 and R51 respectively. (28 sts)
R54: P2tog, *K,P. Repeat from * until last 2 sts. K2tog. (26 sts)
R55: *K, P. Repeat from * until end of the row. (26 sts)
R56: *P, K. Repeat from * until end of the row. (26 sts)
R57-59: Repeat R55 and R56 respectively. (26 sts)
Ribbing Cuff
R60-70: *K, P. Repeat from * until end of the row. (26 sts)
R71: Bind off.
Finishing touches
You are almost done!
Seam the sleeve onto the armhole opening using a whip stitch. Seam the bottom of the sleeve closed.
You now have a new chunky knit sweater!
Add this design to your crochet pattern stash and get the premium version now.
I would love to see how your style your Rutland Cardigan this fall. Make sure to tag me @knitsandknotsbyame on IG. Until next time, creatives!

Looking for more beautiful patterns? Make sure to check out all of my beginner friendly patterns here where you can find garments, amigurumi, and accessories.
That’s all for now my maker friend! Remember, never miss a stitch by subscribing to my newsletter. Happy crocheting!
xoxo
Abigail

I have the pattern for the Rutland Cardigan that I bought from Lion Brands and the Yarn. I have a problem, I’m making the large size and cast on 140 stitches. I just started up the Right front of the pattern. I figured 24 stitches for the L size, and then I realized the left side would be 24 stitches also. 48 stitches from 140 leaves 92, and when you start the back there is not place that says 92. Is this a misprint or have I done something wrong? Please I hope you can help me, I’m not a beginner knitter, and this is to be a Christmas present, so I want a nice looking sweater. You can call me 502-553-7325, or email me, video chat, but I don’t understand about the back. Thank you, (Rose Mary) Wargel
Hi Rose,
I just sent you an email. Talk to you soon!
Hello Rose,
I looked into where you are having hiccups and see what is happening. The large is a cast on of 120 stitches.
The first and third panels for the size large are 28 sts and the middle section is 64 sts.
Keep in mind that the sequence is S/M(L/XL, 2X/3X, 4X/5X). Highlighting the appropriate sizes counts would be beneficial to follow the pattern.
Hope this helps! Please don’t hesitate to reach out if you need more help.
Warm regards,
Abigail Ellazar