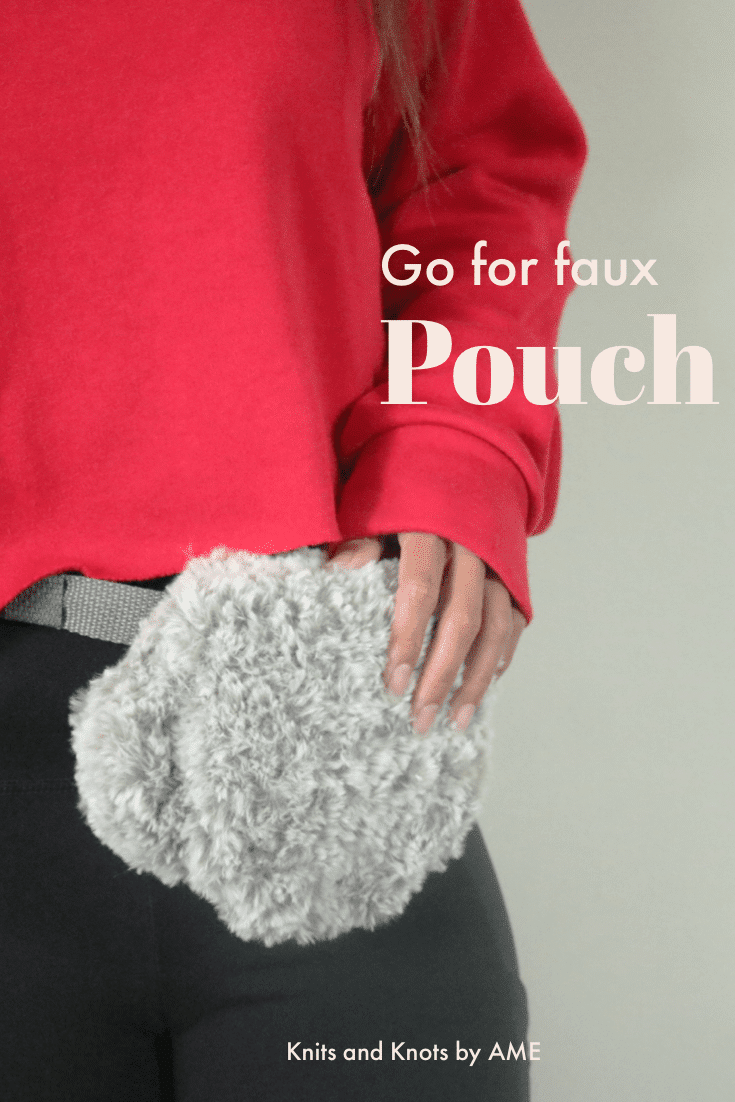
How to Make a Crochet Fanny Pack with Faux Fur
The Go For Faux Pouch is finally here! This pouch is insanely easy and quick using just one ball of Go For Faux by Lion Brand Yarn. Having such a functional accessory with this much spunk is a for sure conversation starter (tried and tested!) Before we dive in, I just want to share a little history and inspiration behind the Go For Faux Pouch.
Disclaimer: This post contains affiliate links. Any purchase made through affiliate links are done at no extra cost to you, but do benefit KKAME in a little incentive. This helps upkeep the blog and continue making awesome things happen 🙂
Searching for inspiration with Faux Fur? Check out our curated list below
Inspiration Strikes!
With the chilly brrrr months coming up, I thought it would be the perfect time to make a cute and functional accessory with this yarn. In designing I always like to consider if it reflects my personal style and how I can make good use of it in my day-to-day life. This time I wanted to make a one skein wonder just because, well, that’s all I had. Haha
The Go For Faux Pouch is made with one ball of Lion Brand Yarn’s Go for Faux yarn, a snap, a buckle, and a belt. You can definitely make your own strap if you want to and use a button instead of a snap if you do not have access to these extra materials. So are you ready? Let’s go!
The Go For Faux Pouch
Materials
- One ball of Lion Brand Yarn Go for Faux (I used Chinchilla)
- 8mm crochet hook (did you know Lion Brand has their own set of crochet hooks? Find them here)
- Tapestry needle
- 1″ Belting/Strapping (I would have preferred to use a wider one however this is all I could find at the moment)
- Parachute Buckle (make sure it is the same size as your belt/strap
- Purse Snap
How to crochet a fanny pack
Note: Working with specialty yarn may be tricky and requires the maker to be familiar with feeling for stitches.
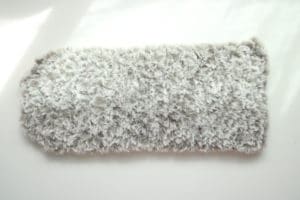
Body
Ch 13
Row 1: Sc into second ch from hook, sc into next 11 sts (12 sts)
Row 2-27: ch 1 (counts as 1 st) , sc into next 11 sts (12 sts)
Row 28: sc2tog, sc into next 8 sts, sc2tog (10 sts)
Row 29: sc2tog, sc into next 6 sts, sc2tog (8 sts)
Row 30: sc2tog, sc into next 4 sts, sc2tog (6 sts)
Row 31: sc2tog, sc into next 2 sts, sc2tog (4 sts)
Fasten off
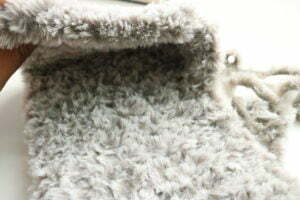
Side Panels
Begin with a long tail, at least approximately 10″ long. Ch 8
Row 1: sc into 2 ch from hook, sc into next 6 sts (7 sts)
Row 2 and 3: ch 1, sc into next 6 sts (7 sts)
Fasten off. Make one more.

Back feed attachment
Begin with a long tail approximately 10″ long. Ch 11
Row 1: sc into second ch from hook, sc into next 9 sts (10 sts)
Row 2-3: ch 1, sc into next 9 sts (10 sts)
Fasten off with long tail 10″

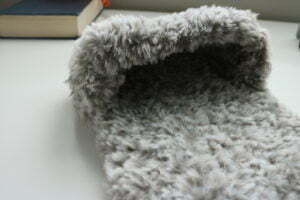
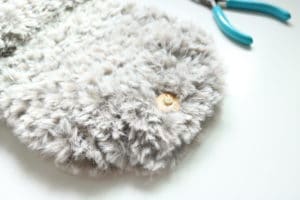
Assembly
- Using the tail from the side panel, align with the straight end of the body.
- Sew around the side panel, leaving the top portion open. Repeat with opposite side.
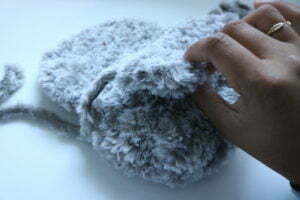
- Position the back feed attachment to align with the middle portion of the back of the pouch and top of the side panels.
- Using the long tail on the top, sew across. Repeat this on the bottom.
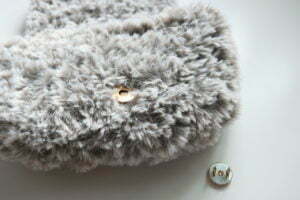
- Attach your snap accordingly, make sure to follow the instructions for your specific snap. The brilliant thing with this yarn is it is so fuzzy it goes and covers the wrong sides of the snap on its own!
- Feed your belt strap through the back attachment and adjust length accordingly. Follow the steps provided to you on your buckle to properly attach buckle to strap. I used my sewing machine just to secure the buckle, but this is totally up to you! If you do not have a sewing machine, no biggie 🙂


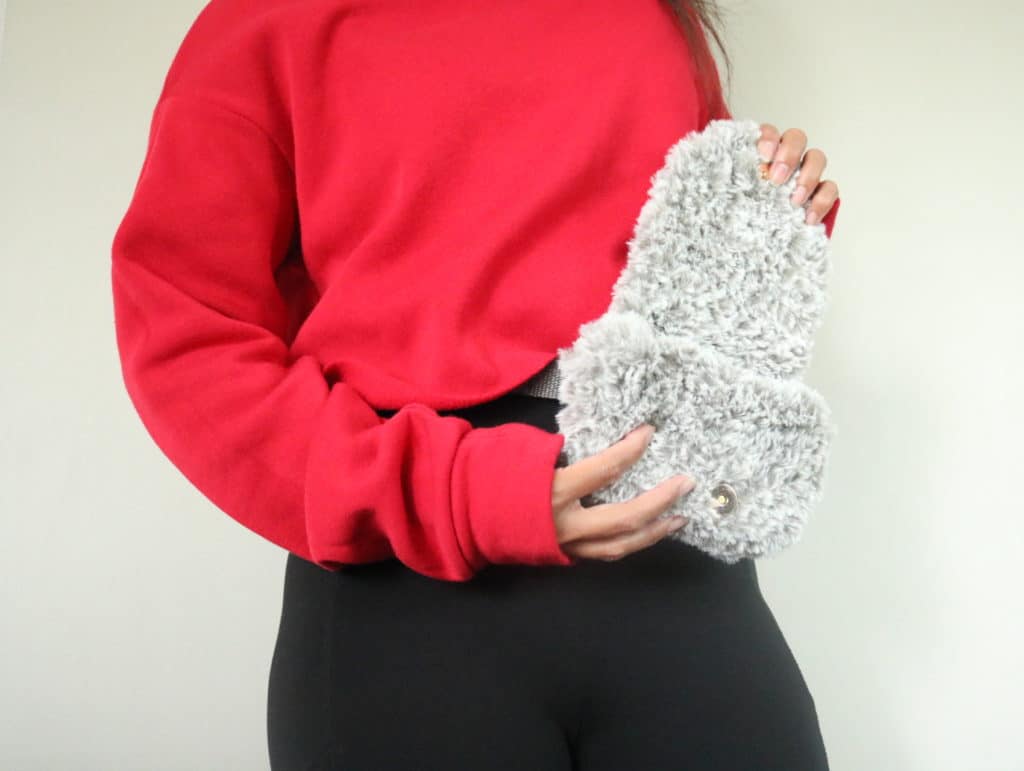
And there you have it! Super simple yet classy new pouch to add to your ! Wasn’t that quick? Now time to make a dozen more for everyone in your circle! Remember to take a picture and tag @knitsandknotsbyame on IG, I would love to see you rock your new Go For Faux Pouch!
Now it’s time to get making!
Want to try out some patterns? Make sure to check out all of my beginner friendly patterns here where you can find garments, amigurumi, and accessories.
Want to see crochet sweater patterns for fall?
That’s all for now my maker friend! Remember, never miss a stitch by subscribing to my newsletter. See you next time!
xoxo
Abigail