How to Make this Textured Crocheted Raglan Sweater
Hello my maker friend! This post shares the free crocheted raglan sweater pattern for the Puffin Pullover in Medium. I am so in love with this cozy sweater and cannot wait to share this with all of you!
This post contains affiliate links. I get a small commission from any purchase made through these links at no additional cost to the buyer. This allows me to keep free awesome content coming your way. Check out my privacy policy for a full rundown of disclosures.
Want to create you own handmade wardrobe? I put together this list of free crocheted sweater patterns so you do not have to spend hours looking for your next project.
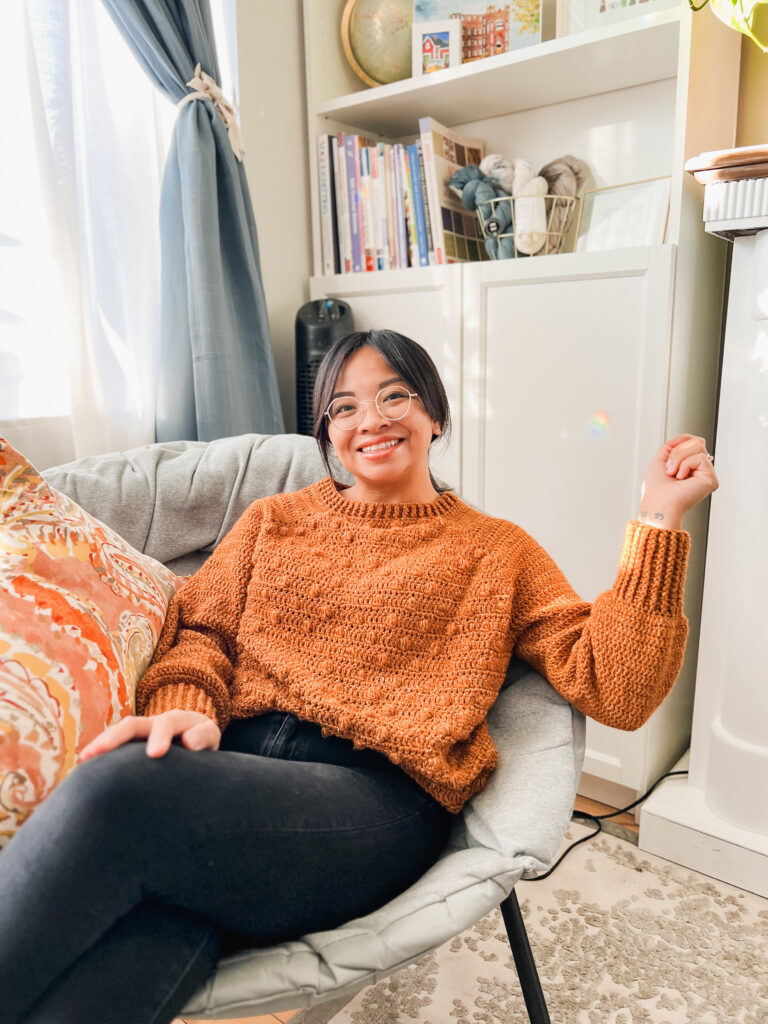
The Puffin Pullover is a crocheted raglan sweater with a fun bobble design and comfy sleeves. The raglan is made to fit nicely on the shoulders and features a straight seam down the back of the garment making the bobble placements easy to follow.
Get the inexpensive ad-free pattern for this pattern here. The paid pattern includes step-by-step instructions and picture tutorials to help you with your crocheted sweater.
Want everything you need to make this sweater? You can get the pattern and all the yarn in a crochet kit here.

About this textured crocheted raglan sweater
The Puffin Pullover was inspired by how much I adore puffins! I have always wanted to see these beautiful birds. In 2022 we went to the Oregon coast and I was too late. I was determined to see them in 2023 on another trip to the Nova Scotia.
I wanted a crocheted raglan sweater that was fun! What is more fun than bobbles am I right?
I was thinking about the birds 24/7! We researched where to go and I was so hyped! I designed this sweater and kept saying “I hope the puffins love it!” Long story short, we did not see the birds. once again we were late to the season but just by one week.
The original sweater was designed using CYC 3 Superwash Merino yarn. It took a lot longer to finish and there were some parts of the sweater that I wanted to change. I wanted straight seam lines and a better finish to the bobbles.
I decided to learn more about working in the round and how to achieve the look I wanted. But no way I was going to repeat everything in a DK weight yarn. This is when I chose a size higher and it was perfect!
Construction of this crocheted raglan sweater
I am very proud of this design because I learned so many new techniques and felt like I grew a lot as a crocheter. The Puffin Pullover is a top down raglan sweater. I wanted an evenly spaced raglan line for the perfect fit. Because of this, each size has a separate pattern.
The sweater measurements accounts for 2″ positive ease on the sleeves and bust. The bust size is carried down to the end making the sweater fit a bit looser for a comfy look.
Related Post: Check out this curated list of sweater patterns to make this year
Want more fall designs?
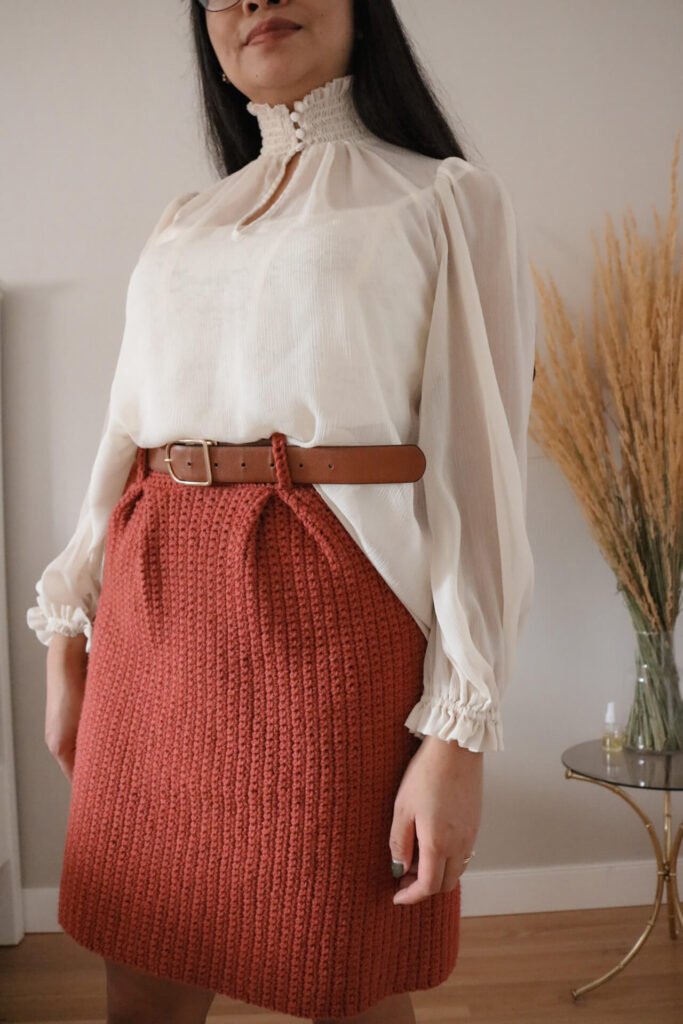
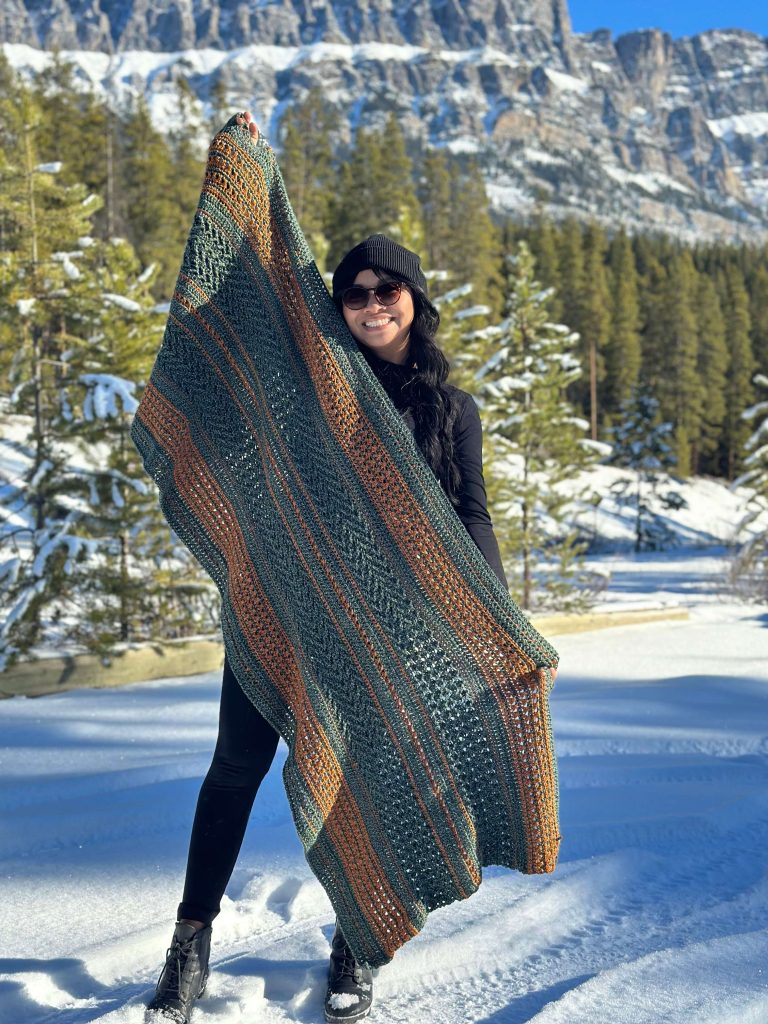
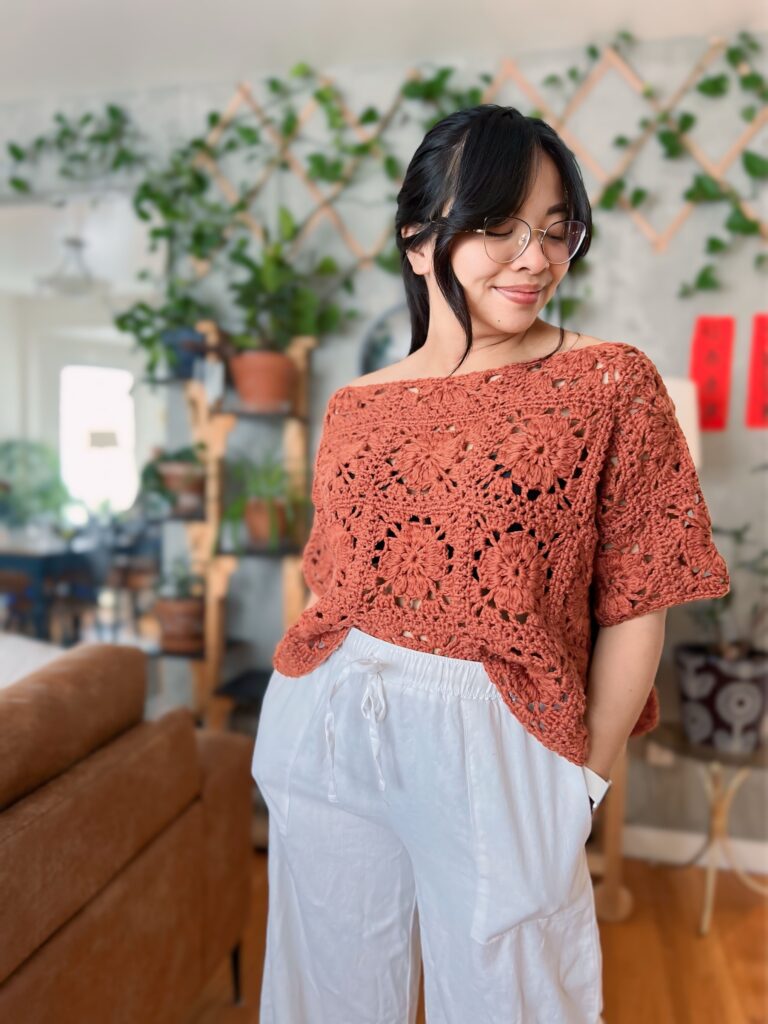
Check out these patterns (left to right): Norquay Skirt and the Ellie Pullover

Yarn
Want everything you need to make this sweater? You can get the pattern and all the yarn in a crochet kit here.
For this textured crocheted sweater I used Lion brand Yarn’s Jeans in the colorway Top Stitch.
I have made a whole review about this yarn. Jeans is one of my top choices from Lion Brand Yarn which is a soft acrylic yarn that holds a lot of yardage. It is a CYC 4 yarn but is on the lighter side and has little halo effect which I love because you get great stitch definition!
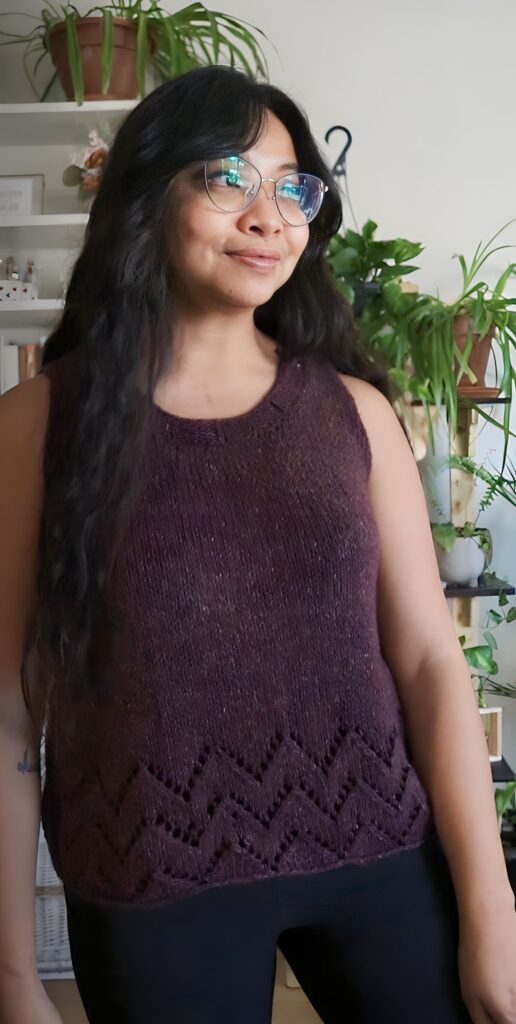
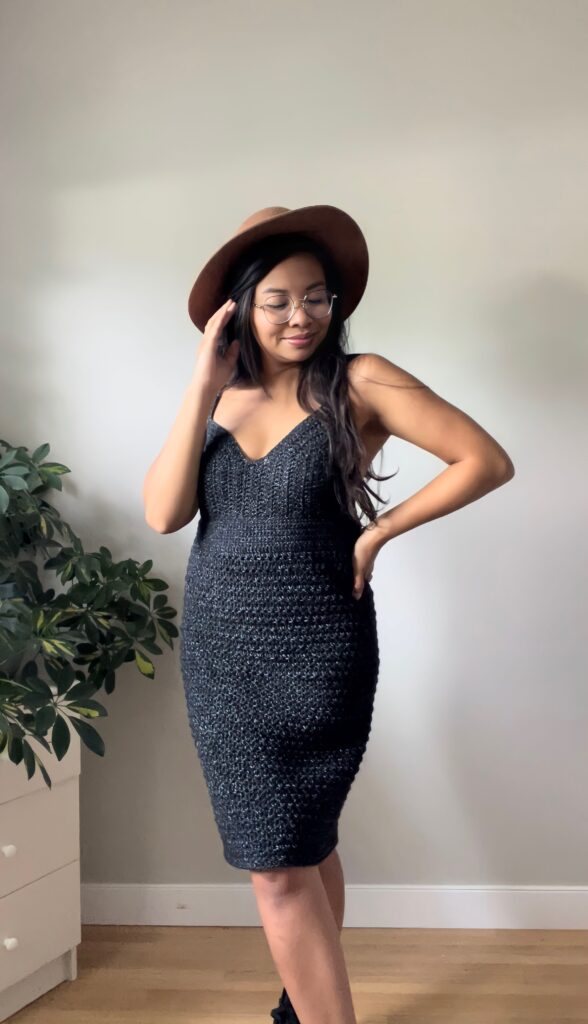
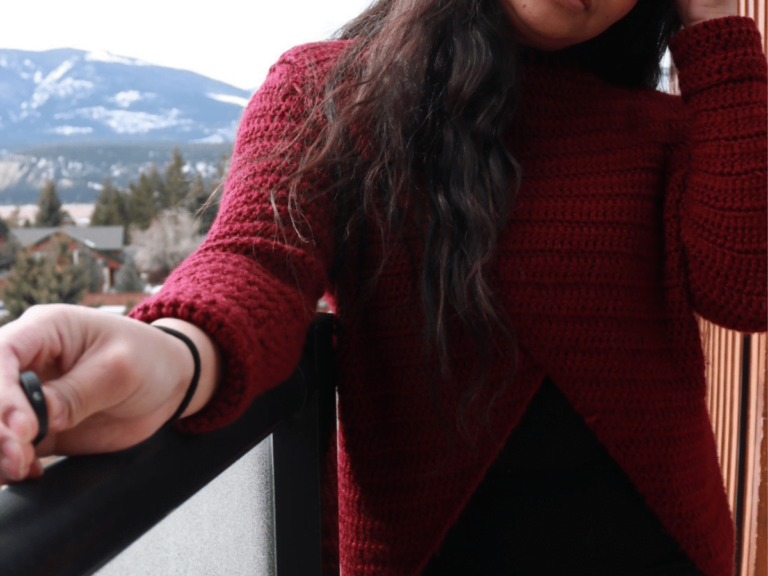
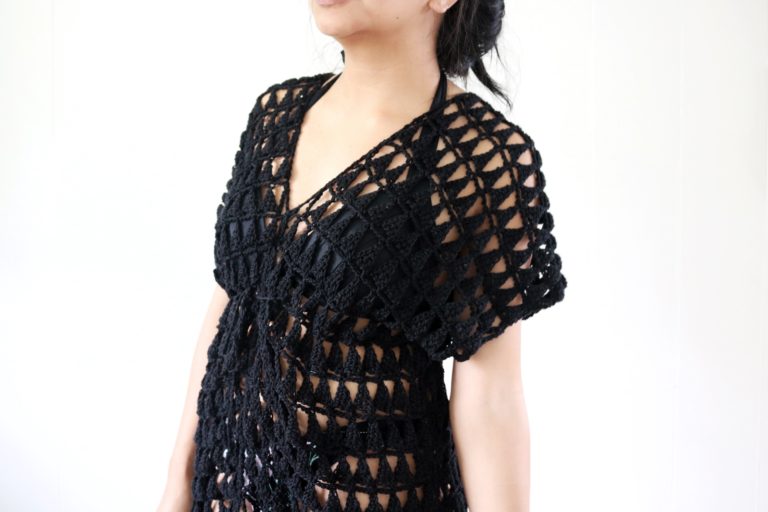
This are other design I have using Lion Brand Yarn’s Jeans (Rovie Chevron Knit Top and Glenmore Dress):
Do you have the right yarn for this project? Make sure to check out my post Best Yarn for Crochet Sweaters to help you choose the perfect yarn for this design.
Textured Crocheted Raglan Sweater Pattern – Puffin Pullover
First off, this is a free crochet pattern for the Puffin Pullover in medium. Due to the construction, each size has it’s own separate pattern, the other sizes XS-XL can be found in the premium ad-free pattern. The PDF pattern includes extra picture tutorials for visual learners too. This pattern is for personal use only.
Want everything you need for this dress? Grab the crochet kit on Lion Brand Yarn
Pattern notes:
- This pattern is made using US terminology.
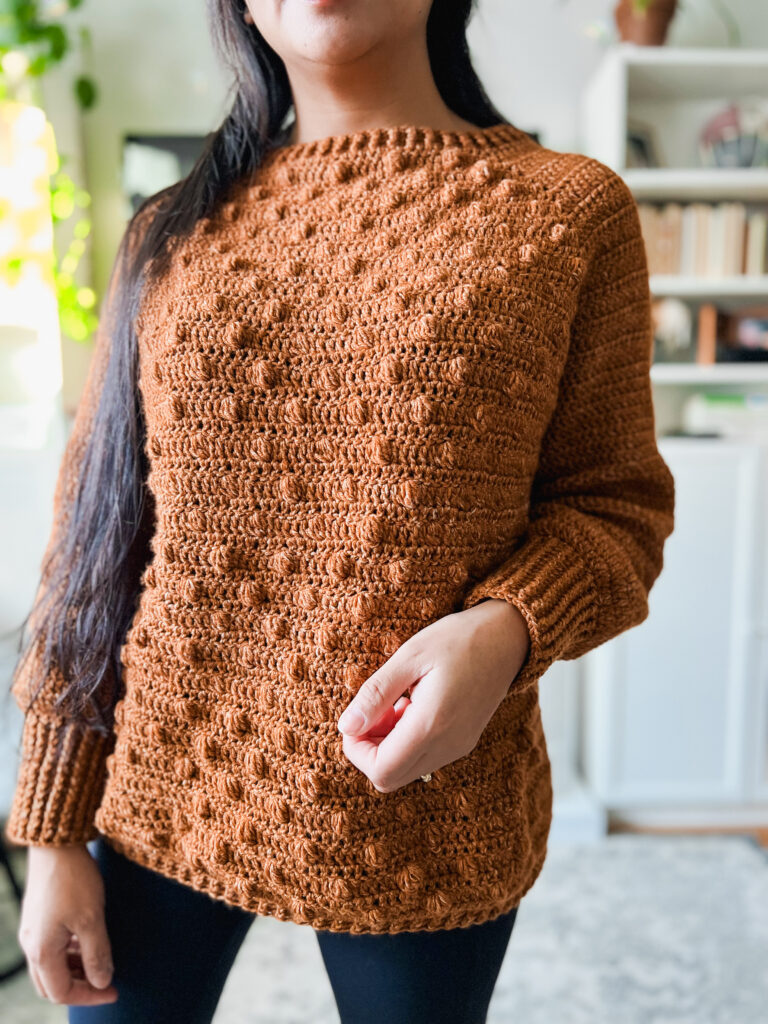
- The cover photo shows a 5’2 female wearing size M without any modifications done to the pattern.
- This raglan sweater is worked in rounds that act as rows. This helps to keep the back seam straight. Turn your work after each ch 2 of every round (except for the ribbed portions and sleeves) and slst at the top of the first st to close and end each round.
- The pattern was designed and written in separate instructions for each size (XS-5X) for steady increases along the raglan line
- The ch 2 sts at the beginning of each round are not counted as a stitch in the overall stitch count.
- Ch1 space in the raglan corners are not counted in the overall stitch count
- This sweater is designed with an equal back and front, if you need more stitches in the front (for larger busts) transfer as many stitches needed from the back to the front.
- Multiple repeat rows (ex R3-10…) show the stitch count for the final row indicated.
- Bobbles rounds are always on even numbered rows on the body and will end up being on the right side of the sweater (facing out).
- There are variations in rate of increases on raglan corners. Here are some variations you may encounter during rounds:
- increase on body, increase on sleeve (dc-ch1-dc)
- increase on body, no increase on sleeve (dc-ch1 or ch1-dc)
- 2 increase on body, increase on sleeve (2dc-ch1-dc or dc-ch1-2dc)
- 2 increase on body, no increase on sleeve (2dc-ch1 or ch1-2dc)
- Before you begin, it is highly recommended that you go through the go through the construction of the sweater first (PDF Pattern only)
Materials:
- CYC 4 yarn. I used Lion Brand Yarn’s Jeans in Top Stitch for XS (S, M, L, XL)(2X, 3X, 4X, 5X) approximately 6 (7, 7, 8, 8)(9, 10, 11, 11) balls
- 4.0mm crochet Hook
- Scissors
- Needle
- Stitch markers
Gauge – Do not forget to make your gauge!
18 sts x 10 rows = 4” x 4”
Sizes and Measurements
| Size | Bust | Upper Arm Circumference | Sleeve Length | Garment length |
| XS | 32 | 11.75 | 16.5 | 23.5 |
| S | 36 | 12.25 | 17 | 24 |
| M | 40 | 13 | 17 | 24.25 |
| L | 44 | 14 | 17.5 | 24.5 |
| XL | 48 | 15.50 | 17.5 | 24.75 |
| 2X | 52 | 17.50 | 18 | 25 |
| 3X | 56 | 19 | 18 | 25 |
| 4X | 60 | 20.50 | 18.5 | 25.5 |
| 5X | 64 | 20.50 | 18.5 | 25.5 |
Abbreviations:
- Ch – chain
- Fdc – foundation double crochet
- Dc – double crochet
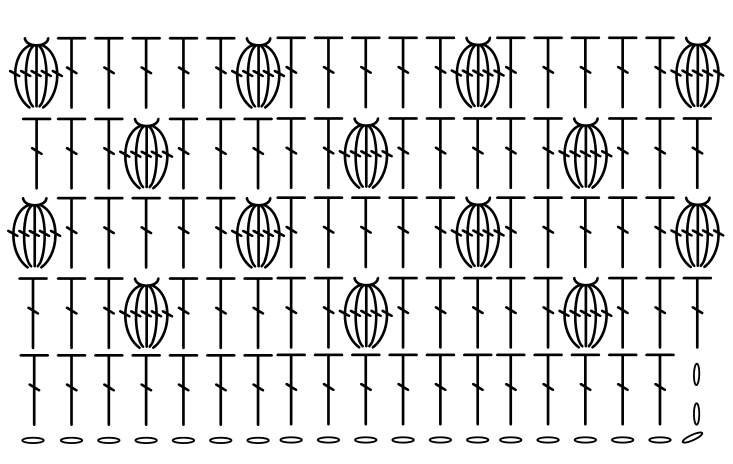
- 5-dc popcorn – 5 double crochet popcorn/bobble stitch
- FPdc – front post dc
- BPdc – back post dc
- St/s – stitch/es
- Slst – slip stitch
Let’s start making your crocheted raglan sweater
Beginning of the Raglan
R1: Fdc 92, slst to close the circle.
Do not turn.
R2: Ch 2, *FPdc, BPdc. Repeat from * until end of the round. Slst. (92 sts)
R3: Ch 2, *FPdc, BPdc. Repeat from * until end of the round. Slst. (92 sts)
Yoke
You are now going to start turning your work each round after R1 below.
R1: ch 2, dc in next 12 sts, dc-ch1-dc, dc into next 19 sts, dc-ch1-dc, dc into next 25 sts, dc-ch1-dc, dc in next 19 sts, dc-ch1,dc, dc in next 13 sts, slst. (96 sts)
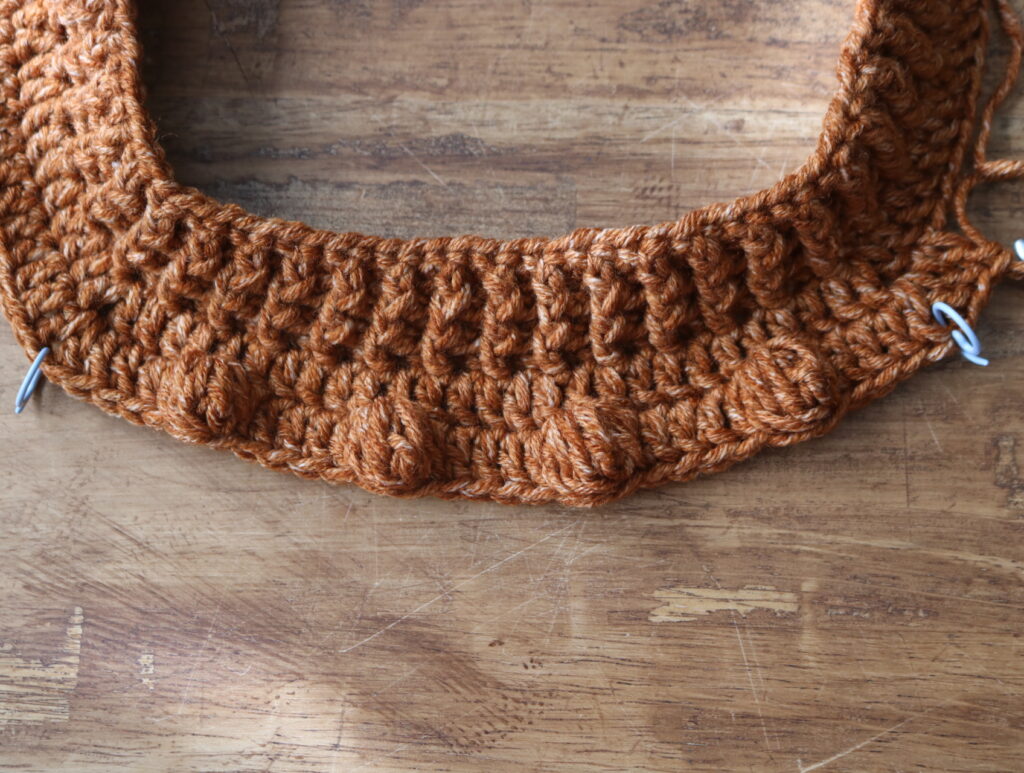
Place stitch markers in the ch1 raglan corners.
Look at the front side of your garment, right side out. Set a stitch marker on the middle stitch of the row. *Count two stitches from the stitch marker and place another stitch marker. Count 5 sts from that st marker and place another stitch marker. Continue placing stitch markers every 5 sts until you get to the raglan corner. Repeat from * on the other side of the center stitch marker.
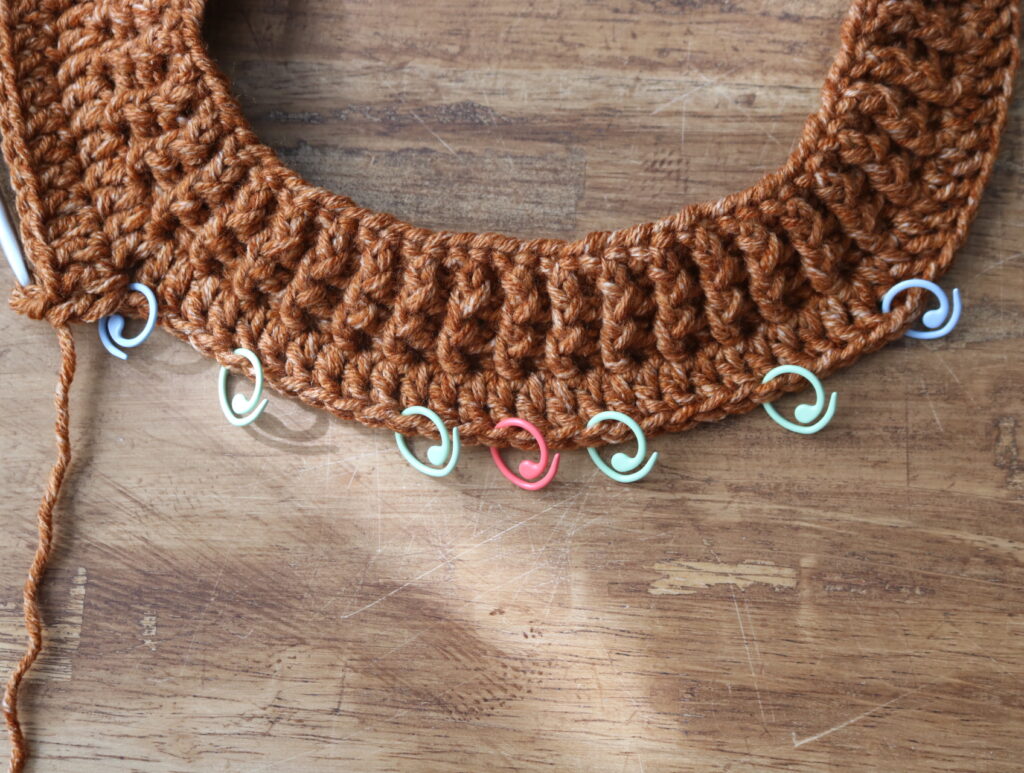
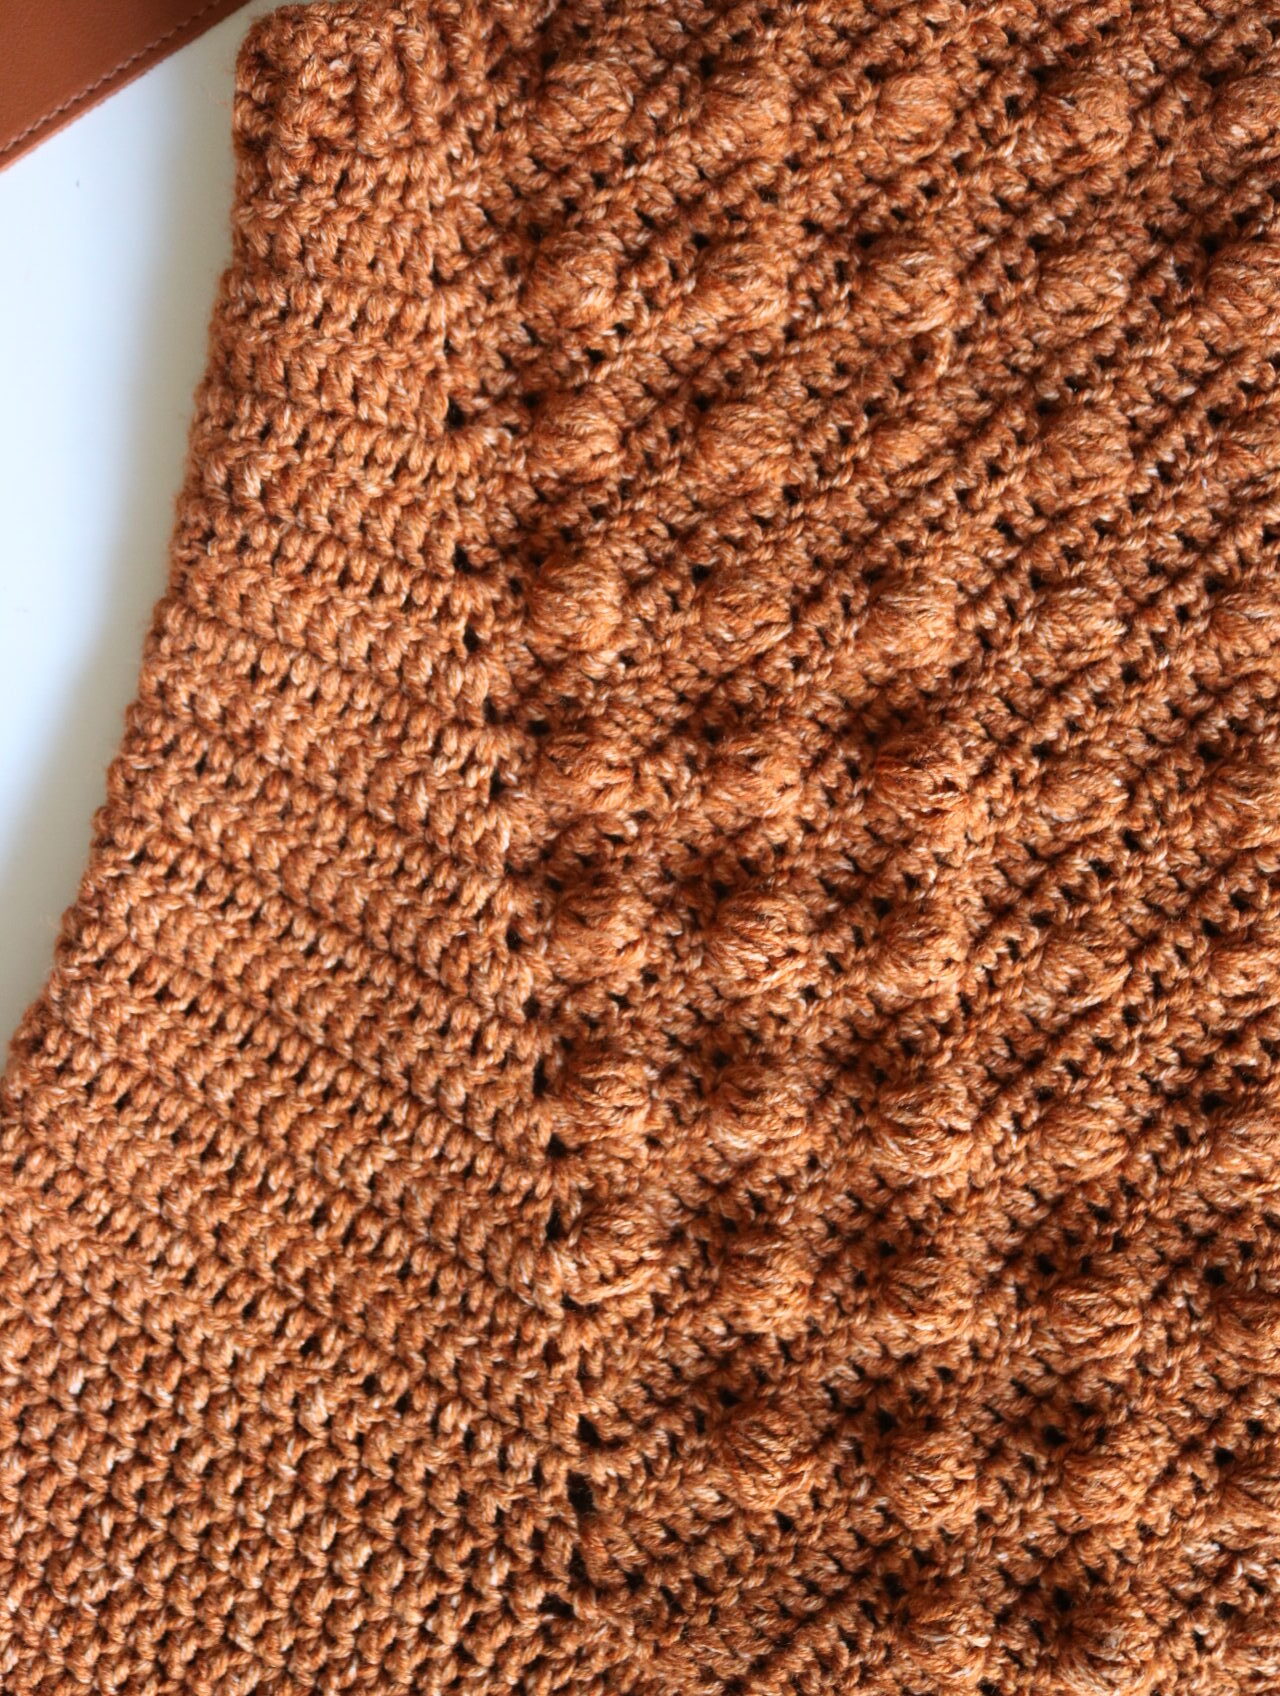
In the photo above, the red marker is the center and the blue markers are the raglan corners. Green markers are where you will be placing the bobbles. The photo below shows how the section will look.
R2: ch 2, dc until raglan st marker, dc-ch1, dc until raglan st marker, ch1-dc, *dc until bobble st marker and 5-dc popcorn. Repeat from * until next raglan st marker, dc,-ch1, dc until next raglan st marker,ch1-dc, dc until end of the round, slst. (100 sts)
R3: ch 2, dc until raglan st marker, dc-ch1-dc, dc until raglan st marker, dc-ch1-dc, dc until raglan st marker, dc-ch1-dc, dc until raglan st marker, dc-ch1-dc, dc until end of the round, slst. (108 sts)
R4: Repeat R2 (112 sts)
Note: To make things easier, look at the first bobble of the last bobble round.
Now count 2 sts from that bobble and on the next st place a st marker. On the third row (dc all around) move the st marker up. This will be where you are going to place the first bobble of the fourth row.
On the fourth row, place a bobble where the st marker was placed, dc in next 5 sts, then place another bobble. Ultimately, you will be placing 5 Dcs inbetween stitch markers.
R5: ch 2, dc until raglan st marker, 2dc-ch1-dc, dc until raglan st marker, dc-ch1-2dc, dc until raglan st marker, 2dc-ch1-dc, dc until raglan st marker, dc-ch1-2dc, dc until end of the round, slst. (124 sts)
R6: Repeat R2 (128 sts)
R7: Repeat R3 (136 sts)
R8: ch 2, dc until raglan st marker, dc-ch1-dc, dc until raglan st marker, dc-ch1-dc, dc until bobble st marker and 5-dc popcorn, *dc in next 5 sts, 5-dc popcorn. Repeat from * until next raglan st marker, dc-ch1-dc,dc until next raglan st marker, dc-ch1-dc, dc until end of the round, slst. (144 sts)
R9: Repeat R3 (152 sts)
R10: ch 2, dc until raglan st marker, 2dc-ch1-dc, dc until raglan st marker, dc-ch1-2dc, dc until bobble st marker and 5-dc popcorn, *dc in next 5 sts, 5-dc popcorn. Repeat from * until next raglan st marker, 2dc-ch1-dc,dc until next raglan st marker, dc-ch1-2dc, dc until end of the round, slst. (164 sts)
R11-14: Repeat R3 and R8 respectively (196 sts)
R15: Repeat R5 (208 sts)
R16-17: Repeat R8 and R3 respectively (224 sts)
R18: Repeat R2 (228 sts)
R19: ch 2, dc until raglan st marker, dc-ch1, dc until raglan st marker, ch1-dc, dc until raglan st marker, dc-ch1, dc until raglan st marker, ch1-dc, dc until end of the round, slst. (232 sts)
R20: ch 2, dc until raglan st marker, 2dc-ch1, dc until raglan st marker, ch1-2dc, dc until bobble st marker and 5-dc popcorn, *dc in next 5 sts, 5-dc popcorn. Repeat from * until next raglan st marker, 2dc-ch1,dc until next raglan st marker, ch1-2dc, dc until end of the round, slst. (240 sts)
R21: Repeat R19 (244 sts)
Body
You are now done with the yoke and going to split the sleeves and work straight down for the body. Moving forward, there will be no more additional bobble count. You are going to alternate between the last two bobble row placements.
R22: ch 2, dc in each st until raglan point. Ch 9, skip to the next raglan point. Dc until bobble st marker and 5-dc popcorn, *dc in next 5 sts, 5-dc popcorn. Repeat from * until next raglan point. Ch 9, skip to the next raglan point, dc in each st until end of the round, slst. (150 sts and 18 underarm ch)
R23: ch 2, dc in each st all around. (168 sts)
R24: ch 2, dc until bobble section, work the bobble section and continue dc in each st until end of the round. Slst. (168 sts)
R25-51: Repeat R23 and R24 respectively. (168 sts)
R52: ch 2, dc in each st all around. (168 sts)
You are now going to work on the bottom ribbing DO NOT TURN after each round.
R53: ch 2, dc in each st all around. (168 sts)
R54: Ch 2, *FPdc, BPdc. Repeat from * until end of the round. Slst. (168 sts)
R55: Ch 2, *FPdc, BPdc. Repeat from * until end of the round. Slst. (168 sts)
Fasten off
Sleeves
Attach yarn to an underarm stitch. You are going to work continuously in the round, no turning needed. If you want an invisible/straighter seam, refer to note section.
R1: Ch 2, dc into same st to begin the row, dc into the vertical bar on R22, dc in each St around the armhole, dc into the vertical bar on R19. Dc in each st until the end of the row, slst to end the round. (58 sts)
R2-28: ch 2, dc in each st down the row, slst. (58 sts)
R29: ch 2, *dc, dc2otg. Repeat from * to end of the round. (39 sts)
R30: ch 2, dc all around. (39 sts)
R31-43: Ch 2, *FPdc, BPdc. Repeat from * until end of the round. Slst. (39 sts)
You now have a crocheted sweater!
Add this design to your crochet pattern stash and get the premium version now.
I would love to see how your style your Puffin Pullover this fall. Make sure to tag me @knitsandknotsbyame on IG. Until next time, creatives!
Looking for more beautiful patterns? Make sure to check out all of my beginner friendly patterns here where you can find garments, amigurumi, and accessories.
That’s all for now my maker friend! Remember, never miss a stitch by subscribing to my newsletter. Happy crocheting!
xoxo
Abigail
4 Comments
Comments are closed.