Free Crochet Skirt Pattern with Pleats
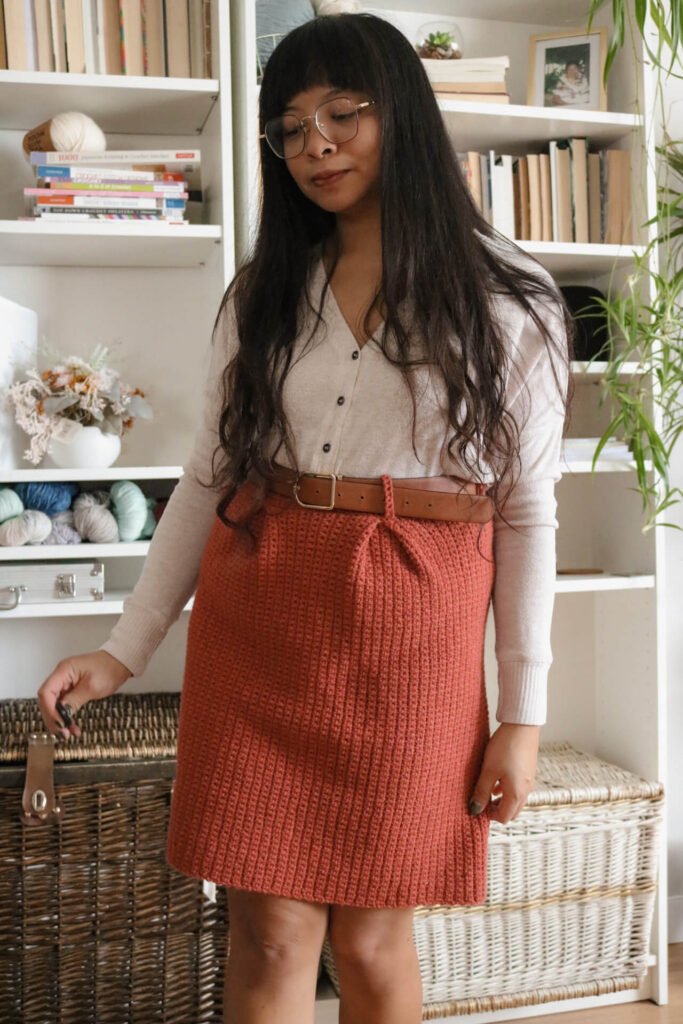
This post shares the the free crochet pattern for the Norquay Skirt – a high-waisted skirt. This skirt is an advanced beginner garment that uses easy shaping, simple construction, and features a garter stitch and belt loops.
Get the inexpensive ad-free pattern for this pattern here. The paid pattern includes step-by-step instructions and picture tutorials to help you with your crocheted skirt.
This post contains affiliate links. I get a small commission from any purchase made through these links at no additional cost to the buyer. This allows me to keep free awesome content coming your way. Check out my privacy policy for a full rundown of disclosures.
About this crochet skirt pattern
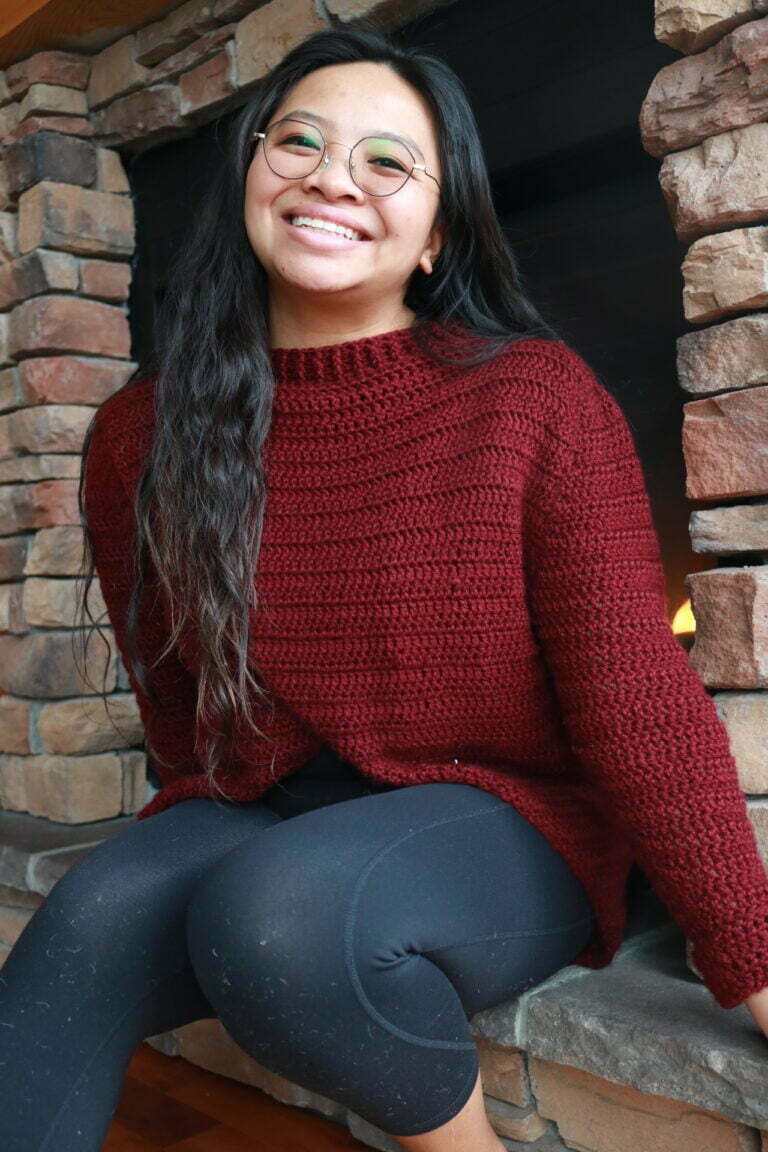
Hello Creatives! Believe it or not, the Norquay skirt is my first ever crocheted skirt! It is really an easy crochet skirt pattern that is great for just about any skill level.
I always avoided making skirts or any kind of bottoms because of the involved measurements around the hips and waist. I knew I wanted a cute and quirky skirt and decided it was the time to design one.
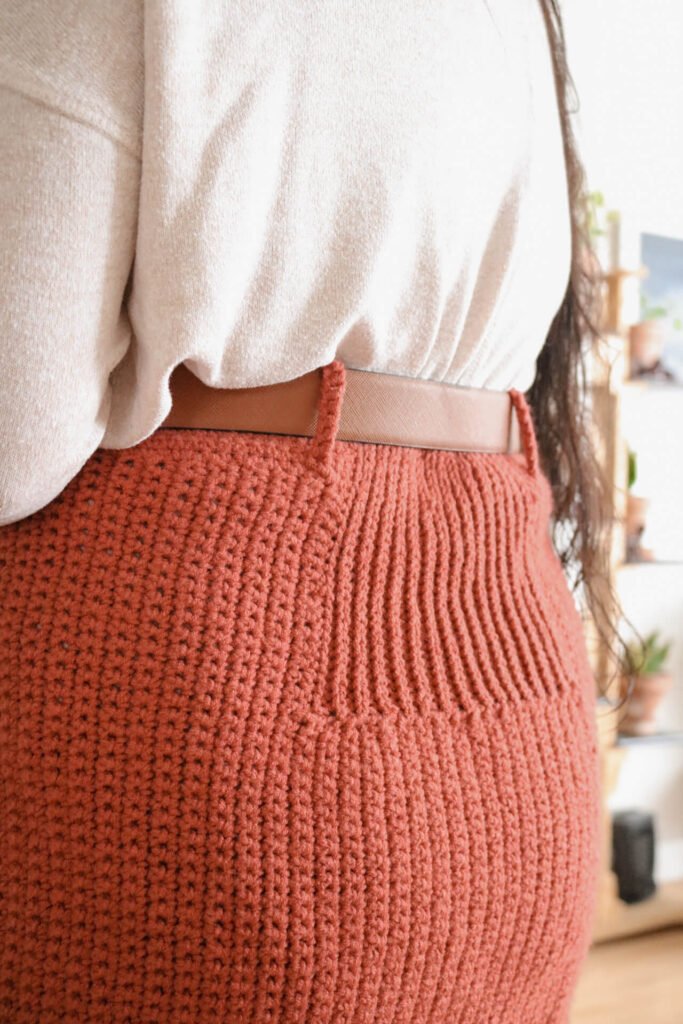
This skirt really sparked my creative joy and I tested out how I can keep the construction as simple as possible but get that perfect fit. To do so, I ended up playing around with rib stitches and used a garter like stitch to achieve the shape I needed. The whole skirt is made with the use of simple crochet stitches making it a great pattern for beginner crocheters who want to try their hand at garments.
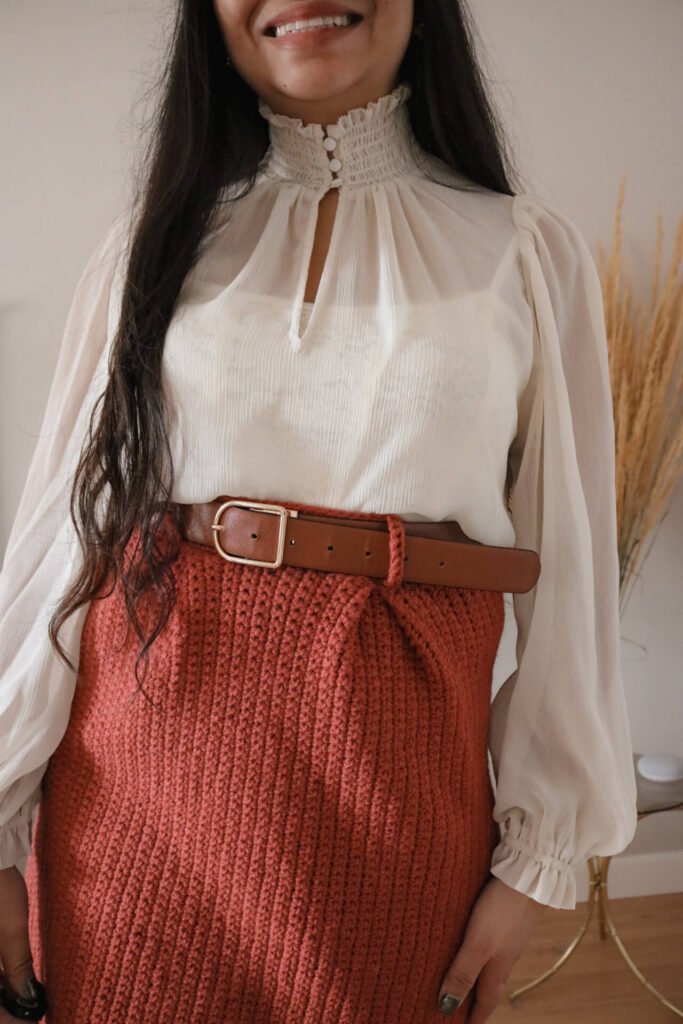
The skirt is made to expand over the hips and cinch at the waist – almost creating an elastic waistband effect. I played around with a lot of stitches and ways to NOT use any hardware on the skirt. This ribbed crochet knit-stitch was perfect for an elastic stitch that stretched up to 4x!
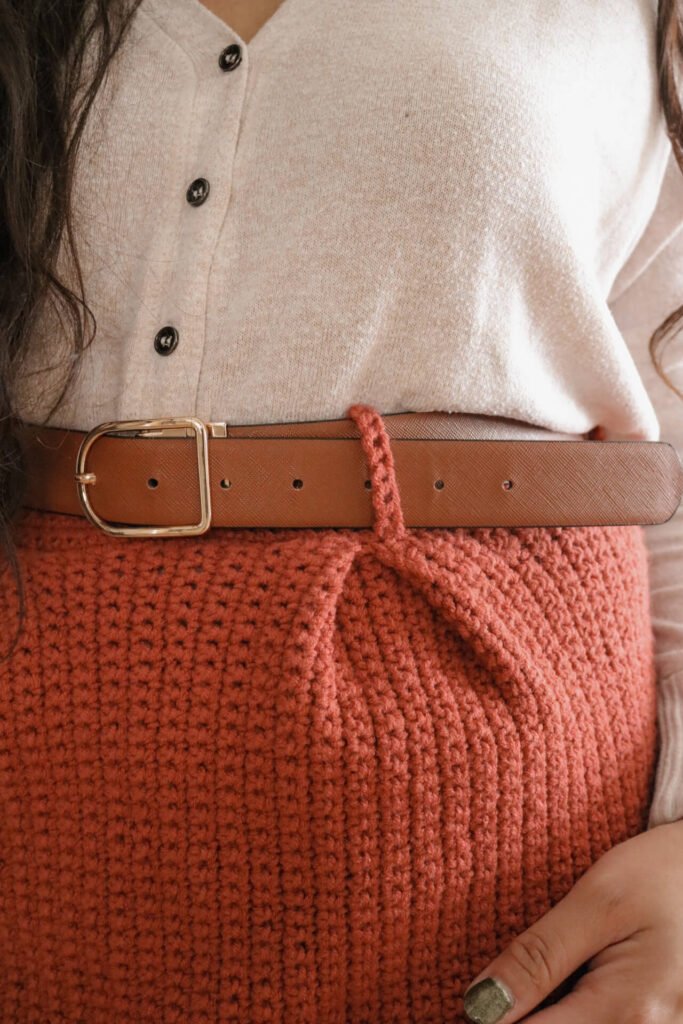
Extra support from the added belt loops is provided for those with smaller waists. The belt loops in general really add on to the simple skirt so you can add a fun belt for a unique look.
It is also my first pattern made in more different sizes! I love how timeless A line skirts are and how they flatter every body type. These skirts are a great addition to your handmade wardrobe and casual wear outifits.
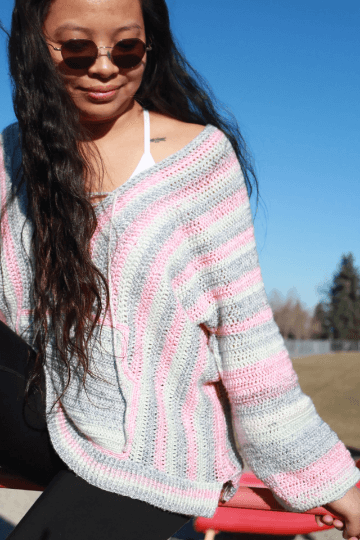
Related Post: Check out this Crochet Crossbody Sweater
Want more Easy Crochet Patterns?
Check out thee patterns for your next fun project(left to right): Arnica Pullover, Nooeh Pullover, Wanderlust Sweater

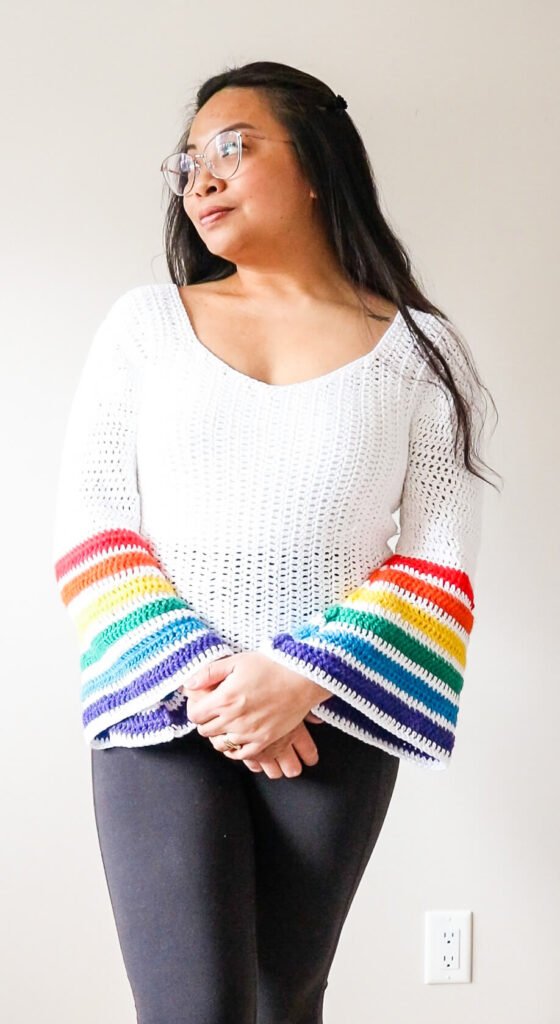
See more crochet sweater patterns in this list I curated filled with trendy and FREE patterns:
Yarn
I want to thank Lion Brand Yarn for providing me with the yarn for this beautiful top! Nevertheless, everything I say about this yarn is my own opinion.
The original crochet sweater is made using Color Theory which is an acrylic yarn in worsted weight designed in collaboration with Two of Wands. Worsted weight yarn is a great versatile weight that can be used during transition months like spring and fall. It is light enough to wear a coat over but also enough to wear on its own during warmer weather. Basically, worsted wight yarn lies between bulky yarn and light yarn.
This yarn was extremely easy to work with and provided me with a good yardage needing just a little over 4 balls to make this skirt. What I appreciate most about this line of yarn is how all the colors were carefully thought of and has such a timeless feel.
Want to make the sweater in a different weight yarn? You can always choose to use a more bulky weight yarn like chunky yarn for an even more comfy sweater, but take note, you will need to use a hook and redo a gauge that will work for the yarn you choose. This is the same to say if you prefer a lightweight yarn, you will need a smaller hook size, redo the gauge, and then adjust the math for the entire piece. Doable BUT a pain if you are not a wiz at math.
Different ways to alter the skirt
The Norquay skirt is such an elegant skirt with a modern style. I want to make sure it fits you as perfectly as possible! That is why I made it really easy to alter so you can get the perfect fit.
The length of the skirt is based on three sizes (5’3 and shorter, 5’3-5’8, and 5’8 and taller). To increase or decrease the length of the skirt, add on or decrease to the first chain stitches at the beginning of the pattern. The measurements is based on the waist down, this does not include the 2″ of waistband added later.
For those with wider hips and tiny waists, you can adjust the size of your pleats to further decrease the waist size. Keep in mind that the garter is 4″ in its resting state.
The Norquay Skirt – Free Crochet Skirt Pattern
This is a free written pattern the Norquay Skirt – an easy crochet skirt for advanced beginners. This pattern is for personal use only.
Are you a visual learner? You can always get the ad-free full pattern pdf version with picture tutorials here.
Pattern notes:
- This pattern is made using US terminology.
- The pattern is written in rows. Turn after each row.
- FOR THE BODY – The ch 1 at the beginning of the row is counted as a stitch in the final count. This is the first stitch, move on to the next st after each initial ch st.
- FOR THE GARTER – the ch ch 1 at the beginning of the row is not counted as a st. continue with a slst in the ending st below.
Materials:
- CYC 4 weight yarn
- 4.0 mm crochet Hook
- Stitch Markers
- Scissors
- Darning Needle
- Tape measure
Gauge – Do not forget to make your gauge!
Body of the skirt – 16 sts x 17 rows = 4×4” in single crochet
Ribbed portion for back garter – 21 sts x 32 rows in slip stitch
Size Guide
The length varies depending on person’s height. Choose the length and follow this number for your ch sts at the beginning of the pattern. If the length on the chart does not meet your desired length, measure from your waist down to the desired length. Divide this number by 4 then multiply by 16. This will be your initial ch st for the body of the skirt.
These are approximate measurements and the end result will vary depending on your own tension so be sure to check your gauge.
| Waist | Hips | |
| Extra Small | 24 | 34 |
| Small | 26.5 | 36 |
| Medium | 30 | 40 |
| Large | 34 | 44 |
| Extra Large | 38 | 48 |
| 2X | 42 | 53 |
| 3X | 45 | 55 |
| 4X | 47 | 57 |
| 5X | 50 | 62 |
| Height | Length |
| 5’3 or shorter | 16 |
| 5’3-5’8 | 18 |
| 5’8 or taller | 20 |
Abbreviations (US Terms)
- Ch – Chain stitches
- Sc – single crochet
- Fsc – Foundation Single Crochet
- Slst – Slip Stich
- St/s – stitch/es
Body of the crochet skirt pattern
Ch 72 (80, 88) + 1
Note: If you computed your desired length, use that number for your ch sts + 1.
R1: sc into 2nd ch from the hook (this serves as your first and second st), sc into each ch down the row. 72 (80, 88) sts.
R2 – 110 (118, 136, 152, 170, 190, 200, 208, 230): ch 1, sc into next st, sc into each st down the row. 72 (80, 88) sts.
R136: ch 1, sc into next 55 (63, 71) sts. 56 (64, 72) sts.
Note: if you started with another ch that you measured, minus 16 from that number.
R137 – 144 (152, 170, 186, 204, 224, 234, 242, 264) : ch 1, sc into next st, sc into each st down the row. 56 (64, 72) sts.
Garter
Ch 32 +1
R1: slst into 2nd ch from hook, slst into each ch down the row. (32 sts)
R2 – 32: ch 1, slst into same st, slst into each st down the row (32 sts)
Fasten off with a long tail (you will you this to attach the garter to the open space in the back)
You are now going to work on making your pleats and the waistband.
We need to set up our stitch markers for the pleats. To start, we need to locate the center of the skirts top.
Count 55 (59, 68, 76, 85, 95, 100, 104, 115) rows from the first row of the body and mark with a st marker (A). Place the fabric against your body, aligning the marker to your navel. Estimate where you want the pleats, this is typically a couple few inches from the center where you can feel the inner part of your hip bone. Place st markers to mark these points (B). Count eight rows on each side of B stitch markers and mark these points as (C). Count 4 rows from C markers and mark these points as (D).
Crocheting the Waistband of the Skirt
Attach yarn to top right corner of the skirt. This is the corner right before the drop in level. You are going to be crocheting along the side of the rows. One single crochet per row.
R1: ch 1, sc into each row side until you reach the first stitch marker D.
Pleat Process
Fold C marker inwards to meet B, then fold outwards so D is in line with the crease. Sc through all folds until you reach B (4 sts). Repeat folds on the opposite side of the marker. Sc through folds (4 sts).
Continue sc into each row side until you reach another D marker and repeat pleat process. After second pleat, sc in each row side until end of the row.
R2 – 9: ch 1, sc into next st. sc in each st until end of the row.
Fasten off with a long tail (you will use this to seam the skirt closed.
Attaching the Garter
Align the garter against the short side of the skirt body. Seam down until the corner. Stretch the bottom of the garter to align with the width of the gap. Seam the stretched garter to the skirt body (this roughly equates to one row each).
Seaming the Crochet Skirt Close
Closing the skirt
Attach needle to the long tail from the waistband. Align the sides together and seam the skirt shut.
Adding the belt loops
To make a loop, crochet a single crochet foundation chain of 9. Around 6” of yarn before making the foundation chain and allow a tail of 6” when fastening off. (make 6 total)
Lay the skirt flat to mark where you need to place the loops. Place a loop on the sides, At the pleats, and in the back directly in line with the pleats.
And you’re done with your new beautiful skirt!
I would love to see how your style your pleated skirt. Make sure to tag me @knitsandknotsbyame on IG. Until next time, creatives!
Looking for more patterns? Make sure to check out all of my beginner friendly patterns here where you can find garments, amigurumi, and accessories.
Want to see crochet sweater patterns for fall?
That’s all for now my maker friend! Remember, never miss a stitch by subscribing to my newsletter. See you next time!
xoxo
Abigail