How to Make a Modern Crochet Poncho for Any Size
This post contains affiliate links. Any purchase made through affiliate links are done at no extra cost to you, but do benefit KKAME in a little incentive. This helps upkeep the blog and continue making awesome things happen 🙂
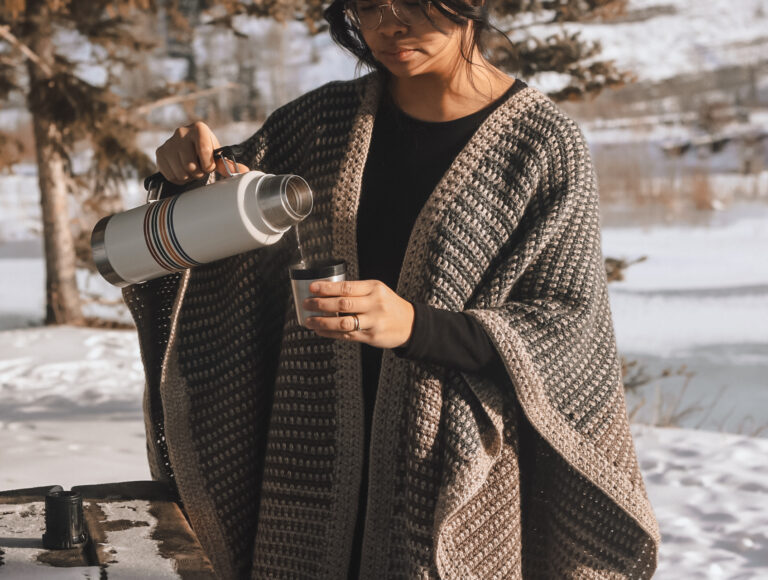
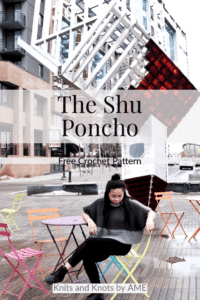
The Shu Crochet Poncho was designed to be very versatile in customization to fit any body type. The origin of its name is derived from the Chinese word for “rat” in lieu of the year of the rat. This design was completed in time for the Lunar year celebration last January 25th, 2020.
I began designing the poncho early January, lucky for me I had a stash of Paintbox Yarns Simply DK in the exact colors I envisioned for the poncho. You can read about Simply DK here to see if it’s a good fit for your poncho. 2020 is the year of the metal rat and grays (symbolizing metal) is considered an extremely lucky color for this year.
Traditionally on Chinese New Year it is good luck to wear something new in the lucky color of that year. I worked really fast to get this design done so I can use it on the day. Funny story, I was actually a day early (eye roll). I went to work wearing the poncho and was so proud to share the why behind my outfit only to find out it was only the 24th (facepalm). I’m pretty sure a couple of you noticed this as well on my IG stories. Swear, I am always out of sync!
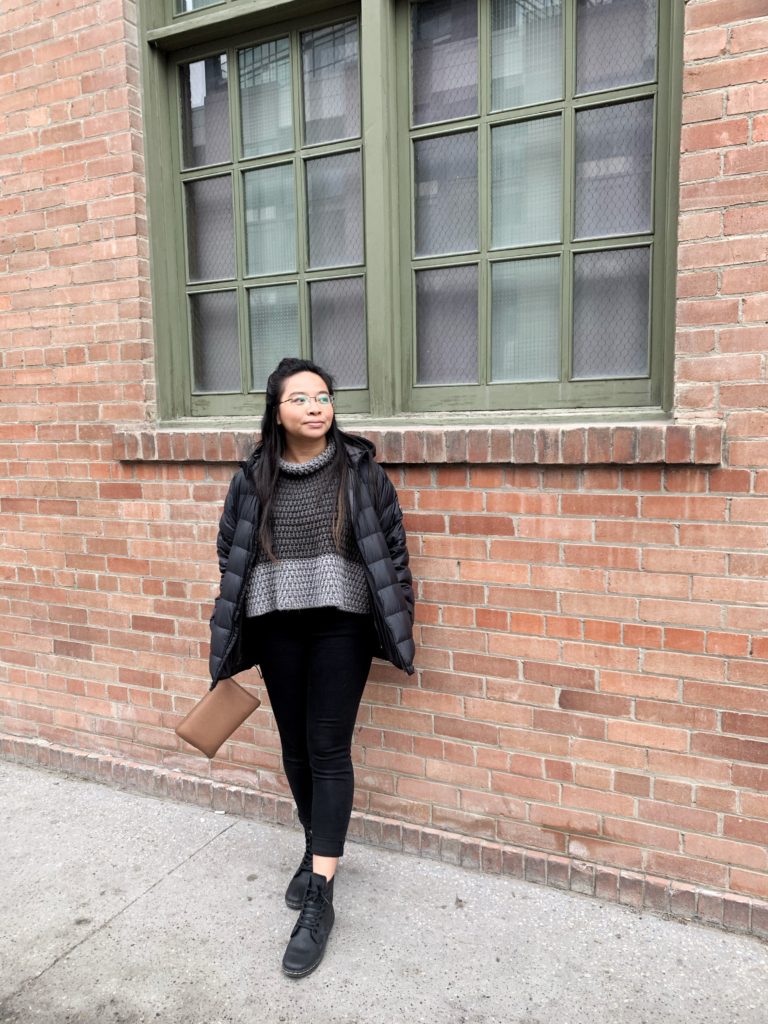
The Shu Poncho is honestly – to date – my favorite design yet! This project is insanely simple yet luxurious with the turtle neck neckline. I have worn it three times already and it hasn’t even been a month! I love the fit and versatility of the poncho especially paired with a jacket. It is just the perfect weight and structure for these weird winter days that are oddly warmer than usual *shrug*.
Okay enough background, let’s dive into making the crochet poncho! I might even be making another one for myself because I just love it sooooooo much! Are you ready? Let’s do this!
To get your own Shu Poncho Pattern ad free click here.
Materials
- 4.5mm crochet hook
- DK weight yarn – I used Paintbox Yarns Simply DK
- Scissors
- Tapestry Needle for seams and weaving in ends
I have here some general sizes as guide lines, however the crochet poncho can be easily modified to your preference.
Want it a little longer? No problem! Just add on to the number of rows.
Need a larger head opening? I got you! Decrease the number of stitches seamed up on each side along the top to the opening.
Want a more dramatic turtle neck? I have you covered! Add more rows to the neckline.
See? Easy peasy versatilisy… if that is a word.
Measurements: xs(s, m, l, xl)
Like the title implies, this pattern can be made in any size. For the purpose of this post, sizes XS-XL are shown. Extended and in between sizes can easily be made by measuring your desired circumference. Divide the circumference by 2 to get the width of one panel. Divide this number again by 4 then times it by 2.
For example:
Desired circumference = 88″. 88/2 = 44″ (width)
44/4=11*17= 187
187 will now be the number of stitches to chain and you should be good to go with the pattern 🙂
Height- 15(15, 16, 17, 18) inches
Length – 28(30, 32, 36, 40) inches
Okay now for crochet pattern
Crochet poncho Panels (make 2)
Ch 121(129, 137, 155, 171)
R1: dc into 3rd ch from hook (this makes the first two sts), dc into next 118(126, 134, 152, 168) ch. (120, 128, 136, 154, 170 sts)
R2: ch 2 (counts as one st throughout the pattern), *fpdc, bpdc. Repeat from * until end of row. (120, 128, 136, 154, 170 sts)
Sequence 1:
R3: ch 2, *fpdc, dpdc. Repeat from * until end of row. (120, 128, 136, 154, 170 sts)
R4: ch 2, *bpdc, fpdc. Repeat from * until end of row. (120, 128, 136, 154, 170 sts)
Sequence 2:
R5: ch 2, *bpdc, fpdc. Repeat from * until end of row. (120, 128, 136, 154, 170 sts)
R6: ch 2, *fpdc, bpdc. Repeat from * until end of row. (120, 128, 136, 154, 170 sts)
R7-45(45, 48, 51, 54): repeat sequence 1 and sequence 2 consecutively. (120, 128, 136, 154, 170 sts)
Fasten off
Assembly:
Lay panels together wrong sides out.
Seam together top using whip stitch. Start from the outer corner towards center for 43(47, 51, 60, 68) sts each side.
Seam 13(13, 15, 17, 20) rows on each side starting from the bottom.
Neckline – Turn garment right sides out.
Attach yarn to top opening.
R1: Continue with alternating sequence around the opening, adding a dc to where the panels were seamed together. Slst into top of first st. (70 dc)
R2-10: Ch 2. continue alternating sequence. (70 sts)
Fasten off. Fold neckline to wear.
And there you have it! Your very own Shu Poncho! I would love to see your Shu Poncho, make sure to tag me @knitsandknotsbyame on IG.
You might also be interested in: