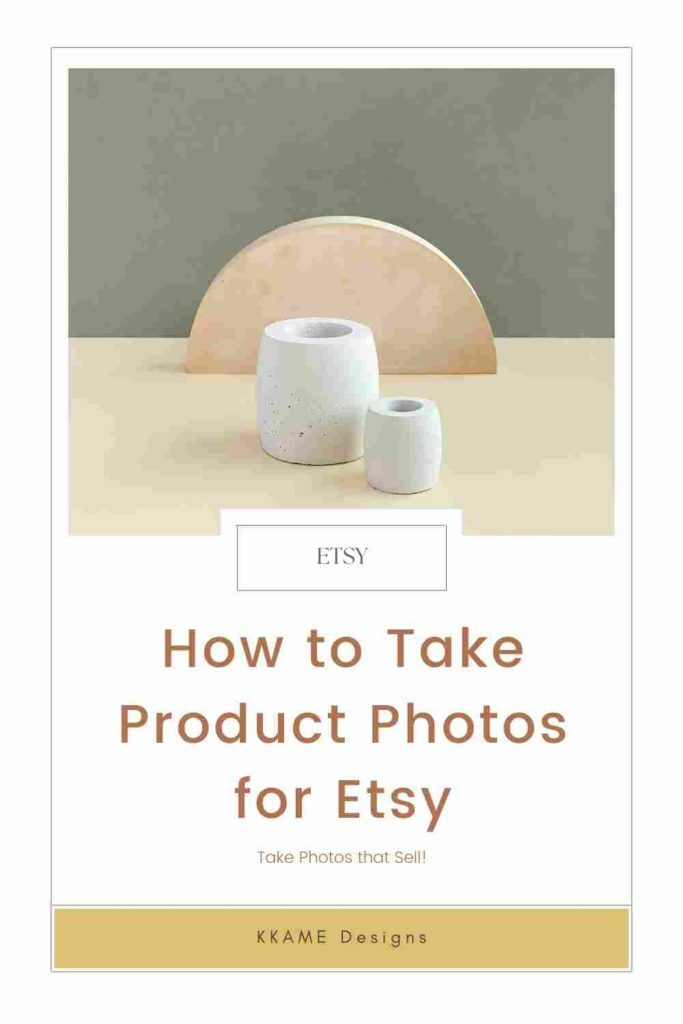
How to Take Product Photos for Creative Businesses
This post goes walks you through how to take product photos for your creative business. Whether you are selling on Etsy or elsewhere, you can use these tips to help you sell your products.
This resource is a part of a compilation: How to Make Money on Etsy.
Hello Makers! Here are some questions for you to think about:
Does photographing your handmade items something you struggle with as a creative entrepreneur?
Ever wonder why your engagement on social is not as high as you want it to be?
Or say you are already taking great photos, your feed looks great! But figuring out what to post every day has become something you dread?
Answered yes to any of these questions?
Today I want to share with you some of my tricks to taking product photos. If you are like me, I don’t have a big beautiful house to do the magic for me making staging difficult. I am also no where near being a professional photographer. We work with what we have, that’s just how it is. Lucky for us I have a solution for the answers above!
Photographing our products is kid of a big deal for us creative entrepreneurs. Taking quality and eye catching pictures is a big part of attracting an audience and building an online presence. With the fast moving pace of today’s life making a visual statement is the best way to get seen and heard through the hustle and bustle of life.
On a budget? I got you! I talk all about my little hacks and what I use to take photos on a budget here. Sister, I am in the same boat as you on this creative journey!
I take mini photo sessions every so often using these tips and spread them across time so I am not scrambling to figure out what to share or post. Here are 4 tips to take product photos that stand out on visual platforms.
Are you trying to build a crochet business? Check out the link below to learn everything you need to know to start a crochet business in 2023.
1. Take Photos From Different Positions
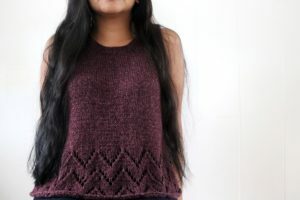
Handmade items do not move, so you should do the moving for them! When taking product photos place the item in a spot which allows you to at least have 180 degrees mobility around it if not 360. Capturing your product in different positions helps the viewer get a clear overall image of the item since they cannot hold it. Say for the instance of garments, getting multiple shots of the garment in different position helps viewers envision how others will see them when they are using your design.
Handmade photography is all about the details. Make sure to zoom in and focus on details. People appreciate and are drawn to the individual characteristics of handmade items so make sure to highlight these. Take pictures of details like ribbing, pockets, stitches, color work, etc. in your designs. Use the rule of thirds in capturing photos and their details. A good practice I do is capturing a lot of negative space surrounding my focal point (which will be the detail I am targeting in the shot). Then I’d change position of the focal point again using the rule of thirds and snap more product photos.
Taking product photos in various positions also help you build a library of the particular item you are photographing. This creates a whole library of photographs you can pull from to put on your feed of just one item without feeling like it’s the same photo over and over again.
2. Be unique
I am sure every single one of us has seen a photo of a perfectly set up desk or the expected overlay of yarn and coffee. These photos are great! I mean I still love these photos and it makes me want to brew a cup of coffee every time I see them. But do we really need more of these? I say not really.
Your handmade photography should be as unique as your product. Instead of a perfect desk how about mess it up a little, that’s life right? Think about what has already been done, what you are always seeing, and how you can make it a little different. At the same time you also have to consider what is trending and how you can put a twist to it. Going back to the cozy coffee example, fall is definitely in full swing for the fibre community, instead of an overlay of a WIP and a mug why not drink from the mug?

People like to see new things and new takes on trends.
This creative surprise and gets people to scroll back and think “wait what? Uh how?”. Show people who you are and what makes you different from other people. The more unique a photo is the more impact it has
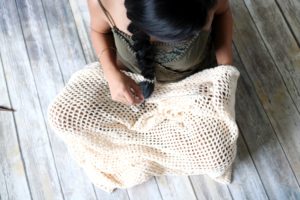
As creators a great way to be unique is to show the process of how your item is made.
It is a great way to show off your craft and express what makes your process different from other makers. People are often curious about the creative process of others, share your workspace and your work life with those familiar and non-familiar with your craft. This is also a great way to create engagement!
3. Use natural lighting as much as possible
Natural lighting is key! I know this tip is all over just about everywhere that talks about photography and I am going to continue stressing this here as well.
A lot of us work at night, my suggestion here is save the photos for the morning. This is where prepping mini photo sessions come into the picture. Create a schedule for your little photo shoot and take advantage of the sunlight that day.
Using natural lighting minimizes shadows in your photos and creates a light and airy feeling. It is a great way to get consistency across images as well.
If you must shoot during night or just don’t have access to a great space with natural lighting a great way to capture lighting can be done by:
- reflectors
- indirectly positioning your light source to avoid harsh shadows
- adjust the temperature of the photo when editing
Consulting a person who is well versed in photography and by playing around and discovering what best works for you and your space is a great way to figure this out as well!
4. Add Motion to Your Photo by Capturing a Movement in Action
The way I like to think of this is that people do not really buy a product, they buy a lifestyle. Consumers buy a sort of lifestyle they want to have. Photographing your product “in the wild” is a great way to portray the kind of lifestyle your consumer will get if they purchase your item. If you are selling garment patterns as I do, try to do something while wearing your garment. For home decor, stage a room with your product and people in it.
Having a person or people adds a touch to the humanistic character of a photo and helps consumers resonate better with the photo. In incorporating people to photos, showing only partial features make it easier for people to substitute the character in the image with themselves.
5. Place Products in Bright and Clear Areas that Would Not Distract the Buyer
Make sure that your product is the center of attraction.
Avoid having too many props or items in the background. When looking at a photo, our eyes naturally read it and look at each space. We want to lessen distractions that might inadvertently make the buyer forget why they clicked on your listing.
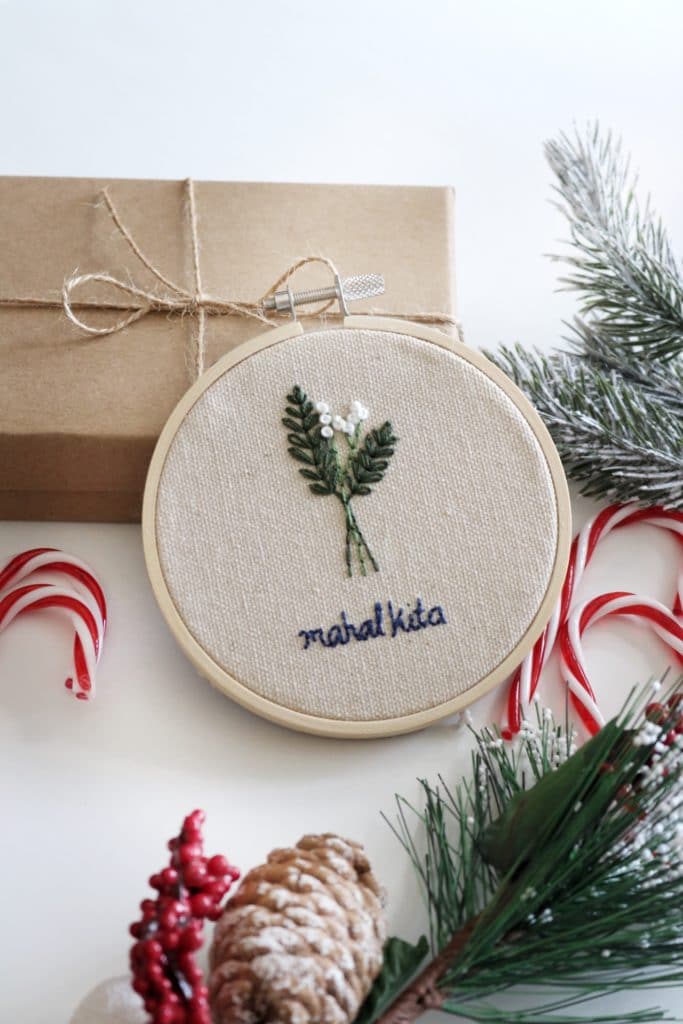
In this photo you can see that I did add props. This was because I wanted to remind the buyer that she is shopping for a Christmas gift. Even though I chose to add props, the focus of the image is still my products.
Choose props that help create a picture that your target customer will resonates with. Props should compliment your product and continue to paint a picture.

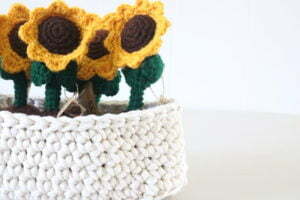
In this photo I chose to take out all props and focus on the product. Notice how I chose a bright space and a light (white) surface.
Play around with different surfaces, spaces, and props. You can never have too many photos AND you will be adding these to your library of photos to use throughout time.
6. Take Seasonal Photos Using your Different Products
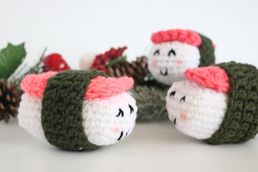
Something I started recently and have seen lots of benefits is using seasonal props (much like what I mentioned above). This trick helps categorize your items in occasion attributes as they create a seasonal story for your buyer.
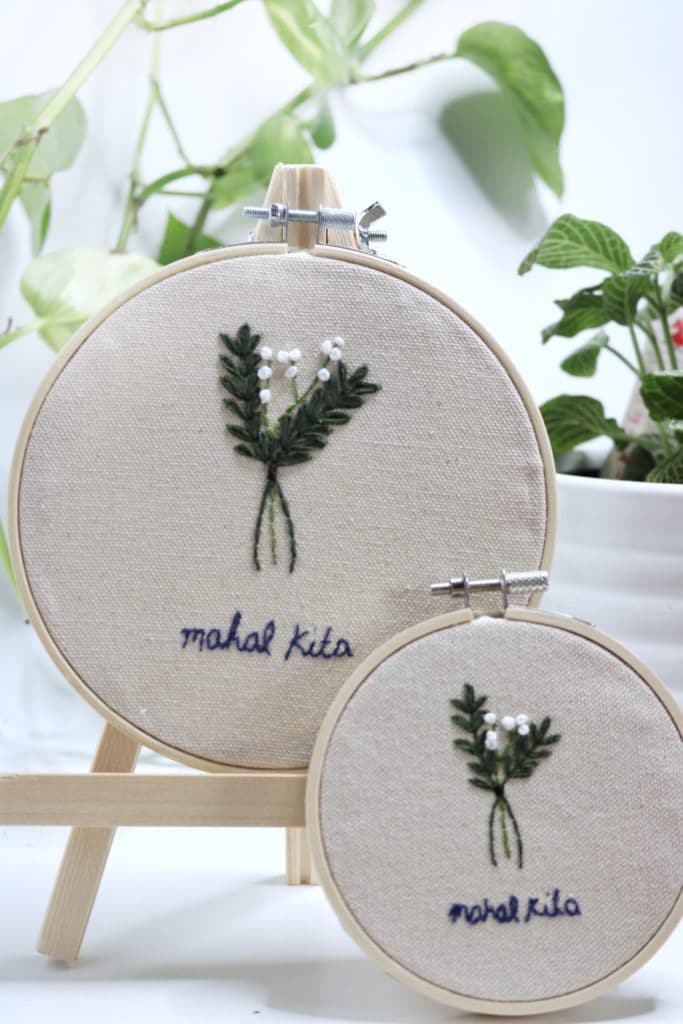
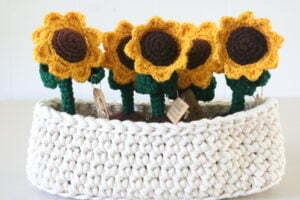
Here are two different pictures I took of the same product. On the left is a styled shot for the holidays, on the right is neutral with no specific occassion.
Take photos using seasonal props and duplicate your listing, changing title and tags to target these special buying occasions.
7. Show Scale by Placing your Product Next to Something
Online shoppers cannot see the actual product. Help them get a clear picture as to what to expect in size by using props to show size perspective.
Another way to show scale and not using objects is to hold your item. The buyer would be able to see that your product fits in an adult hand. Wearing garments help them get a good picture about how the garment will fit.

8. Tell Stories Through Lifestyle Shots
In reality, nobody REALY needs to buy your product (not unless you sell necessities, but this is a post about handmade products after all). Hence, we need to change our mindset to what we are actually selling: a feeling.
Story telling is such a powerful thing in marketing. It creates a strong bond between your audience and your brand. We sell feelings of hope, joy, or even relief by solving their pain points through our products.

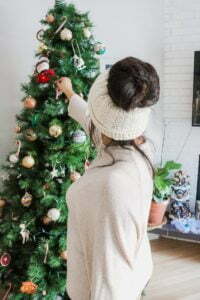
Like this photo. It tells a story about someone preparing for Christmas. A woman who carefully wraps her gifts and gently places them under the tree. This is how this woman shows her love for the ones around her.
We help our customers form their own stories.
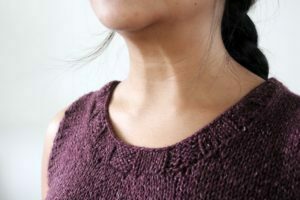
A very important trick in product photography is avoid focusing on any clear identifiers of a person in a photo. This can be done by blocking parts of their face or even facing away.
This trick helps the buyer envision themselves with the product. That person in the picture could be just about anyone and unconsciously, the buyer feels like it could very well be them.
Want more content to improve your small business?
Head to the post below
There you have it. Simple tips I gathered to increase engagement and also keep a bountiful library of photos to pull from.