FREE Crochet Pattern: How to Make the Cameron Coverup (crochet coverup)
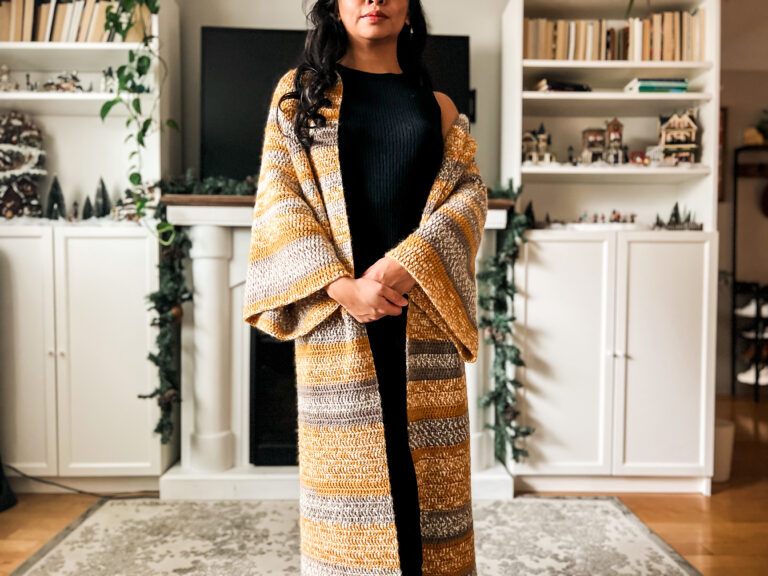
It is summer and the beach is the place to be! This post shows you how to make a quick and easy crochet beach coverup with a geometic design. You can get out there and enjoy the summer heat without feeling 100% exposed.
I LOVE LOOKING and FEELING GOOD. This is exactly what I have in mind when I create my garments, specifically beachwear. My designs are made to compliment my body, hide my insecurities, and make me feel – AND LOOK – like a million bucks!
Related post: 37+ Crochet Beach Coverup Patterns
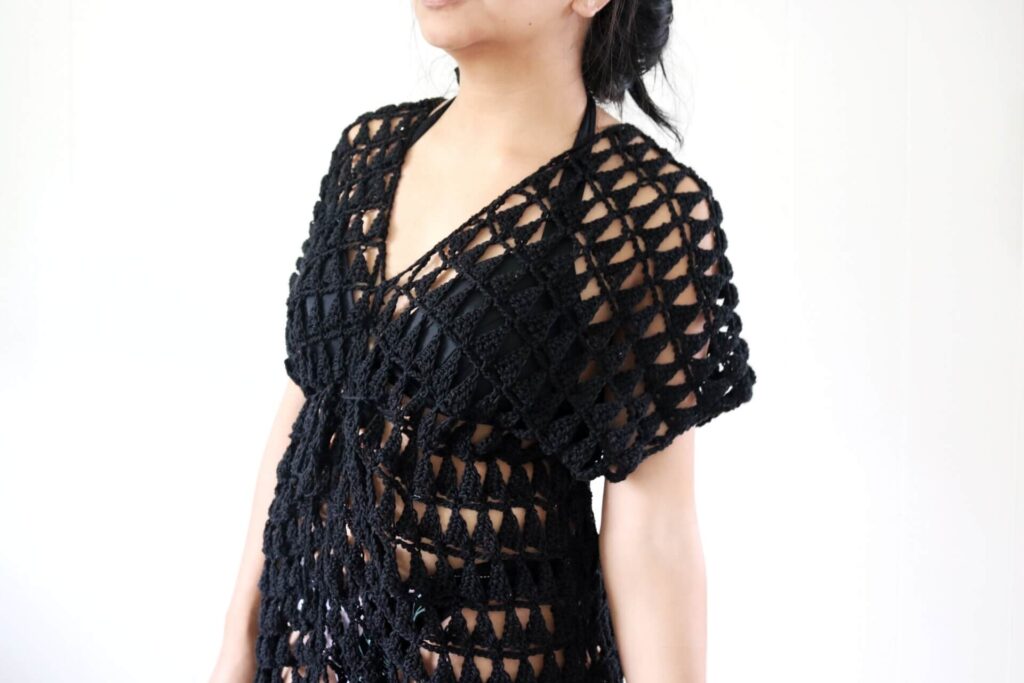
Cameron Beach Coverup
The inspiration for this design came from a coverup my cousin has which I can’t recall the brand but what I do remember is the beautiful geometric pattern it had playing with triangles.
I knew right away I needed to make a crocheted geometric beach coverup myself and I had THE PERFECT SUMMER YARN left in my stash! Figuring out exactly how I wanted to get this done was a bit of a struggle for me. For a whole day I swatched and frogged and swatched and frogged! After a very frustrating day of swatching and frogging I opened a crochet stitch books for inspiration and swatched a little more until I found the perfect stitch to use for my crochet coverup.
Related Post: 34+ Crochet Ideas for Summer
I want to talk a little about the book I used because it is a goldmine for stitches! It’s none other then the Complete Book of Crochet Stitch Designs by Linda Schapper and guys let me tell you this book contains hundreds of stitches – pictures and instructions! So many of these stitches are absolutely beautiful and unique. This was actually my first time opening this book of mine and I was blown away with how many unique stitches were in there!
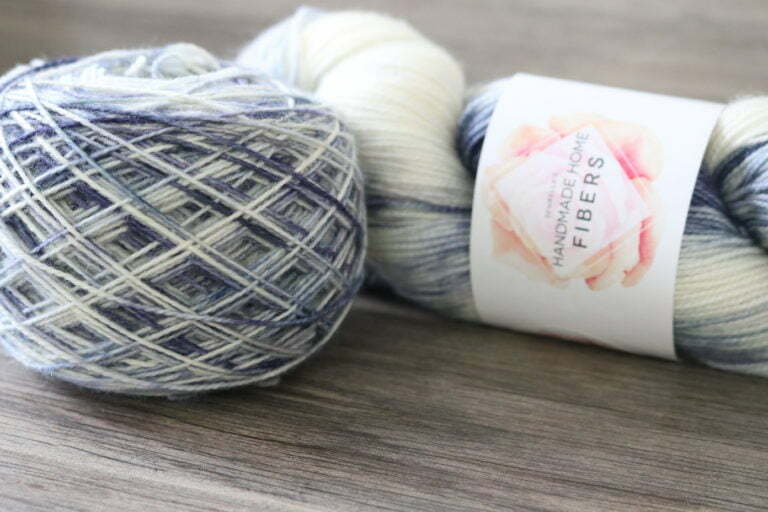
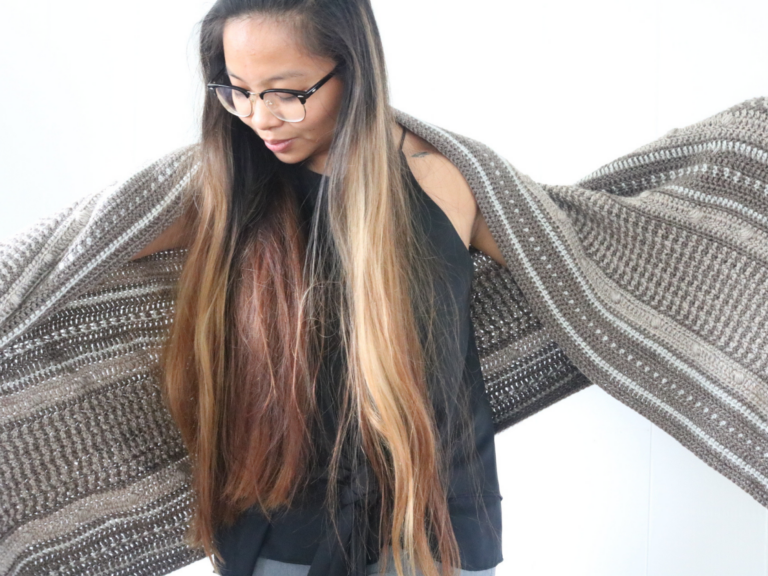
What I really want to share about this book are the pictures and what I found out about them. Now the pictures in this book are crocheted in swatches of what seems to me this scratchy almost tweed like brown yarn which I found not so appealing. However, when I worked up a few swatches of a few patterns in this book I was shocked in delight with how beautiful the patterns were coming out. Well! I do believe a lot had to do with the beautiful yarn I was using (click here to get it)!!
Beach Coverup Pattern

You can grab the ad- free pattern that has the diagram in my shop by clicking here.
For this pattern I used Lion Brand’s 24/7 Cotton yarn (5 balls for medium) and a 4mm crochet hook. This is just the perfect summer yarn – hands down! I think I worked with this yarn the most over the past few months. AND – wait for it – it comes in soooooo many different colors with a decent amount of yardage. Okay I am getting a little too excited over here. You too? Just grab it. 🙂
Gauge:
This crochet coverup is made using a sequence. For a 4 inch square you will need to make = 4 triangles x 3 complete triangle rows (following rows 1-6 in pattern to test gauge. Start with Ch 18)
The Sequence and Pattern
This crochet coverup is made in three sizes XS-S, M, and L-XL. Follow this sizing respectively throughout the pattern.
Ch 42, 50, 66
Row 1: sc in 2nd ch from hook. *ch 6, sc into 3rd ch from hook, hdc, dc, tr. Skip 3 ch (from starting ch) and sc into next ch. Repeat from * to end of ch. (10, 12, 16 triangles)
Row 2: ch 5, sc into top of triangle. *ch 3, sc into top of triangle. Repeat from * until last triangle. ch 1, tr into first st of row below.
Row 3: ch 9, sc into sc on top of triangle. *ch 6, sc into 3rd ch from hook, hdc, dc, tr. Skip 3 ch and sc into next ch. Repeat from * until last triangle top. Ch 4, tr into 4th ch of turning ch below. (9, 11, 15 triangles)
Row 4: ch 1, sc into first tr. *ch 3, sc into top of triangle. Repeat from * until top of last triangle. ch 3, sc into 5th ch of turning ch below.
Row 5: ch 1, sc into first sc. *ch 6, sc into 3rd ch from hook, hdc, dc, tr. Skip 3 ch and sc into next ch. Repeat from * until end of row (10, 12, 16 triangles)Row 6 – 80, 82, 88: repeat pattern following rows 2-5

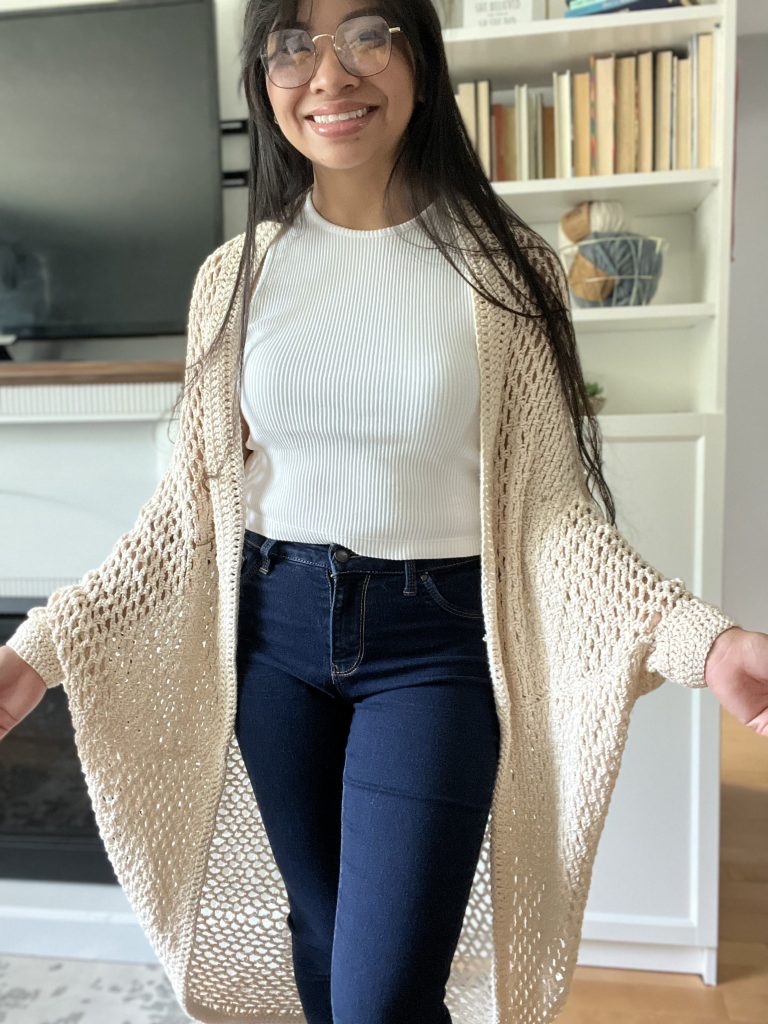
As intimidating as this pattern may look for beginners, it is actually beginner friendly! I am all for creating garments that beginners could make and appealing to all levels of crocheters, so if you are a beginner do not worry! The pattern comes with both written instructions and a chart which is extremely useful and easy to understand even if you have never used charts.

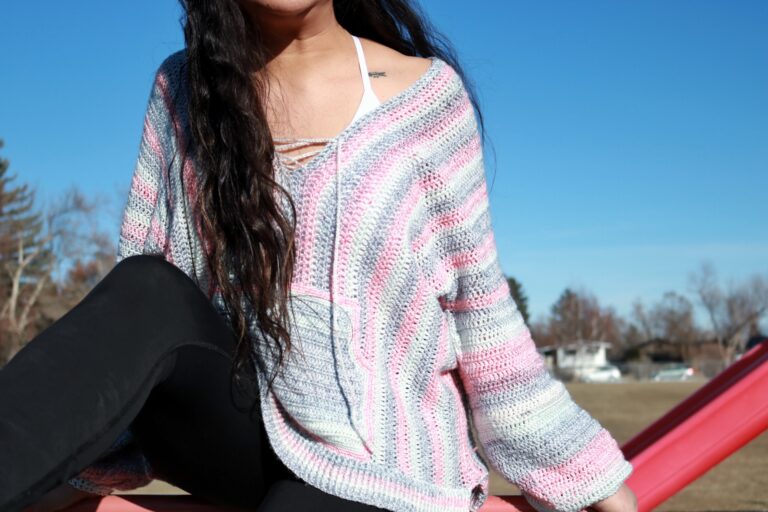
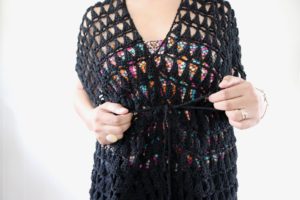
It is made in two panels and cinched together with a drawstring. Now how perfect is that? I personally love drawstring garments, something about them just scream summer.
Assembly:
- Panel A – Fold panel in half, triangles facing up. Seam from bottom left side up 13, 14, 18 complete rows of triangles
- Panel B – Fold panel in half, triangle facing up. Seam from bottom right side up 13, 14, 18 complete rows of triangles
- Front – place panels side by side triangles facing up. Seam along midsection (open sides) 14, 15, 19 complete rows of triangles
- Back – place panels side by side triangles facing down. Seam along midsection (open sides) 16, 17, 21 complete rows of triangles
- Ch 215, 220, 240 for drawstring. Place garment flat triangle facing up. Locate the 13th, 14th, 18th row of triangles. Locate the second to the left triangle from the midsection and insert drawstring at the base. Weave through the base of triangles around garment and pull through the second triangle to the right of midsection. Tie three knots on both end of the drawstring.
I am also a big fan of functionality and making garments that can be worn frequently, this crochet coverup is definitely an example of this. Imagine throwing it on over a spaghetti strap and leggings. JUST GET OUT OF HERE!! Getting exciting again. haha
Want more crochet cover up patterns?
I am guessing we have the same taste! That is why I put together a curated list of trendy coverup patterns just for you! Click on the button below to get to the roundup post and find your next crochet coverup pattern.
Until next time makers!
Abigail
Have any suggestions for my next project? Want to dig in deeper into the process? Let me know in the comments or shoot me a message 🙂