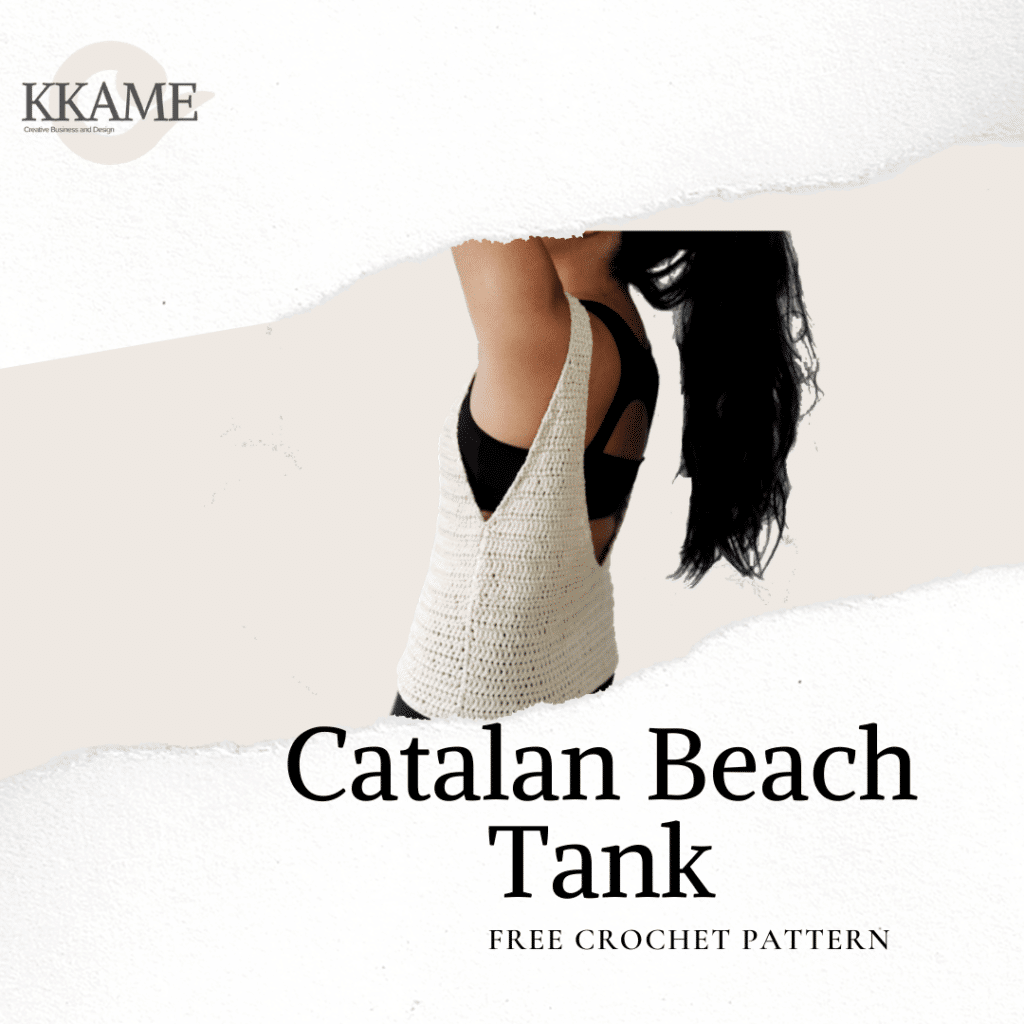
Quick and Easy Crochet Tank Top Pattern
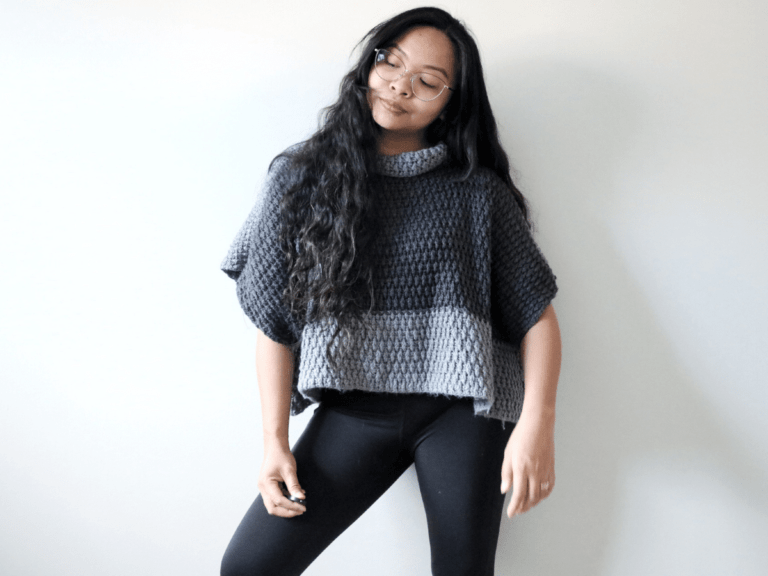
Hello there makers! Around 4 years ago I started to dive into the world of pattern making and design. That year overflowed with so much creativity and inspiration. It is such a great feeling wearing something you made. My first crochet top design was called the Catalan Beach Tank.
Disclaimer: This post contains affiliate links. These links take you directly to where you need to be and – if a purchase is made through the link – a small commission is given (at no extra cost) to the blog. This helps us keep making awesome content for creatives.
My first time designing!
I remember first making the crochet top. That day, I felt so confident in my own skin and went to a coffee shop thinking everyone must think my top was so nice. Disclaimer, grandiose thoughts are a side effect of handmade garments!
I was astonished that I could make something I could actually wear! I mean, I knew the possibility was out there and I followed so many people who made their own sweaters and what not in social media. But never have I ever thought that it was a skill I could have. I was passionate about home décor, accessories, and amigurumi at the time so garments seemed way out of reach.
Design process
I bought some yarn I really liked at a local yarn shop to make the crochet top. In my naivety I did not know that buying colors in the same dye lot actually mattered and ended up with a crochet top that had a slight shade change on one panel. At the time, that did not matter one little bit!
I was in love with my design and I wanted to make another one! So I ordered some yarn (Hawaii does not have a great variety of yarn so I often ordered online) and made another tank top, this time carefully writing down every step.
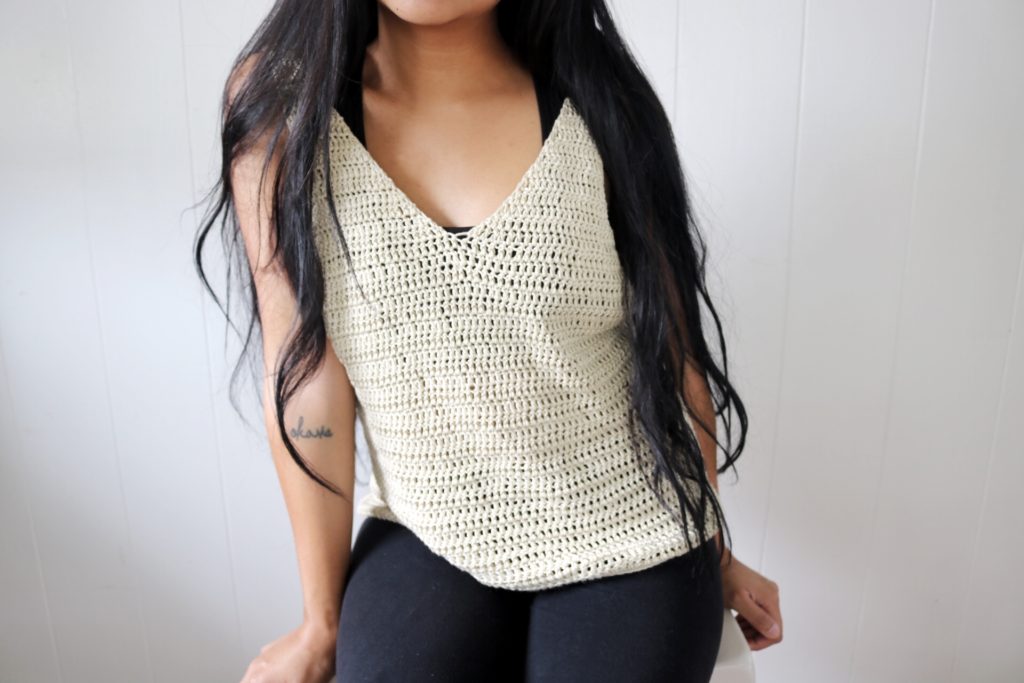
If you were wondering about the yarn that I used it was Lion Brand Yarn’s Cotton Bamboo. This yarn was perfect for what I had in mind for the crochet top because it had the most beautiful drape!
I then researched how to grade the pattern into different sizes and found testers on a Facebook group to test my pattern. Looking back, this was such a humbling time. I remember advertising that this was my first pattern so testers should be patient! Luckily everything went smoothly and the rest is history. I never stopped designing since then!
About the name
The Catalan Beach Tank is named after my family home. I was so proud of our home and would tell everyone that my daddy worked hard to build us the perfect beachside home. It’s full of so many memories and the highlight of my teenage years. Catalan’s where I felt my family in it’s wholeness and happiness.
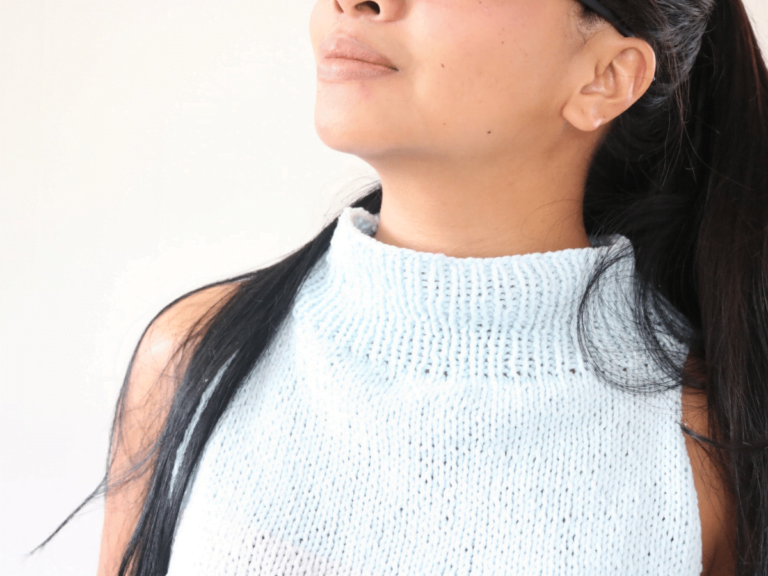
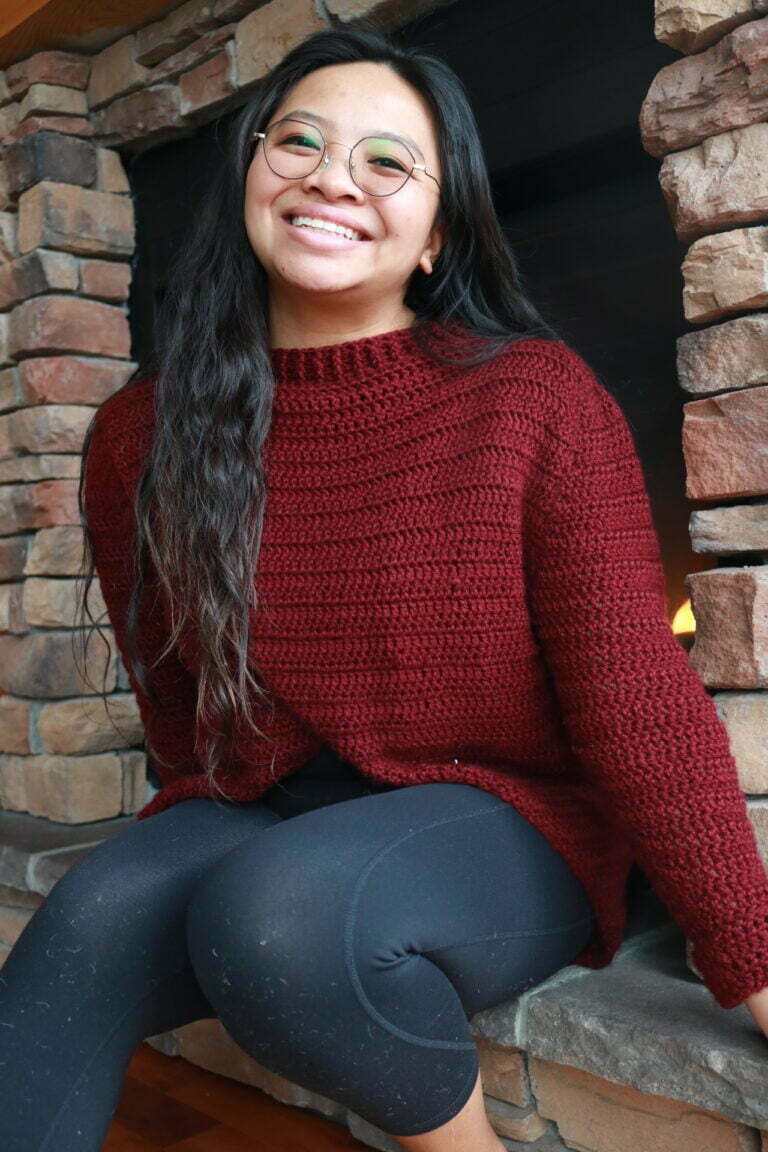
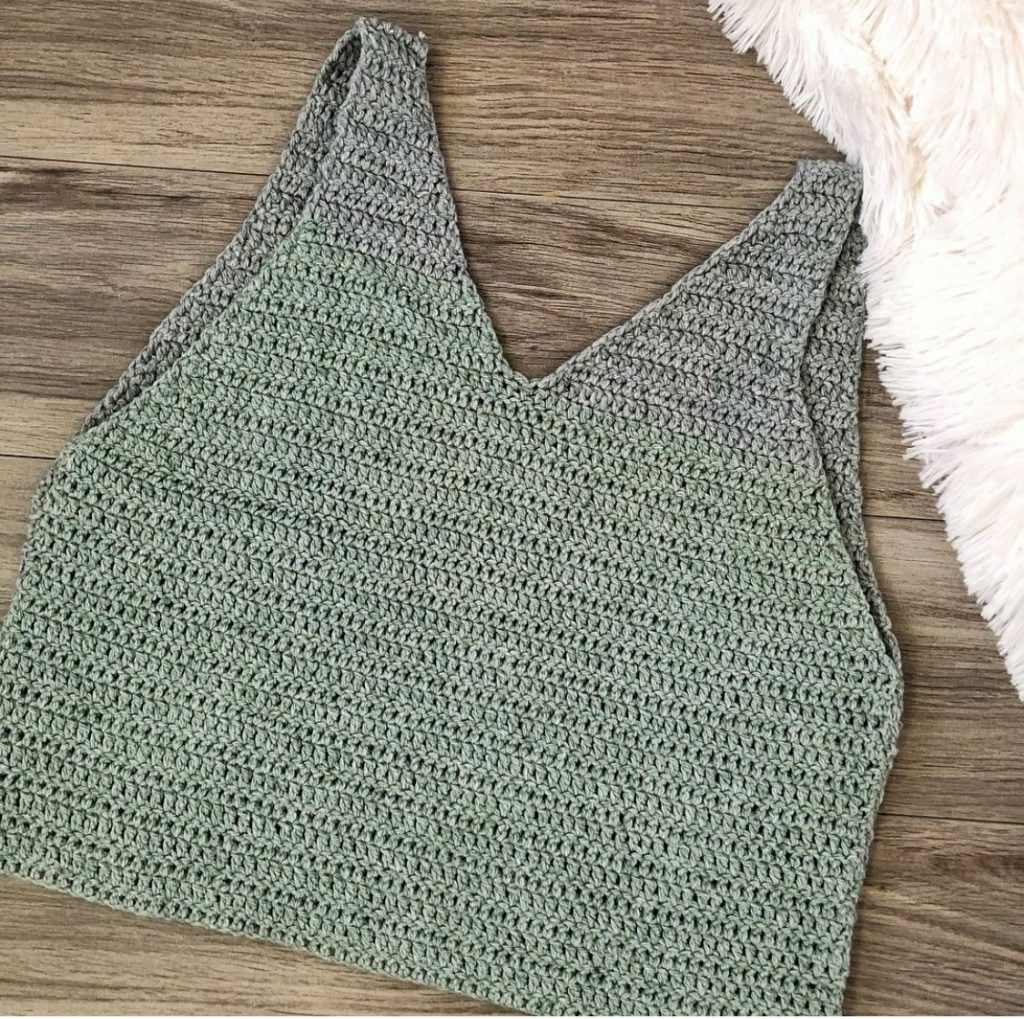
I am so honored to share this crochet top pattern with you all for free on the blog! This is a yearly hit design and perfect for summertime weather. The Catalan Beach Tank uses double crochet stitches and is 100% beginner friendly. If you are a visual learner, you can purchase the pattern that includes a step by step photo gallery of the construction process.
Are you a visual learner? Get the PDF pattern for extra picture guidance.
Front
Ch 62 (70 78) +1
R1: dc in 3rd ch from hook (this serves as first and second st), dc in every st down the row (62 70 78 st)
R2: Ch 2 (this serves as first st), dc in next st all the way down the row (62 70 78 st)
R3-18 (20, 22): repeat R2 (62 70 78 st)
You will now begin decreasing on both sides
R19 (21, 23): dc2tog, dc in next 58 66 74 st, dc2tog (60 68 76 st)
R20 (22, 24): dc2tog, dc in next 56 64 72 st, dc2tog (58 66 74 st)
R21 (23, 25): dc2tog, dc in next 54 62 70 st, dc2tog (56 64 72 st)
R22 (24, 26): dc2tog, dc in next 52 60 68 st, dc2tog (54 62 70 st)
R23 (25, 27): dc2tog, dc in next 50 58 66 st, dc2tog (52 60 68 st)
R24 (26, 28): dc2tog, dc in next 48 56 64 st, dc2tog (50 58 66 st)
R25 (27, 29): dc2tog, dc in next 46 54 62 st, dc2tog (48 56 64 st)
R26 (28, 30): dc2tog, dc in next 44 52 60 st, dc2tog (46 54 62 st)
R27 (29, 31): dc2tog, dc in next 42 50 58 st, dc2tog (44 52 60 st)
R28 (30, 32): dc2tog, dc in next 40 48 56 st, dc2tog (42 50 58 st)
Mark 21 25 29 stitches with stitch marker
The chest area starts here and splits into the left and right sides.
R29 (31, 33): dc2tog, dc in next 17 21 25 st, dc2tog (19 23 27 st)
R30 (32, 34): dc2tog, dc in next 15 19 23 st, dc2tog (17 21 25 st)
R31 (33, 35): dc2tog, dc in next 13 17 21 st, dc2tog (15 19 23 st)
R32 (34, 36): dc2tog, dc in next 11 15 19 st, dc2tog (13 17 21 st)
R33 (35, 37): dc2tog, dc in next 9 13 17 st, dc2tog (11 15 19 st)
You are now going to be decreasing on only one side (inner side) and forming the front straps
R34 (36, 38): dc2tog, dc in next 9 13 17 st (10 14 18 st)
R35 (37, 39): ch 2 (this serves as first dc), dc in next 7 11 15 st, dc2tog (9 13 17 st)
R36 (38, 40): dc2tog, dc in next 7 11 15 st (8 12 16 st)
R37 (39, 41): ch 2, dc in next 5 9 13 st, dc2tog (7 11 15 st)
R38 (40, 42): dc2tog, dc in next 5 9 13 st (6 10 14 st)
R39-40 (small only): dc in each st (6 st per row)
Fasten off
R41 (43): ch 2, dc in next 3 7 11, dc2tog (9 13 st)
R42 (44): dc2tog, dc in next 7 11 st (8 12 st)
R43 (45): ch 2, dc in next 5 9, dc2tog (7 11 st)
R44-45 (medium only): dc in each st (7 st per row)
Fasten off
R46: dc2tog, dc in next 9 st (10 st)
R47: ch 2, dc in next 7, dc2tog (9 st)
R48: dc2tog, dc in next 7 (8 st)
R49-50: dc in each st (8 st per row)
Fasten off
Repeat opposite side of stitch marker.
Back
Ch 62 (70, 78) +1
R1: dc in 3rd ch from hook, dc in every st down the row (62 70 78 st)
R2: ch 2, dc in every st down the row (62 70 78 st)
R3-13 (15, 17): Repeat R2 (62 70 78 st)
Mark 31 35 39 stitches with stitch marker
This is now the open back area split into left and right sides. This part is decreasing on one side (inner)
R14 (16, 18): ch 2, dc in next 28 32 36 st, dc2tog (30 34 38 st)
R15 (17, 19): dc2tog, dc in next 28 32 36 st (29 33 37 st)
R16 (18, 20): ch 2, dc in next 26 30 34 st, dc2tog (28 32 36 st)
R17 (19, 21): dc2tog, dc in next 26 30 34 st (27 31 35 st)
R18 (20, 22): ch 2, dc in next 24 28 32 st, dc2tog (26 30 34 st)
You are now going to start decreasing on both sides
R19 (21, 23): dc2tog, dc in next 22 26 30 st, dc2tog (24 28 32 st)
R20 (22, 24): dc2tog, dc in next 20 24 28 st, dc2tog (22 26 30 st)
R21 (23, 25): dc2tog, dc in next 18 22 26 st, dc2tog (20 24 28 st)
R22 (24, 26): dc2tog, dc in next 16 20 24 st, dc2tog (18 22 26 st)
R23 (25, 27): dc2tog, dc in next 14 18 22 st, dc2tog (16 20 24 st)
R24 (26, 28): dc2tog, dc in next 12 16 20 st, dc2tog (14 18 22 st)
R25 (27, 29): dc2tog, dc in next 10 14 18 st, dc2tog (12 16 20 st)
R26 (28, 30): dc2tog, dc in next 8 12 16 st, dc2tog (10 14 18 st)
You are now only decreasing on one side (outer) and creating the back straps of the crochet top
R27 (29, 31): ch 2, dc in next 7 11 15 st, dc2tog (9 13 17 st)
R28 (30, 32): dc2tog, dc in next 7 11 15 st (8 12 16 st)
R29 (31, 33): ch 2, dc in next 5 9 13 st, dc2tog (7 11 15 st)
R30 (32, 34): dc2tog, dc in next 5 9 13 st (6 10 14 st)
R31-R40 (small only): dc in each st (6 st per row)
Fasten off
R33 (35): ch 2, dc in next 3 7 11 st, dc2tog (9 13 st)
R34 (36): dc2tog, dc in next 7 11 st (8 12 st)
R35 (37): ch 2, dc in next 5 9 st, dc2tog (7 11 st)
R36-45 (medium only): dc in each st (7 st per row)
Fasten off
R38: dc2tog, dc in next 9 st (10 st)
R39: ch 2, dc in next 7, dc2tog (9 st)
R40: dc2tog, dc in next 7 st (8 st)
R41-50: dc in each st (8 st per row)
Fasten off
Repeat opposite side of stitch marker
Assembly
- Seam at shoulders stitch per stitch
- Line up rows and seam on sides until bottom of armholes where decrease starts
And there you go! You made your very own crochet top! If this was your first time making a garment – just how it was for me – I would love to hear your experience! Remember to follow and tag me on social media with your Catalan Beach Tank on @knitsandknotsbyame.
Until next time makers!
xoxo,
Abigail
If you love free patterns we have more!!
Check out: