Free Crochet Granny Square Top Pattern for Summer
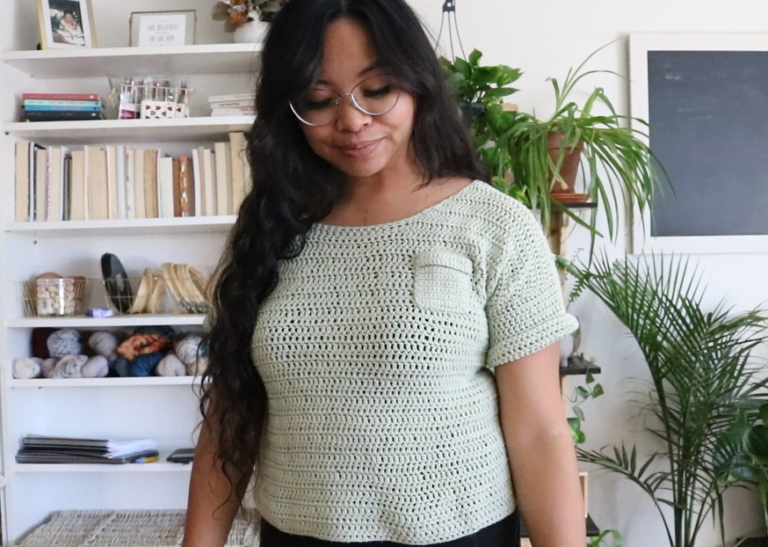
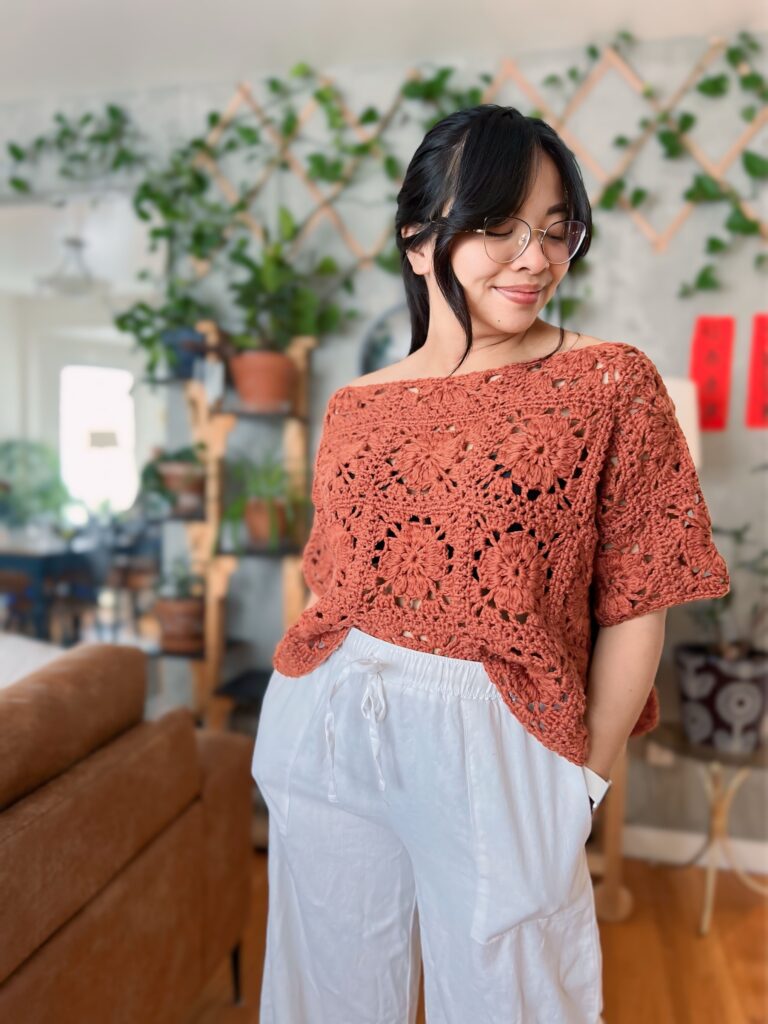
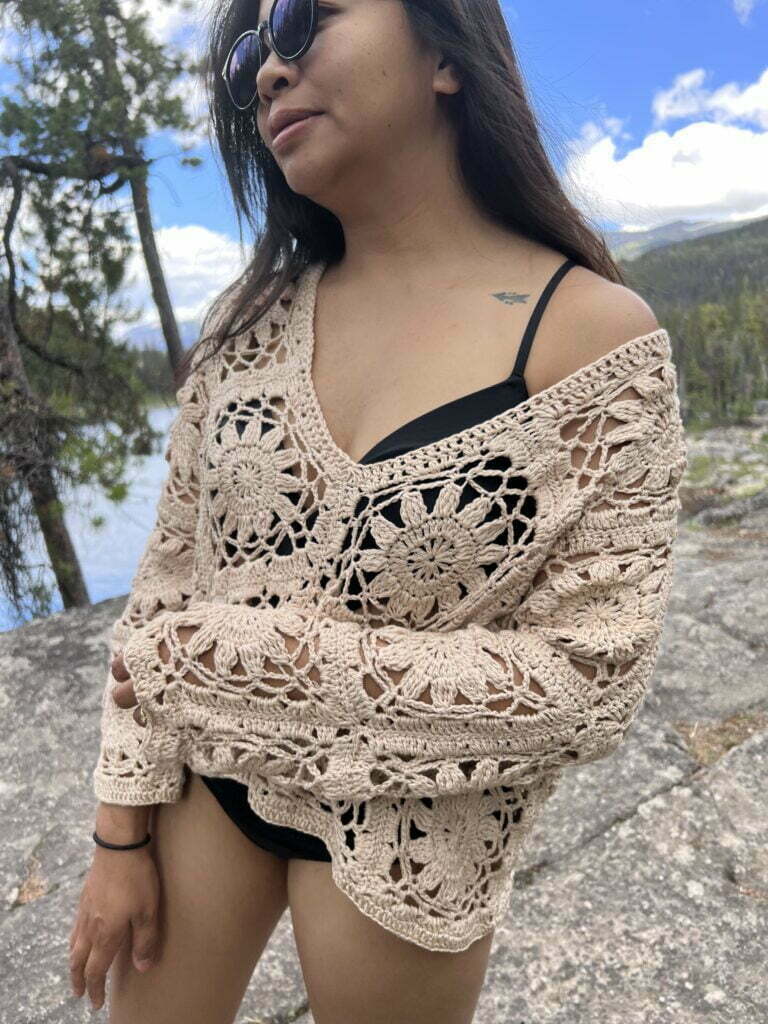
This post shares the free granny square crochet pattern for the Floe Top. The Floe Top is a simple boxy granny square top using a lacey join as-you-go construction and wide shoulder to shoulder neck opening.
About the Floe Top
The Floe Top is inspired by sweet spring gatherings and blossoming flowers. Seeing is in the air in our corner of the world (finally) and I have been so inspired by the regrowth of everything around.
The top is made with modified French square motifs that I thought looked like beautiful flowers. Granny square projects are so therapeutic to make with all the repetition and quick wins with finishing each square.
This granny square crochet top was named after Floe Lake. A beautiful alpine lake in the Canadian Rockies that I have been aspiring to see! I love hiking and camping so this lake was on my mind while designing it.
I chose cotton yarn for this design since I intend to use it as a coverup this summer. Cotton yarn is an excellent choice for warm weather for its light/airy and absorbing properties.
Construction of the crochet granny square top
I had such a fun time designing the Floe Top! There was a lot of trial and error as I modified the motif to have straight edges after realizing the original French Square pattern did not really feel right seamed together. This was fairly easy and I was happy with the square motif.
After collecting squares and half squares I was very determined to learn the Join-as-you-go method to seamlessly join the squares. This was a learning curve but I love learning new techniques all the time! After much trial and error I finally got the hang of it and it was smooth sailing all the way to the end.
The top is made by making wide rectangles (2-4″ positive ease) and adding on sleeves. The top is seamed at the shoulders with a wide neck opening for a boat neckline.
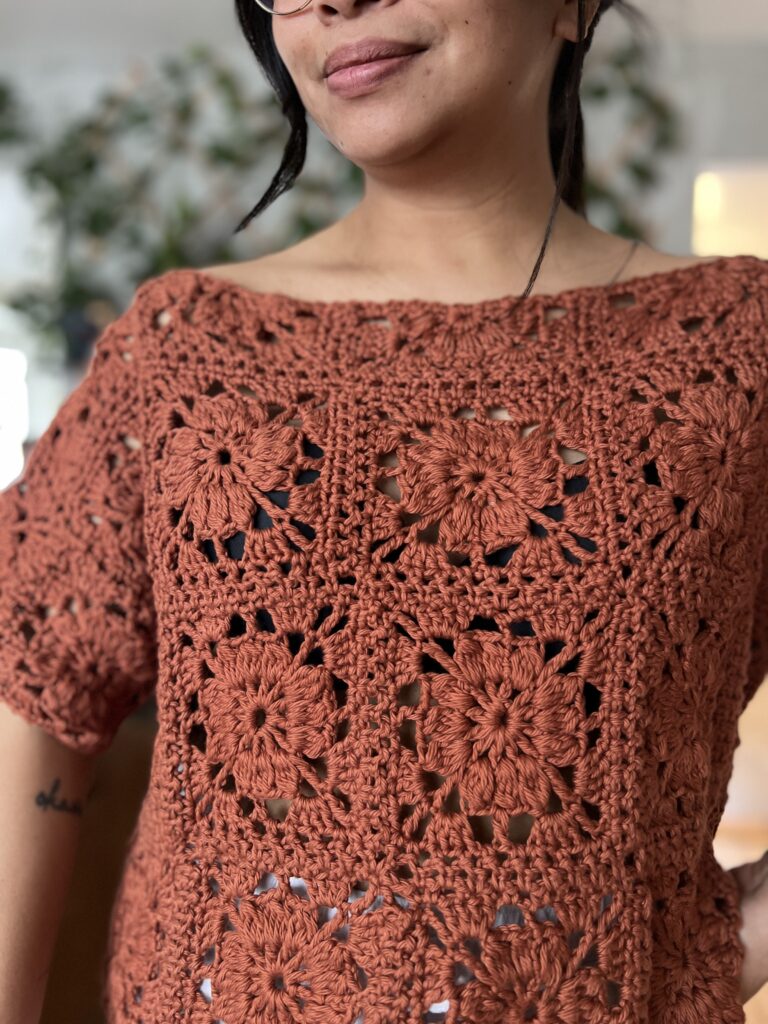
After making all of the granny squares I wet blocked the squares. I wet block every time I make granny square tops or any sort of lace stitches. This really helps the piece lay flat, distribute stitches, and improves definition of stitches.
This crochet granny top is quite easy to modify by just following the assembly. Here is extra information to make modifications.
You can use thinner yarn and a smaller crochet hook to create smaller granny squares for an ultra lite crochet granny square top.
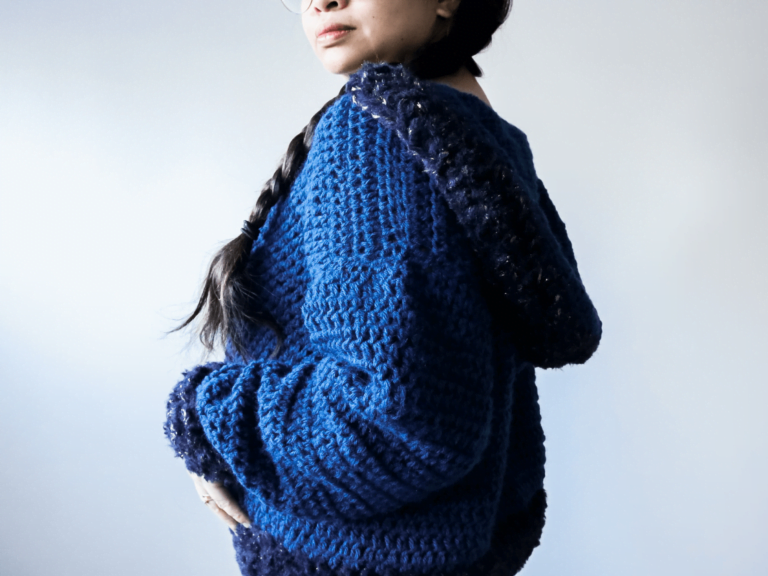
To modify the pattern for a square sweater you can add more rows of squares to the sleeve.
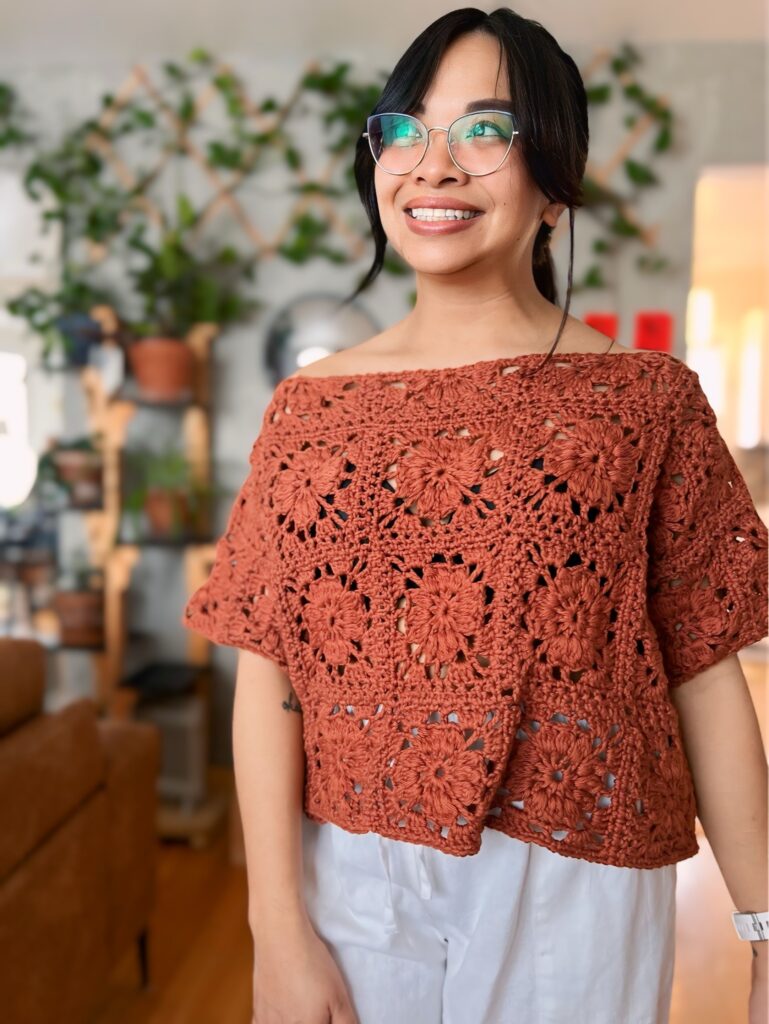
For a crop top look, add less rows of squares or half squares on the body
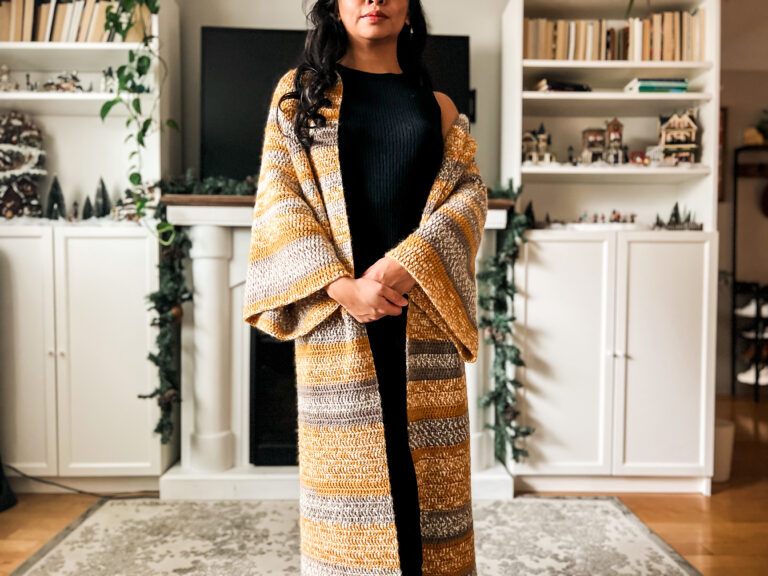
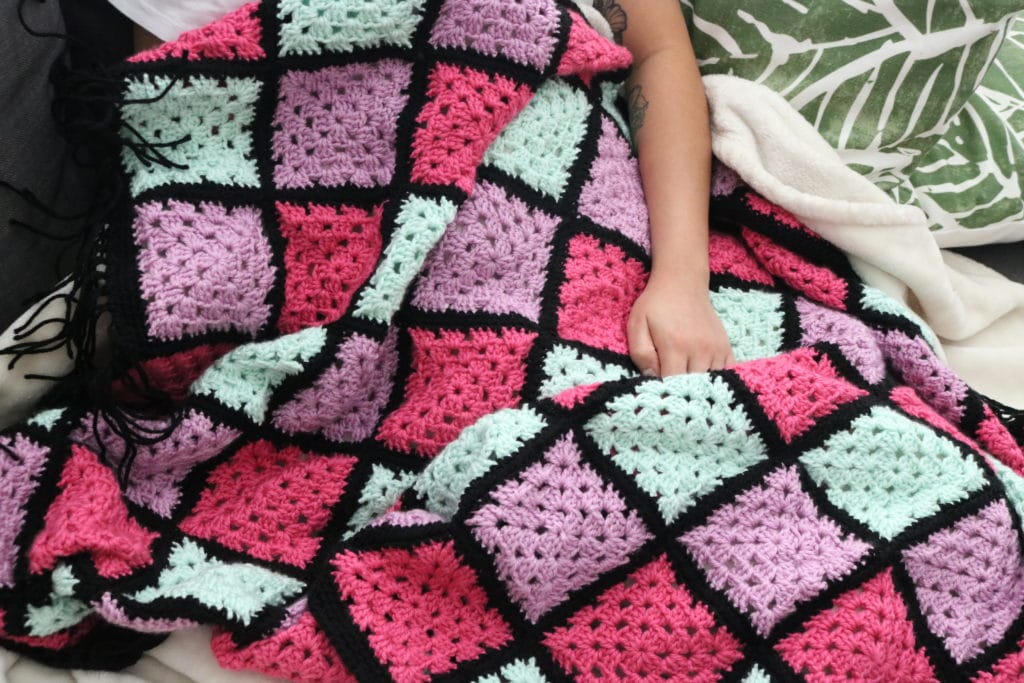
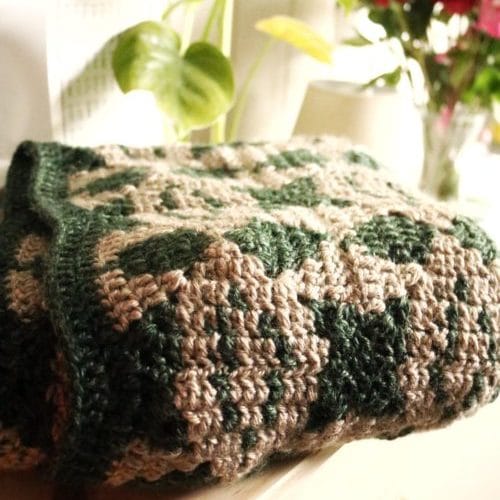
Want more granny square designs?
Check out these patterns (left to right): Jasper Coverup, Granny Pop Afghan, Coco Kali Afghan
This post may contain affiliate links. I get a small commission from any purchase made through these links at no expense to the buyer. This allows me to keep free awesome content coming your way. Check out my privacy policy for a full rundown of disclosures.
Floe Top Pattern
Are you a visual learner? Our PDF patterns have added pictures to help! You can get the PDF pattern at low cost here on the site (cheapest option) or go to where you are familiar Etsy or Ravelry. Want everything you need plus the pattern? You can purchase the crochet kit here.
Materials
Required Yarn:
Lion Brand Pima Cotton Category #4 Aran
Yardage: Between 800 and 1637 yards
Meterage: Between 731.52 and 1496.87 meters
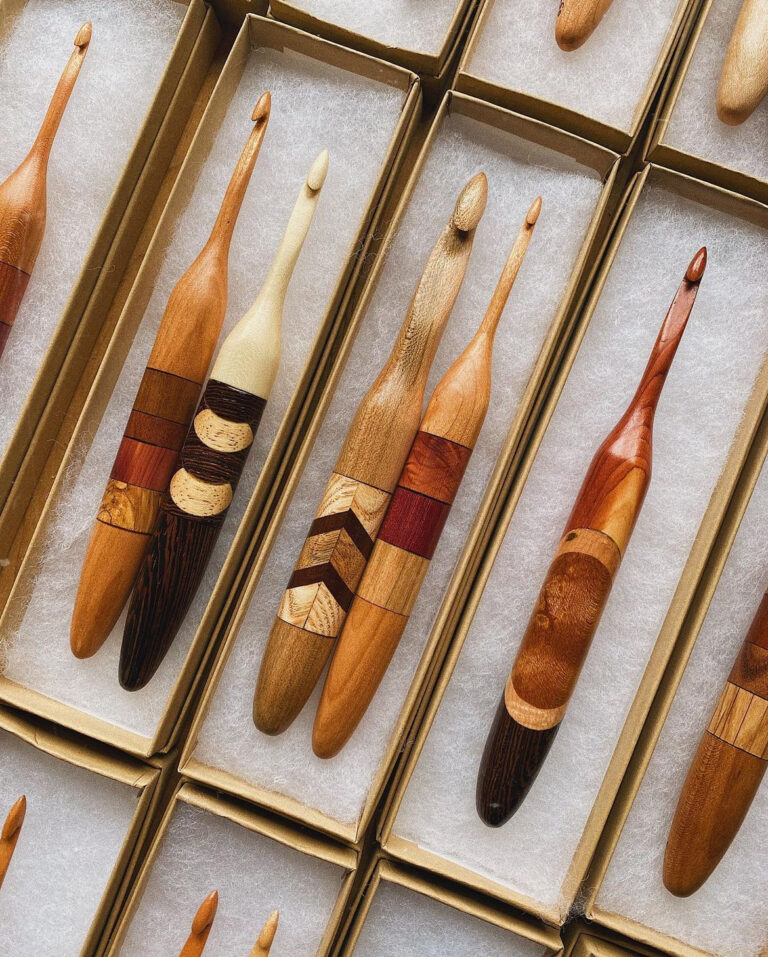
Hooks: US 7.0 – 4.5 mm
Gauge:
1 square = 4.25 inches (not joined), 5 inches (with join)
Approximate measurements:
| Sizes (inches) | ||||||
| XS | S | M | L | XL | 2X | |
| Length (shoulder to bottom) | 15 | 17.5 | 17.5 | 20 | 20 | 22.5 |
| Armhole depth | 7.5 | 7.5 | 7.5 | 10 | 10 | 10 |
| Bust | 32 | 36 | 40 | 44 | 48 | 52 |
| Body Width | 20 | 20 | 25 | 25 | 30 | 30 |
Abbreviations:
ch – chain
slst – slip stitch
sc – single crochet
dc – double crochet
tr – triple (treble) crochet
special abbreviation:
puff – 4 dc puff stitch – *yo, insert hook into space, yo draw through space, yo, draw through two loops. Repeat from * 3 more times drawing through all loops on the 4th dc to complete the stitch. Note, half puff (2dc puff) is found in charts for the half granny square. Perform as usual but only with 2 dc.
Pattern Notes:
- Sizes are written as follows XS (S, M, L, XL, 2X)
- The picture shows a 5’2 female with a 38” bust and a back to waist length of 14” (note: this is shorter than regular cyc measurement). She is wearing a size M with no modifications done.
- To adjust lengths by 2.5” increments, you can add (to increase) a half granny square row or replace a full granny square row with half granny squares.
- If your size has half squares, I suggest adding the half squares last when seaming the squares together. Follow 8 sc and 9 ch spaces on the half edges.
- If you have a difficult time with seaming using the written and picture tutorial, a video link is provided below. Alternatively, you can add another single crochet border around the squares and sew the squares together. The single crochet border adds will provide the extra measurement made by the seamless join so that your measurements remain the same.
Video References:
Let’s get started with your crochet granny square top
This pattern is made by Abigail Marie Ellazar of Knits and Knots by AME (KKAME Designs). This pattern may be kept for personal use with the exception that it will not be sold or claimed as your own, you may link to my shop or media. You may share or sell physical product (with the exception of mass production) with proper credit to Abigail Marie Ellazar (knitsandknotsbyame). If you see this product on any platform violating these wishes please bring it to my attention, I will highly appreciate it.
Mahalo for the respect and support in our maker community!
Full Granny square pattern
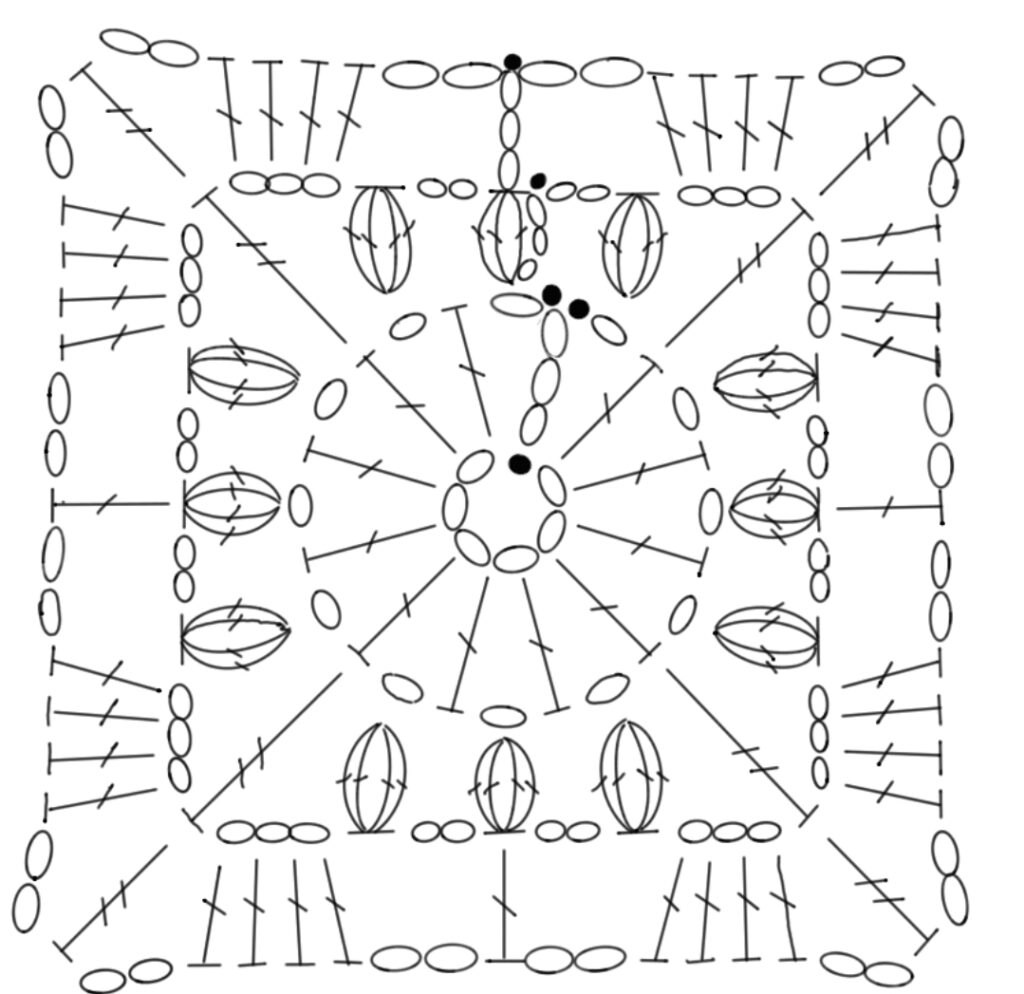
Make 30 (30, 36, 48, 48, 48)
Ch 6, join with a slst in the first ch.
Round 1: ch 4 (counts as 1 dc and ch 1), *dc into ring, ch 1. Repeat from * 10 times, slst to the 3rd ch of the ch 4 to end the round. (12 spokes)
Round 2: slst into next space. ch 3 (counts as one dc) work puff (3 more dc) into the same space, ch 2, puff, ch 3, tr. *ch 3, puff, ch 2, puff, ch 2, puff, ch 3, tr. Repeat from *2 more times. ch 3, puff, ch 2, slst to top of the first puff st to end the round.
Round 3: ch 5 (counts as 1 dc and ch 2), 4 dc into space, ch 2, tr. *ch 2, 4 dc into space, ch 2, dc to puff st below, ch 2, 4 dc into space, ch 2, tr. Repeat from * 2 more times. ch 2, 4 dc into space, ch 2, slst to 3rd ch from ch 5 to end the round.
Half Granny square pattern

Make 6 (14, 10, x, 8, 20)
Ch 6, join with a slst in the first ch.
Round 1: ch 4 (counts as 1 dc and ch 1), *dc into ring, ch 1. Repeat from * 6 times, slst to the 3rd ch of the ch 4 to end the round. (8 spokes)
Round 2: ch 2-dc (considered as a half puff), ch 2, puff, ch 3, tr, ch 3, puff, ch 2, puff, ch 2, puff, ch 3, tr, ch 3, puff, ch 2, work a 2-dc puff stitch into top of the last spoke.
Round 3: ch 5 (counts as 1 dc and ch 2), 4 dc into space, ch 2, tr, ch 2, 4 dc into space, ch 2, dc to puff st below, ch 2, 4 dc into space, ch 2, tr, 4 dc into pace, ch 2, dc into last st.
Join the squares for the body
Join the squares for the body panels according to the directions below for your size (see video tutorial on how to to the join-as-you-go seamless join).
XS – 4 by 3 full squares
S – 4 by 3 full squares and one row of half
M – 5 by 3 full squares and one row of half
L – 5 by 4 full squares
XL – 6 by 4 full squares
2X – 6 by 4 full squares and one row of half
Join the squares for the sleeves
XS and S- 1 by 3 full squares and a half row
M – 1 by 3 full squares
L – 1 by 4 full squares
XL and 2x – 1 by 4 of half squares
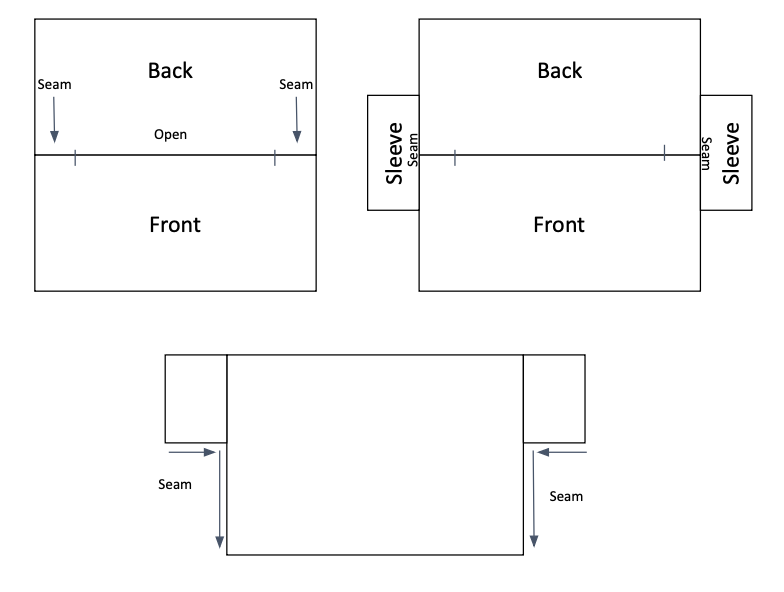
Assembly
- Lay the panels on top of one another RS out. Seam the top shoulder parts of the garment leaving approximately 12 (12.5, 13.5, 14.5, 15.5, 16) opening for the neckline. Note, this top is designed to have a wider neckline opening to expose the clavicle and shoulders. You are free to play around with how you want the top to sit on your shoulders by adjusting the opening seam. If you want more of an off shoulder top, seam more on one side. If you want a more closed neckline, seam more on both sides. If you want it more open, make a shorter seam on both sides.
- Position the sleeves and seam to the body.
- Fold the garment so that the front is over the back and seam the sleeves closed and down to the end. I left 2-3 inches open from the bottom as a design.
- Weave in your ends and you are done!
You now a crochet granny square top!
I would love to see you in your new top! Make sure to tag me @knitsandknotsbyame on IG.
Looking for more beginner crochet pattern? Make sure to check out all of my beginner friendly patterns here where you can find garments, amigurumi, and accessories.
That’s all for now my maker friend! Remember, never miss a stitch by subscribing to my newsletter. Happy crocheting!
xoxo
Abigail