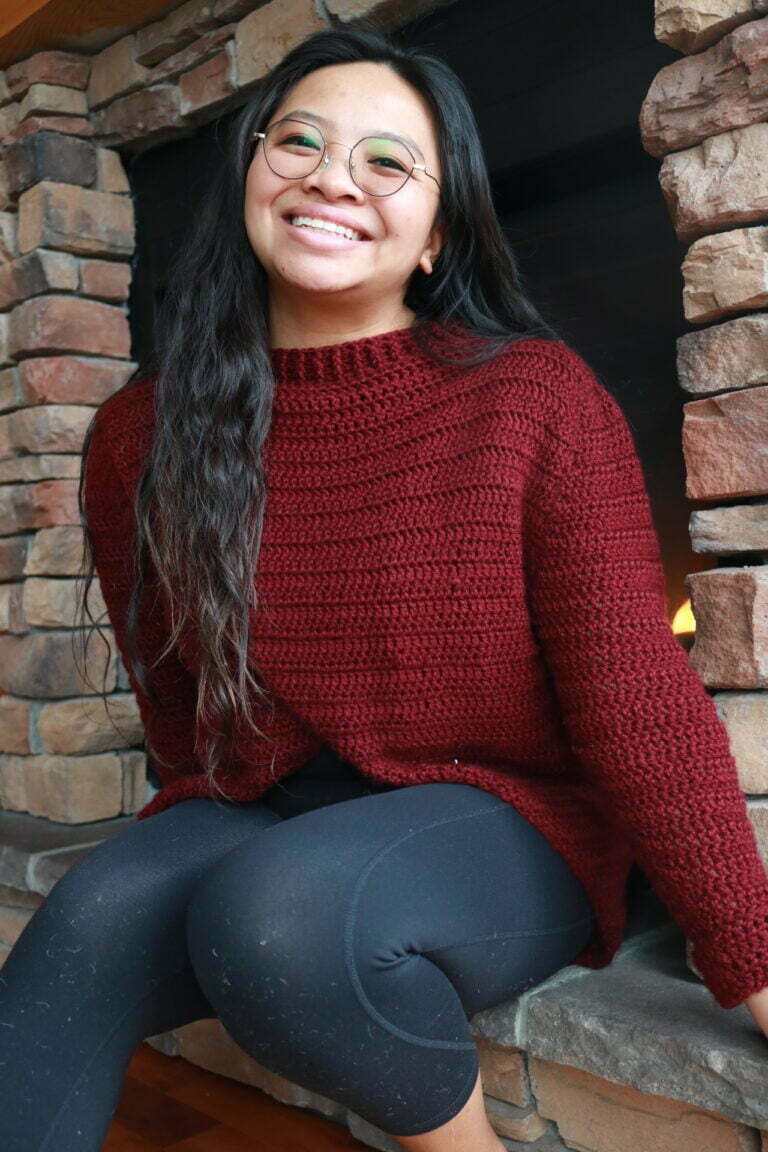
How to Make a Tunisian Crochet Scarf Pattern for Beginners
About the Scarf
The Lussier scarf is a beginner friendly scarf made using tunisian crochet. Haven’t tried tunisian crochet before? Don’t worry!! I got you, follow the step by step picture tutorials on how to do the exact stitch I used for the pattern. But let’s talk a little more about tunisian crochet later.
This post contains affiliate links. This means we have provided links to direct you to where you need to be and if any purchase is made through the links (at NO extra cost to the reader) a small commission is given to us. This helps us continue bringing awesome content to the blog.
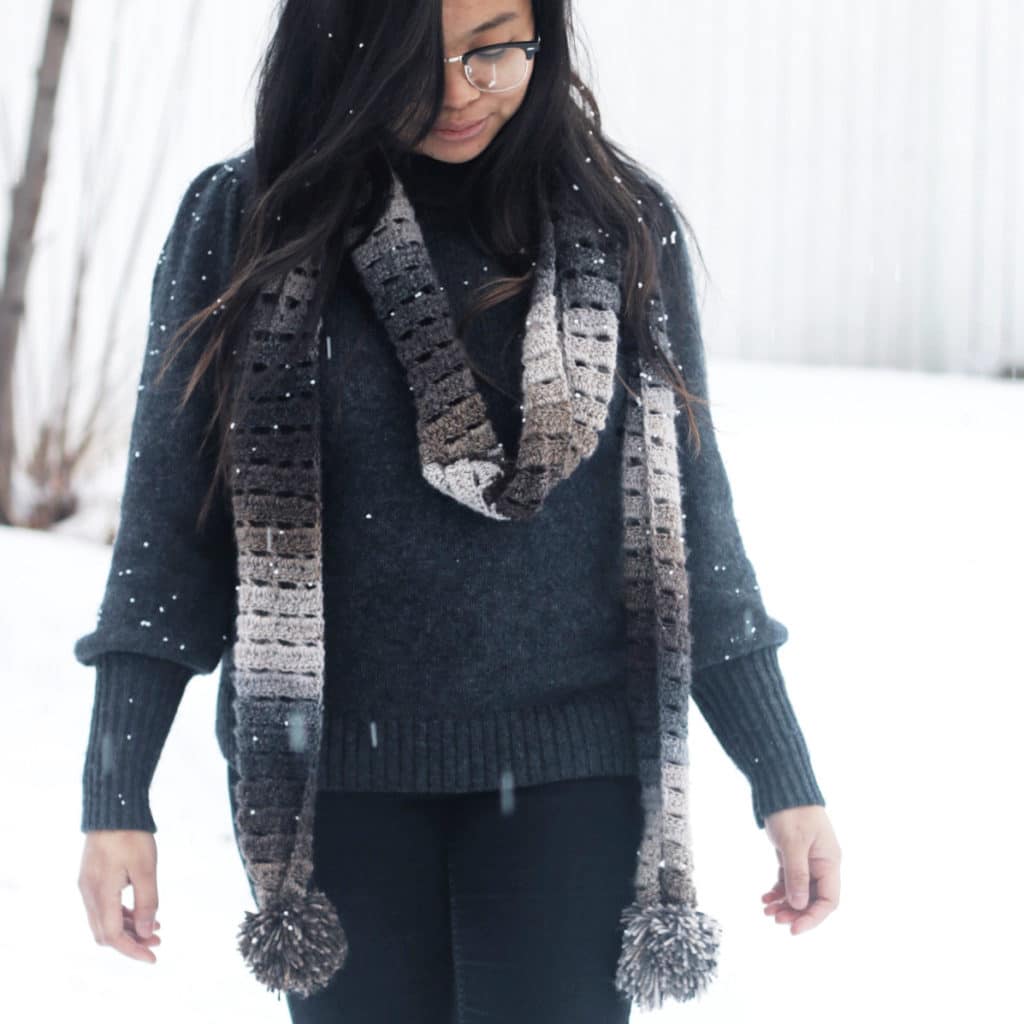
For the scarf, I used Lion Brand Yarn Boogie Nights. Read about this yarn here. I honestly feel like as a designer we have a general idea of what we want to create. However, it all boils down to what the yarn wants to become. Looking at this yarn, I immediately felt it was perfect for a wide and long luxurious scarf with a weaved look. The Lussier Scarf is just that!
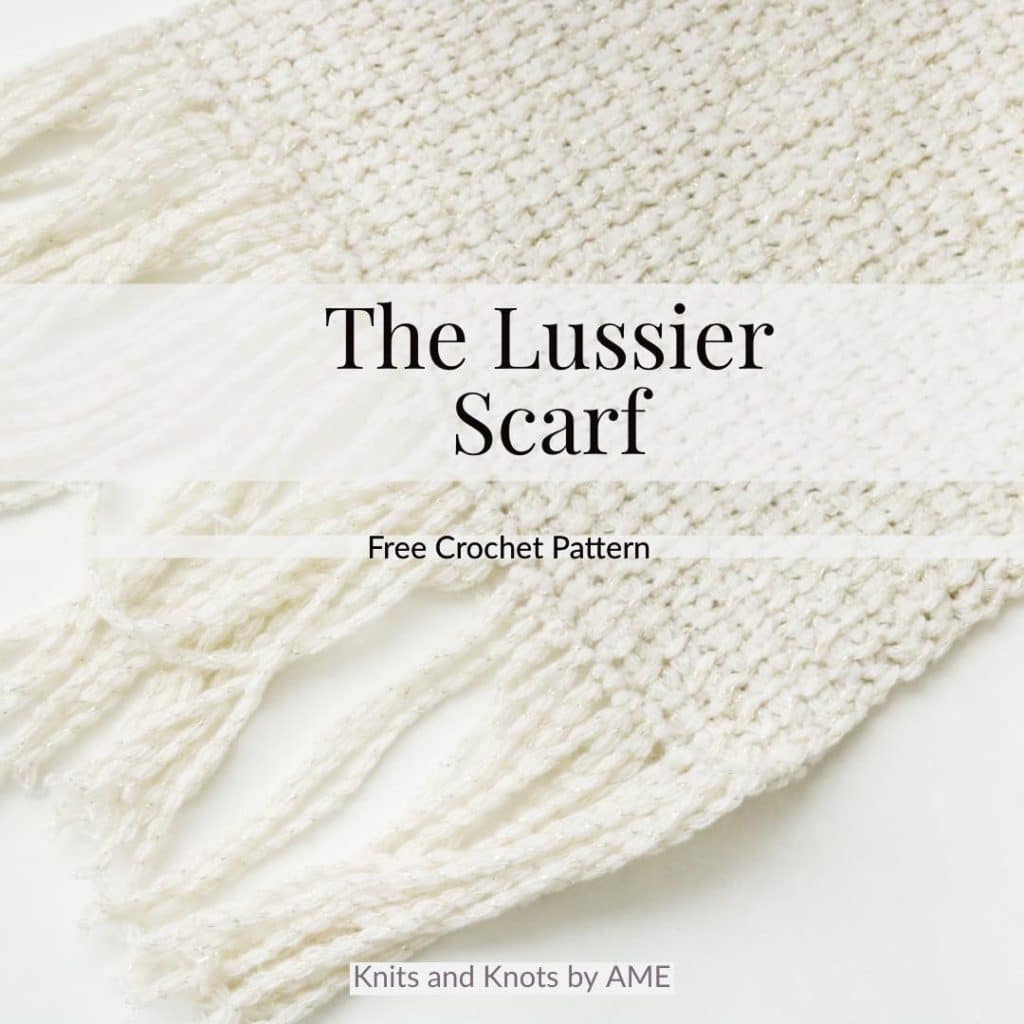
Lussier
Our birthday just passed, mine on the 22nd and my wife’s on the 23rd of February. For our birthday we gathered out friends and ventured to British Columbia! On our trip we indulged in a beautiful natural hot spring deep into the mountains (note, this trip is not for the faint of heart!) called Lussier Hot Springs. It was such a magical experience which inspired the name for this scarf. While we were in the springs, it began to lightly snow! Oh just imagine how beautiful and surreal that was!
It was truly an amazing feeling an experience to be surrounded by so much beauty. If you ever decide to go there, I suggest going early to make sure you have a spot. There are three little ponds that the spring flows into, the largest is the hottest and where you want to be!
Okay! Enough about the hot spring. Without further ado, let’s jump into the pattern shall we? 🙂
Please note, for the pictures in this tutorial I used 20 sts compared to 34 sts as what the pattern calls for. This is to easily show the beginning and end of each row.
Want more scarf patterns?
Check out thee patterns (left to right): Dieppe Blanket Wrap, Heritage Scarf

The Lussier Scarf
Materials:
- Three balls of Lion Brand Yarn Boogie Nights (I used the colorway Blitz)
- 6mm Tunisian crochet hook. (I am using Knitters Pride’s Afghan/Tunisian Crochet Hook Set)
- Scissors
- Tape measure to measure your yarn for the fringe portion
- Stitch markers. This is a long project (length wise, not time) and you do not want to catch yourself wasting time recounting your rows! Save yourself some time and use stitch markers. You’re welcome!
Gauge
17 sts x 13 rows = 4 x 4
Pattern
Start by chaining 34
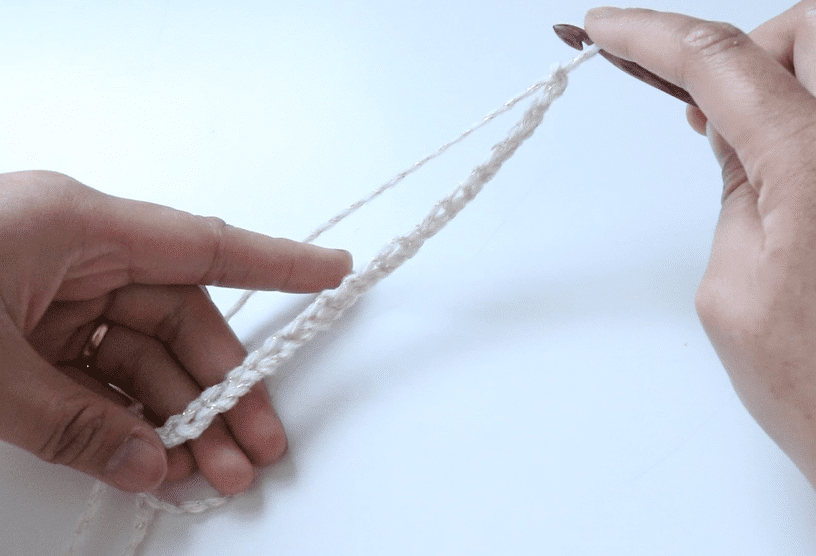
Insert your hook into the second ch from the hook, yarn over. Now you should have two loops on your hook. Go into the next ch, yarn over. Now you have three loops. Pretty cool huh? So go on and finish the row off by repeating this process.
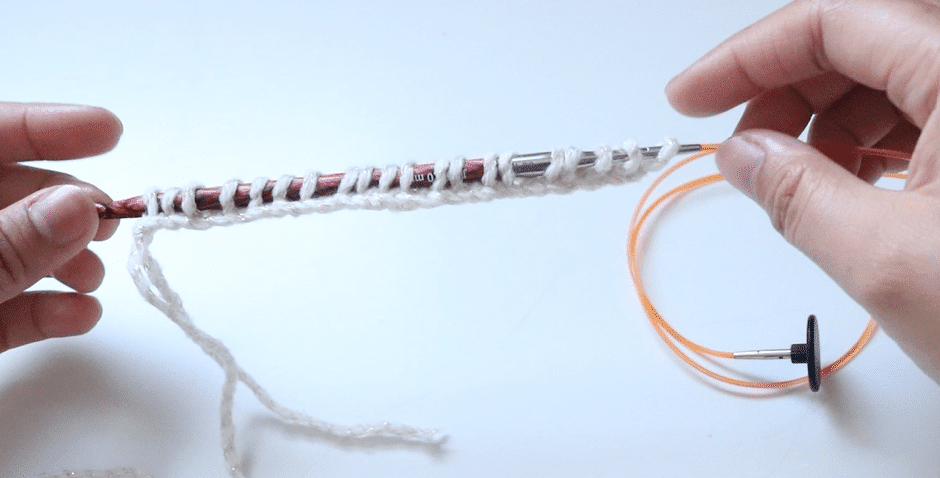
When you get to the end you should have 34 loops on your hook. Every even row we are going to start with yarning over and pulling through one loop. Now you are going to yarn over and pull through two loops. Again, yarn over and pull through two. Now repeat this process until the end of the row. And there you have it, your first completed sequence!
Now, I find keeping edges straight in Tunisian crochet is a bit of a challenge. With lots of experimenting and correction, I finally figured it out! Let me break it down for you, and for the rest of the project you will be completing it as so.
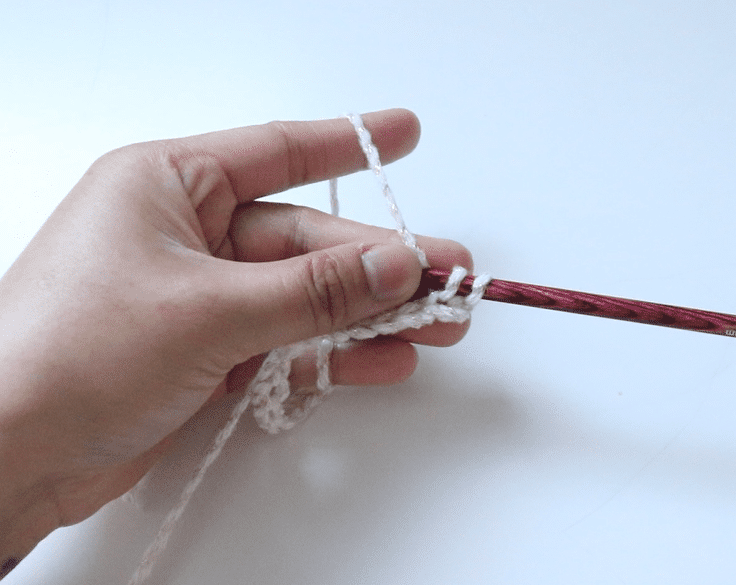
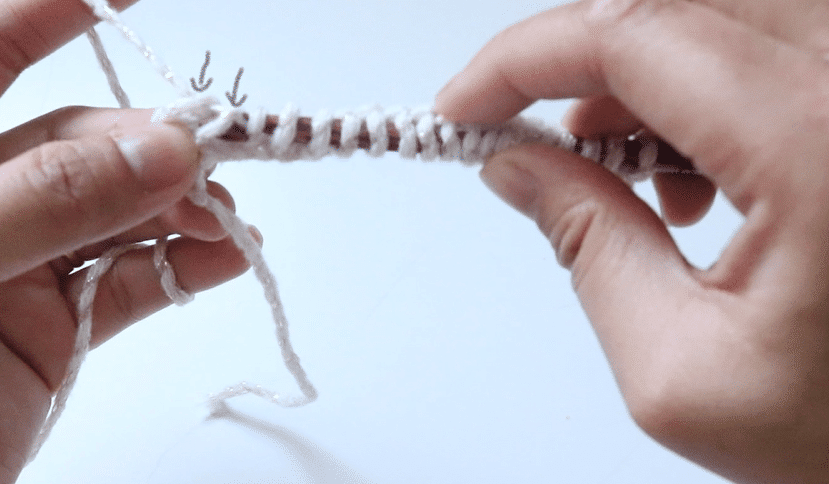
Now that you are at the end of row 2, or the beginning or row 3, insert your hook into the vertical line of the stitch on the left. Note, you are not chaining 1 at the beginning of odd rows. Simply start the row by going into the stitch on the left (the vertical line). You want to just go through the back of the line, yarn over, and now you have two loops on your hook. Again, insert your hook behind the vertical line on the right, yarn over, and now you have three. Keep on going until you reach the end.

Getting straight edges
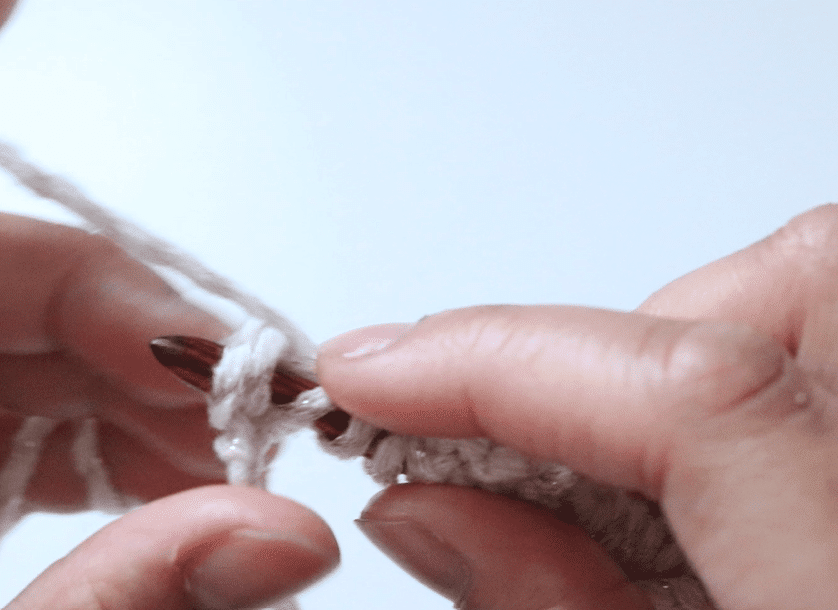
Now you have 33 loops on your hook and ready for the last one! Way to go! Here is where is gets a little particular. To keep the straight edge, you are going to want to turn the project just a little bit so you can clearly see the side. You will notice a braid is formed on the side from the previous row. Go ahead and insert your hook through both legs of the braid, yarn over, and now you have 34 loops on your hook – and just created a straight edge!
Let’s keep on going.
Yarn over and pull through one to begin your 4th row. Yarn over and pull through 2. Repeat until the end of the row. You have just finished your fourth row! You are going to want to repeat row three and four until you reach your desired length. For me, I did 52 inches (with the weight, it gets longer). Mine is 169 completed rows.
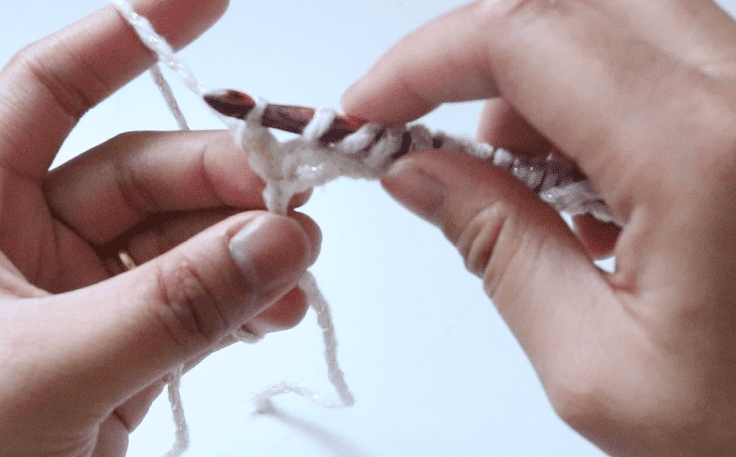
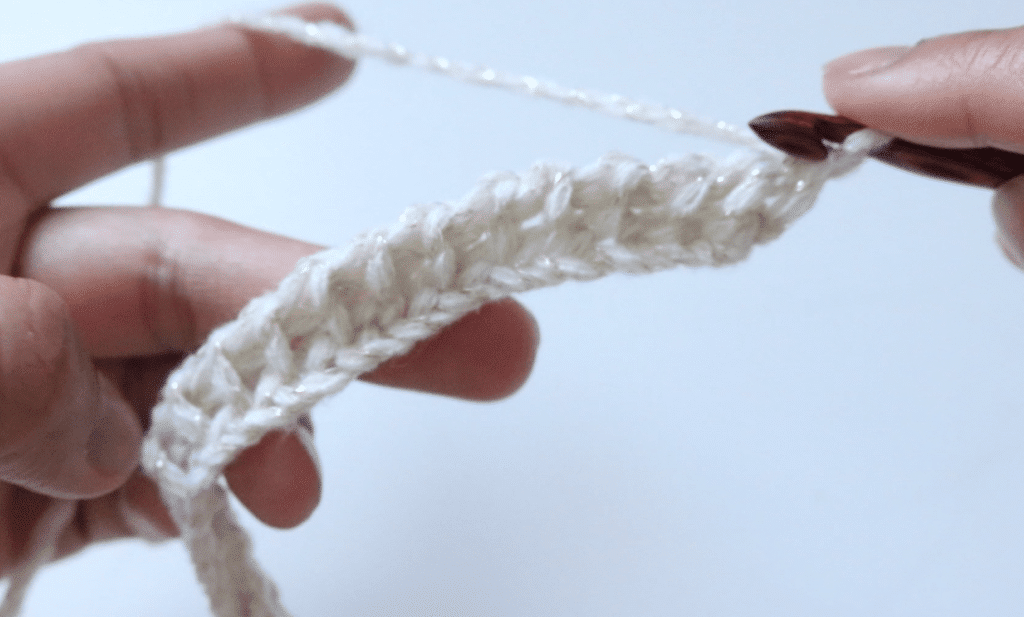
Now time for the final row. You should end your project on an even number row having just the one loop on your hook. However, as you might have noticed, the last row has gaps in between the stitches. Now let’s fix that with the final row.

Insert your hook behind the vertical line on the left, yarn over, and single crochet. You should still have just one loop. We are no longer carrying the loops over the row but closing the gaps as we go. So let’s keep going. Insert hook, yarn over, single crochet. Repeat until the very end and fasten off.
Now for the fringe
For the fringe I measured and cut 12 inch strands. The ratio I used for the fringe is 1:1 meaning one strand per stitch. Hence, you will be needing 68 strands if you are making yours in the same size as mine.
Fold the strand in half, insert your hook in the st on the scarf, pull yarn through, and fasten by making the tails go through the loop. Repeat this on each st on both ends and you are done!
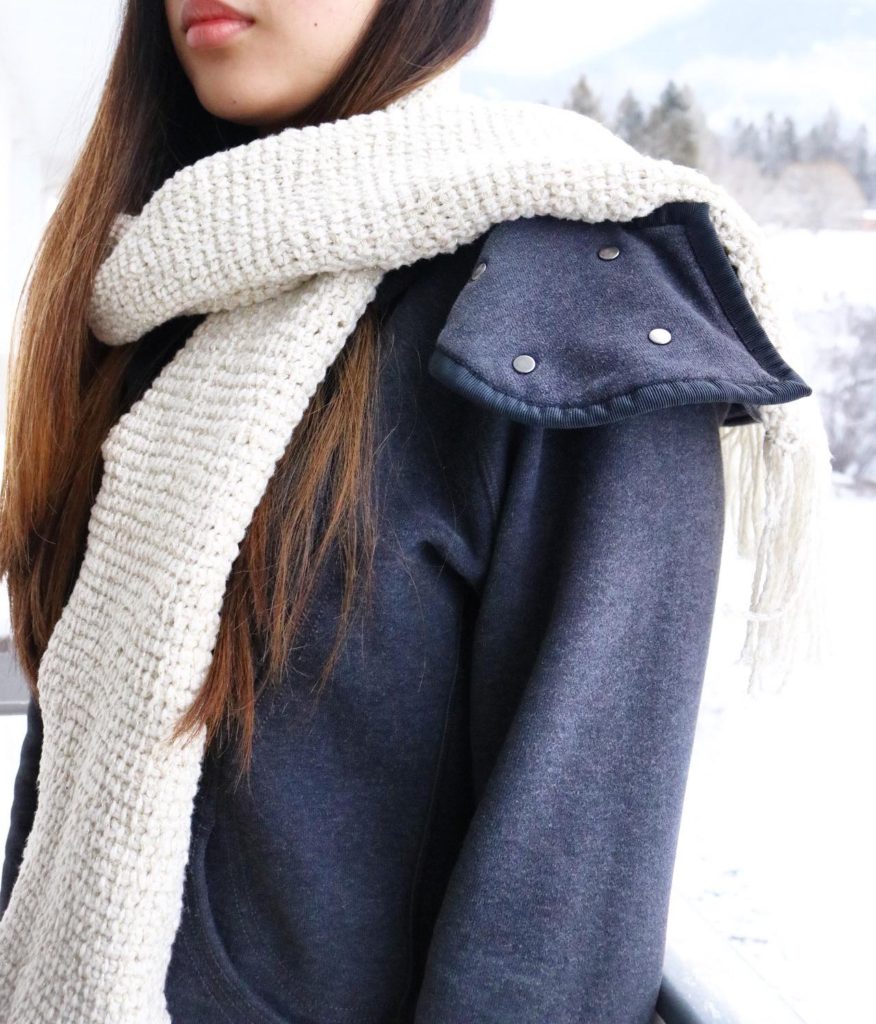
You now have your very own Lussier Scarf. What I love most about the scarf is the weave like texture that Tunisian crochet gives! Let me know what you love most about it in the comments below!
Remember to tag me @knitsandknotsbyame on Instagram and use #kkamedesigns so I can see your gorgeous scarf!
Till next time friends,
xoxo, Abie