How to Crochet a Bun Hat for Beginners (2023)
A crochet messy bun beanie is the perfect solution to both keep warm AND keep your messy bun up. I have thick hair and extra long hair, so believe me when I say I understand the struggle. This post walks you through the steps how to crochet a bun hat with the free crochet pattern for the Snowflake Messy Bun Beanie so you can worry less about your hair and enjoy the cozy winter season.
Get the ad-free PDF version of this pattern that includes process photos and notes.
Disclosure: This post contains affiliate links. This means we receive a small commission for any purchase made through the links at no extra cost to the reader. Learn more about our privacy policy here.
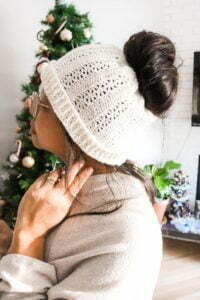
What is a messy bun crochet hat?
Crochet hats come in many different styles, most commonly with either a closed top or an open top. A messy bun beanie is basically a beanie or – as we Canadians like to call it – a toque with a bun hole on the top that allows people to wear a bun with a beanie on. It is also called a ponytail beanie.
How to crochet a messy bun hat for beginners
Making a bun beanie is very simple and can be done in different way. The simplest way to make a beanie with a bun hole is to start from the bottom of the hat. Begin with making a chain that -following a gauge (this is so important! do not just make a chain that fits around your head go from there. Your beanie will not fit!) – is the length of your head circumference. Work in rounds until you you reach the crown of your head (usually 6-7 inches for women) then begin decreasing in an even manner. Do not decrease the beanie shut, rather leave a hole big enough to pull through a ponytail of bun.
How to wear a messy bun hat
Placing a beanie hat on might be tricky if you have not worn one before. Your hair should be up with a hair tie or hair elastic and ready before wearing your ponytail beanie. I like prefer wearing a hair bun rather than ponytail when using these hats, but a ponytail is fine as well. I like to put my hand through the bun hole and pull my hair through the hole before fixing the beanie over my head. This keeps my bun perfectly intact and just how I want it to be without having the beanie ruin the bun if I try to pull the bun through when the beanie is already fit on my head.

The yarn
For this pattern I used Lion Brand Yarn’s Superwash Merino in Antique. This is a level CYC 3 yarn which I prefer for headwear when it is not extremely bold outside. Most winter hats use worsted weight yarn or bulky yarn. Having a lighter weight yarn defines stitch designs, which is exactly what I wanted for this beanie. Despite it being a lighter weight yarn, being a merino wool blend, it keeps my head nice and warm.
How to substitute the yarn used in this pattern
You can substitute the yarn for this pattern using an alternative CYC 3 yarn. Here are my top picks at the same-ish pricepoint:
Top pick: Rico Essentials Merino DK – My top pick for substituting this yarn would be this one. Fiber wise, it is a superwash and superfine yarn that comes in a large variety of colors. Merino DK is also the cheapest wool option that offers more colors in merino wool. The only downside of this as a substitute would be the yardage. Merino DK comes in 131yds which is a little shy of what you need for this pattern so some modifications might need to be made.
Most Affordable: Paintbox Simply DK – I have a whole review about this yarn that you can read here. I love Paintbox Yarns so much because of their huge variety of colors and the quality of their yarn. Simply DK would be the cheapest option to substitute the yarn for this pattern because it is made of acrylic fiber. You won’t be getting the luxury of wool but you would be getting the same yardage for half the price AND a wide variety of colors to choose from.
Related post: Paintbox Yarns Cotton DK Review
Most Comparable: Plymouth DK Merino Superwash – this yarn is highly comparable to the yarn used in this pattern as it is also made of 100% superwash merino. However, Plymouth offers a limited variety of colors and comes in a hank so you will need a yarn swift and a yarn winder. See my video here on how to wind yarn.
Debbie Bliss Rialto DK – Debbie Bliss is a popular yarn brand that offers lots of affordable luxury yarn options. Rialto is 100% merino wool and comes in a large variety of colors.
Lion Brand Yarn 100% Baby Alpaca Yarn – this is an affordable luxury yarn options. Baby Alpaca comes in neutral colors and is great for extra warmth
King Cole Baby Alpaca DK – this is a great alternative to LBY’s Baby Alpaca if you tend to shop more on LoveCrafts. This Baby Alpaca yarn comes in a greater variety of colors compared to LBY.
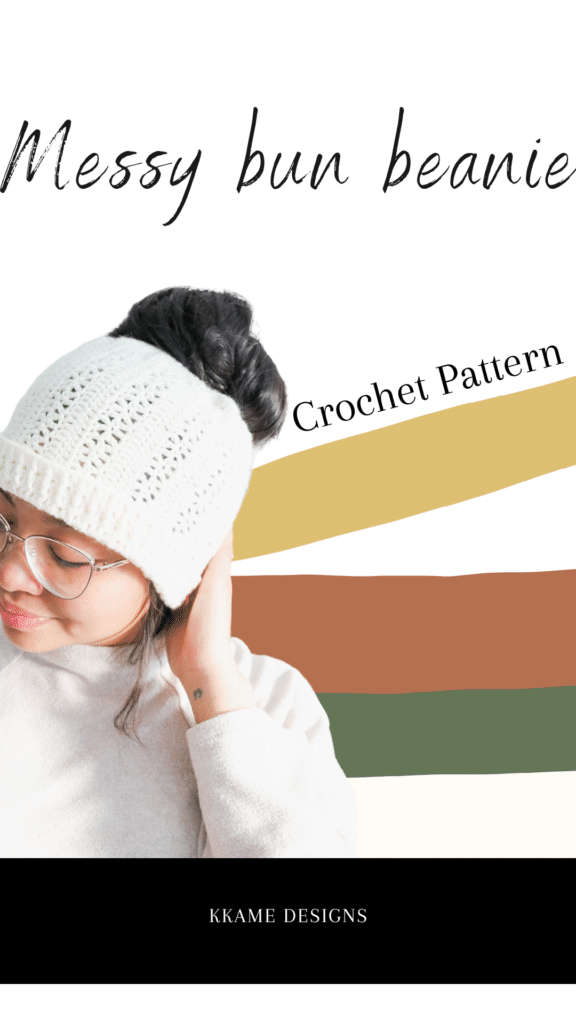 Save this pin for later!
Snowflake Messy Bun Beanie
Click here to get the ad-free full PDF version of this written pattern. The PDF version includes pattern notes and pictures to further help you if you are a visual learner.
Let’s get to it!
Pattern Notes
- This is an easy pattern and suitable for beginners
- The messy bun hat design is made continuously through the three parts (body, brim, seam, and top), do not fasten off at anytime in this project until the end.
- This messy hat pattern fits an adult size (22″ head circumference). However, tips to make adjustments to the can be found within the pattern and can easily be altered to fit a child size.
Materials:
•3.5mm crochet hook
•Scissors
•CYC 3 yarn approximately 210 yds. I used Lion Brand Yarn’s Superwash Merino in Antique
Gauge: 4”x4” = 21 sts x 11 rows in pattern sequence
Stitch abbreviations:
Ch – Chain
Sc – single crochet
Dc – double crochet
FPdc – front post double crochet
BPdc – Back post double crochet
Sl St – slip stitch
Beanie Body
Chain 28+3
R1: Insert hook into the 4th ch from the hook and dc (counts as the first stitch and second stitch), dc in each ch across (29 sts)
R2: Ch 3 (ch sts at the beginning of the rows are is counted as a dc st), dc in each stitch down the row. (29 sts)
R3: Ch 3, *skip next st, dc-ch1-dc, skip next st, dc. Repeat from * until end of the row (29 sts)
R4: Ch 3-dc into same st, dc into ch space below, *skip next st, dc-ch1-dc, dc in next ch space. Repeat from * until end of the row until the last ch space. Skip next st, 2dc into the last st. (29 sts)
R5: Ch 3, dc in each of the next 3 dc. *dc in next ch1 space, dc in each of the next 3 dc. Repeat form * until end of the row (29 sts)
R6: Ch 3, dc in each stitch down the row. (29 sts)
R7-56 Repeat rows R3-R6 (this would end in a R4 row).
Note: at this point you are going to want to try to see if the body fits around your head. Wrap it around your head to see if it feels just right. If you need more row, add on following the pattern sequence. You can also take out rows if it is too loose.
Ribbed brim
You are now going to be working down the long side of the body. Please note, the side where the ribbing is pushing outwards is the patterns wrong side.
R1: ch 2, dc into the post, *dc in between posts, dc into post. Repeat from * until end of the row (this end with a dc into the corner st – not a post) (113 sts)
R2: ch 2, *FPdc, dc. Repeat from * until the end of the row. (113 sts)
R3: ch 2, *BPdc, dc. Repeat from * until the end of the row. (113 sts)
R4: ch 2, *FPdc, dc. Repeat from * until the end of the row. (113 sts)
You are now going to close the short sides (height) of the beanie. Do this by Aligning the edges and making a single crocheting through the side loops on both ends with the wrong side facing out.
Top of the messy bun beanie
After you single crochet into the top loops, closing the side of the beanie, you are now going to start decreasing to create the bun opening. Turn your crochet beanie inside out so that the right side is facing out, You can now start working on the top of the head.
This portion is now done in rounds.
R1: ch 1, sc into the post, *sc in between posts, sc into post. Repeat from * until the end, slst to the top of the beginning of the round.
R2: ch 1, *sc, sc, sc, sc2tog. Repeat from * until end of the round (rnd), slst.
R3: ch 1, *sc, sc, sc2tog. Repeat from * until end of rnd, slst.
R4: ch 1, *sc, sc2tog. Repeat from * until end of rnd, slst.
R5: ch 1, do a sc2tog around this round and sl st at the end.
Fasten off
Made a mistake? You might find this post about fixing crochet handy.
Now you have yourself a new simple messy bun hat!
Let me know what you though of this pattern in the comments. Make sure to subscribe to the email list to get updates on new patterns, products, and posts or check out the Patterns page for more free patterns. Like this free pattern? Make sure to share this ponytail hat crochet pattern with your friends on social media by clicking on a platform below.
Until next time my maker friend!
Abigail