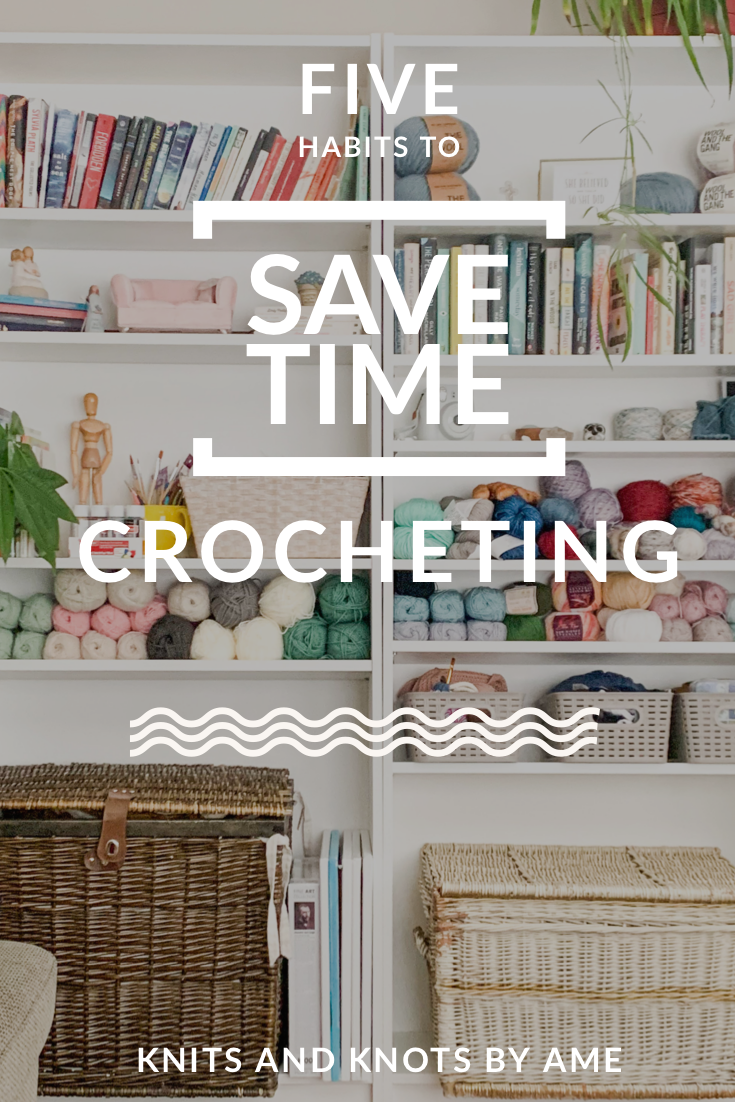
Five Habits you Need to Save Time Crocheting Now
Investing ways to save time is the smartest thing you could ever do for yourself and your business. Time is such a valuable resource that we cannot control. What would you do if you had a few extra hours left in your day? How would you spend this time? How could you, your business, your family benefit from a time saved in a day?
Are you trying to build a crochet business? Check out the link below to learn everything you need to know to start a crochet business in 2023.
If you ever thought crocheting (or knitting!) took a lot of time, you are absolutely correct! This is precisely why handmade products are a little bit pricier than what the average buyer would consider… and you should never feel guilty about pricing your hard earned dollar! I brought together some of the best crochet tricks to help save time and get you working smarter, not harder!
Here are some hacks you can incorporate into your creative life to shed off time spent on making!
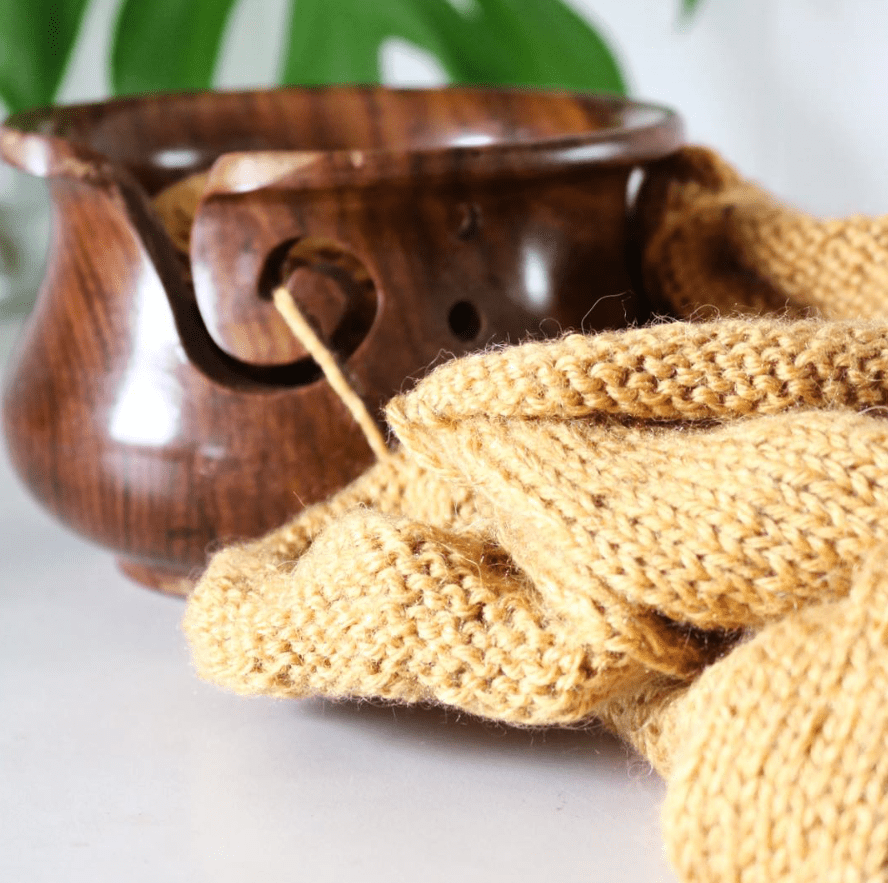
1. Use a yarn bowl/bag… anything to keep your yarn in one place!
Working with yarn can get pretty crazy and tangled. Tangles are usually the number one culprit that costs you time (especially if you are like me and hate wasting yarn so you end up spending hours untangling it). To save time you NEED to avoid this fiasco all together.
A yarn bowl is – just as it’s name implies – a bowl for your yarn. A yarn bowl has a spiral or curved hook like feature for you to thread your yarn through. Yarn bowls keep the ball inside as it unwinds, keeping it clear from going crazy on the floor and getting tangled up in something.
Project bags are good alternatives. Just like yarn bowls, project bags hold your yarn inside and has a threader which is usually a hole for your working yarn to pass through. One of my favorite project bags are from Jimmy Beans Wool. This bag does not have a hole for your yarn to thread through but has snaps in the opening that are perfectly spaced for yarn to thread through.

Don’t have access to yarn bowls or project bags? Some great efficient alternatives – which you may already have on hand – are drawstring bags and even Ziploc bags. I picked up a cheap drawstring bag from the our local Dollarama one day and use it ’til this day for smaller projects!
Another way to keep your yarn from tangling up is to pull from the center. Almost every ball or cake has a center pull. When you pull from the center your ball or cake of yarn just stays in one place. The only issue with this method is risking tangling the center. In this case, it may look like a blob of yarn that comes out all at once from the center as you pull it. Most of the time that is just what it is – a blob. Detangling, in my experience, is far more easier than dealing with tangles made from the outside.
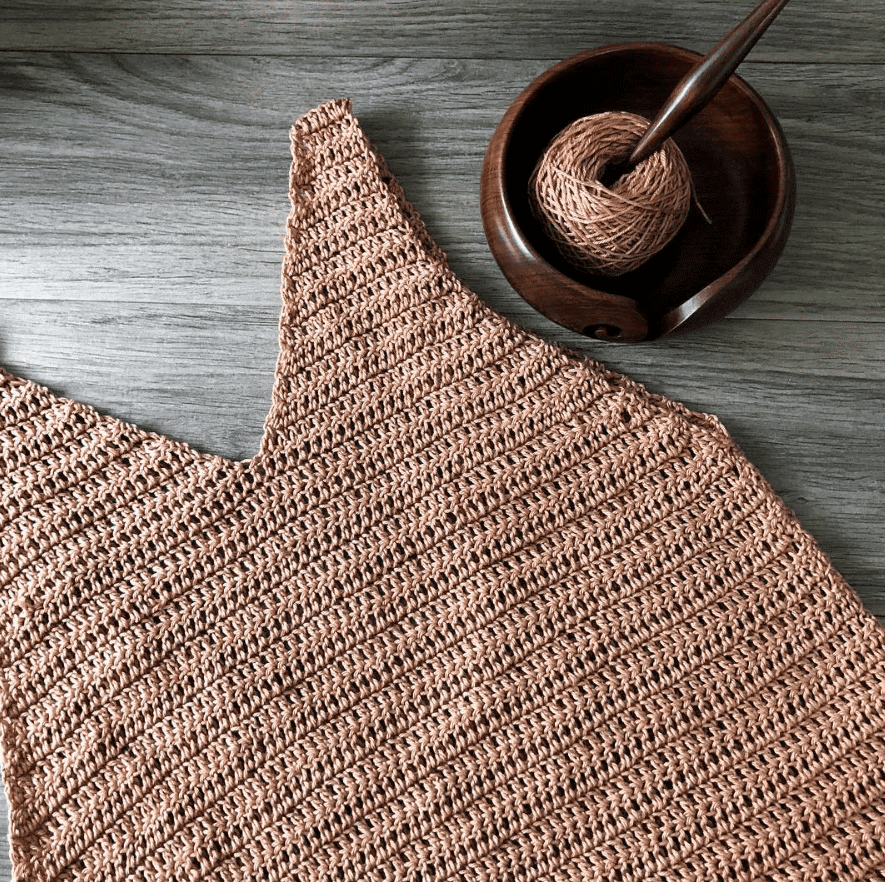
2. Invest in a ball winder
Having a ball winder handy is a huge game changer and will definitely save you time down the road. Ball winders are mainly used to cake up skeins of hand dyed yarn. Aside from this use, I use them for these circumstances:
Caking small portions for on the go use. Especially when you are doing smaller project, like amigurumi, this is the best advice I can give you to save time immensely in your hustle. Remember, every minute counts! Having small – ORGANIZED – cakes of yarn lets me take enough and as many cakes as you need ON THE GO. How amazing is that?
Yarn: Handmade Home Fibers
Another time when I use ball winders are when I need to tame my yarn. This happens when I have detangled it or if it is at that awkward length where it is almost done and flimsy. Either way, it saves tons of time when your yarn is caked up!
3. Stitch markers are your best friend!
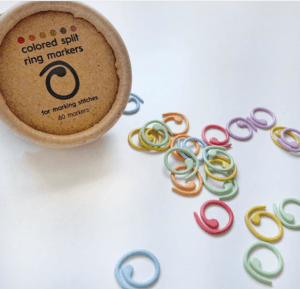
Next on the list are stitch markers! Stitch markers help save time in a miraculous way. I cannot rave enough about them! They are far by the most important notion you can have that will help you save time counting rows when your project gets lengthy.
Stitch markers are small clips you can use throughout your project to note stitch counts and rows and shave off tons of time rechecking your rows and ensuring you are kept on track.
When choosing stitch markers there are some things you need to keep into consideration:
- Light weight – stitch markers should be light weight. I learned this the hard way as I bought ones merely for their aesthetics. Do not be fooled! Heavier stitch markers cause the stitches loosen and snag. The last thing you want is an awkward stitch sticking out in your beautiful sweater.
- Price – stitch markers do not need to be expensive! Many quality stitch markers are affordable.
- Quantity- the more stitch markers you have, the better. It will take out second guessing how many rows you counted before marking your last point. Cheaper stitch markers come in greater quantities. Choose a number (ex. Every 10 rows) and stick to it. This will save you so much time in the end!
If you do not have or want to buy stitch markers that won’t be any problem with this hack. You can use scrap yarn to mark your stitches. To use scarp yarn in place of stitch markers, cut a short piece of yarn, maybe 5 inches long and wrap it around a the stitch you wish to mark. Using scrap yarn to mark your stitches may fall out if it snags on something or if your stitches are loose. Make sure to tie them to secure it.
4. Sketch before you start: make your pattern before making the project
This one is for my fellow designers! When designing, we often make things to fit then write up the pattern. Doing things the other way around has saved me so…SO… much time – AND HEADACHE! When you think about it, this actually makes a lot more sense too.
The first and most important thing that you can do to save time when designing is to make a gauge using the stitch you are going to use. But wait Abie, doesn’t making a gauge take more time? Well, yes and no. You may want to just jump straight to making your vision come to life and making a gauge will add extra time to starting the actually project. On the contrary, having a gauge saves you so much time in construction and sizing later on.

But what is a gauge? A gauge is a 4×4 swatch worked in the hook size, yarn, and stitch you are using and determines how many stitches and rows are needed in a 4×4 measurement.
After which you sketch your design, figure out the measurements, then refer back to your gauge to write your pattern accordingly. With proper measurements, I assure you that when you follow the pattern and make your prototype it will end up very close – if not exactly – how you envisioned it. This, my friend, will drastically help you save time working out the pattern into different sizes.
5. The closer the better
Lastly is a hack to help you speed up. When you work your yarn closely to the head of the hook or needles, keeping your hands close together, you lessen your work time significantly. This is especially true for knitting.
For knitting, you want to keep your stitches to the edge of the needle and hold your working yarn at close distance. This helps you make tiny movements when knitting. When crocheting, it best to hold the bottom row directly under the stitch I am working into to help keep my movements small.
And there you have it! Five tricks every crocheter should pick up to save time and make more. So much of this has to do with thinking ahead and preventing time sucking circumstances. I hope these help! Let me know in the comments if you have tried these and if you know any more tips!
For more tips on running a creative business check out our other posts below:
Vending at Craft Fairs + Free vendor checklist download