How to Crochet This Summer Boho Coverup
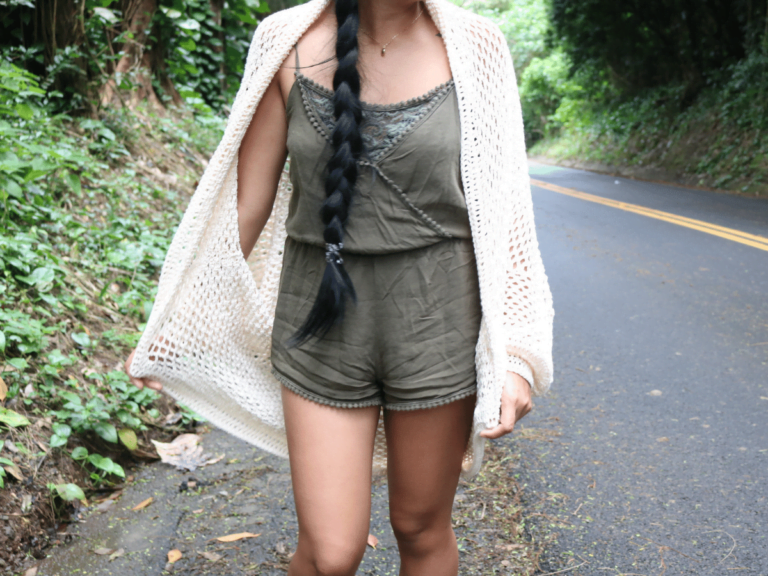
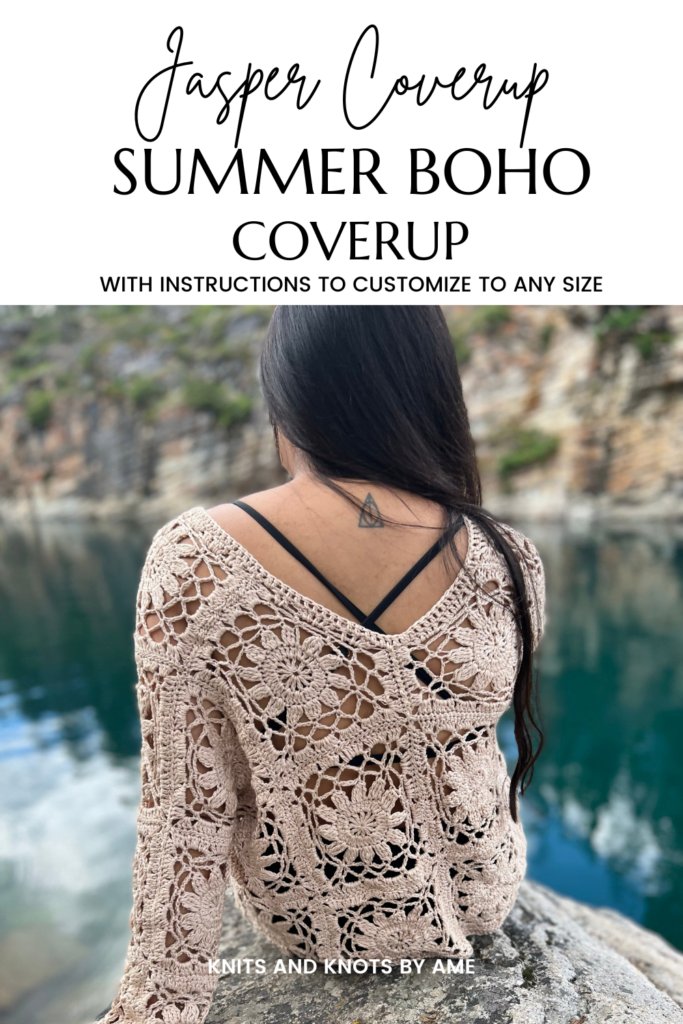
This post shows you how to make a Summer Boho Coverup that you can crochet in no time! Specific instructions guiding you how to make adjustments to each size helps ensure you get the perfect fit for you crochet top.
This post may contain affiliate links. I get a small commission from any purchase made through these links at no expense to the buyer. This allows me to keep free awesome content coming your way. Check out my privacy policy for a full rundown of disclosures.
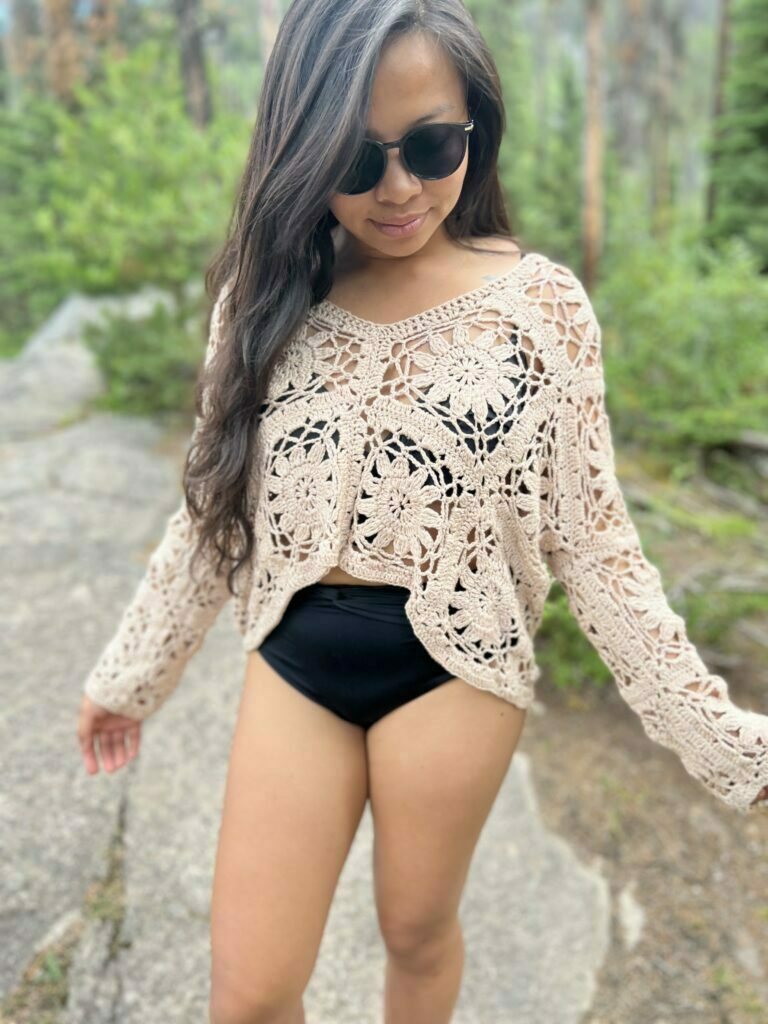
About the Jasper Coverup (summer boho coverup)
I love everything about summer! I am a big summer fan (the island girl in me!) and love to spend these months soaking up the sun, exploring new places, hiking, paddling, camping, you name it! Summer is the time I muster up most of my inspiration since I am spending so much time outdoors and just taking care of myself.
In this season of life I have been heavily focused on self-love through exploration, setting boundaries, and strengthening my marriage as we venture into our fertility journey.
Consequentially, I have not had much time to show up on social media. Sorry Instagram! But I did manage to whip up one of my favourite designs yet, the Jasper Coverup! Yes, named after one of my camping trips haha
Designing the coverup
Awhile back when scrolling Pinterest, I found this beautiful granny square and immediately knew I wanted to make a summer skirt from it. I made some slight alterations to the pattern just to make it a little easier and I started to collect squares and work on them whenever I could.
As with most projects, our original idea does not always end up lasting and a skirt no longer excited me. I kept collecting squares despite not knowing what to do when them until I had collected a good amount.
I blocked my squares and played around with them until one day while in bed – like most best thoughts – the idea came to me to make a coverup. In no time, the squares seamed together and I had myself a new top.
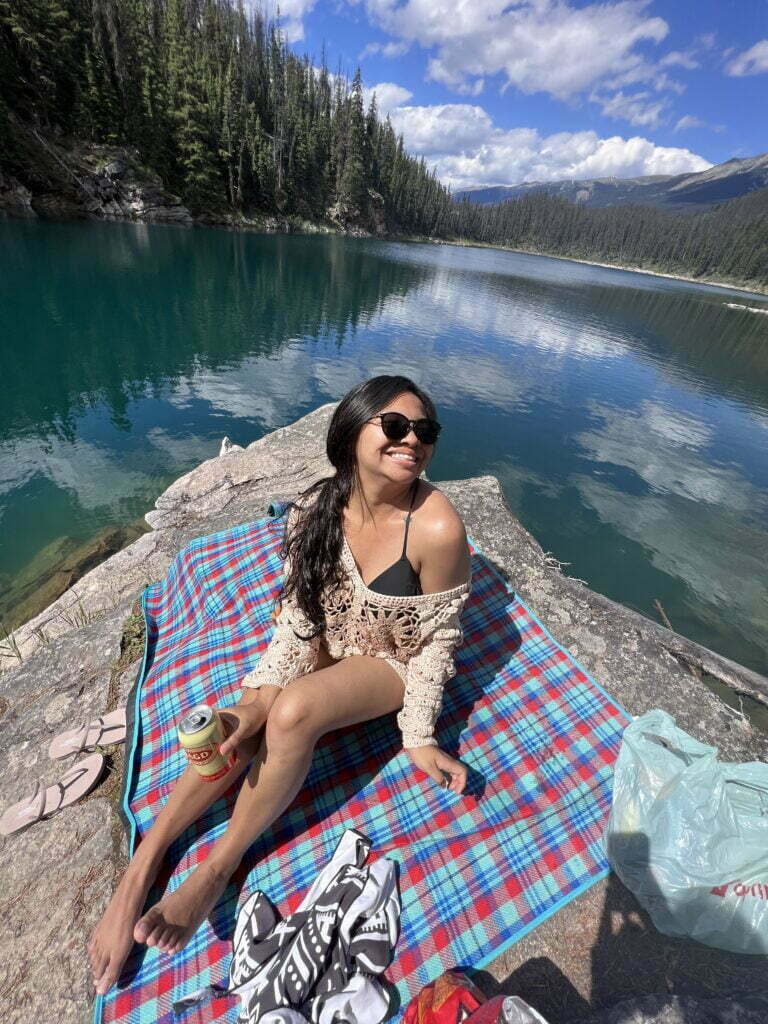
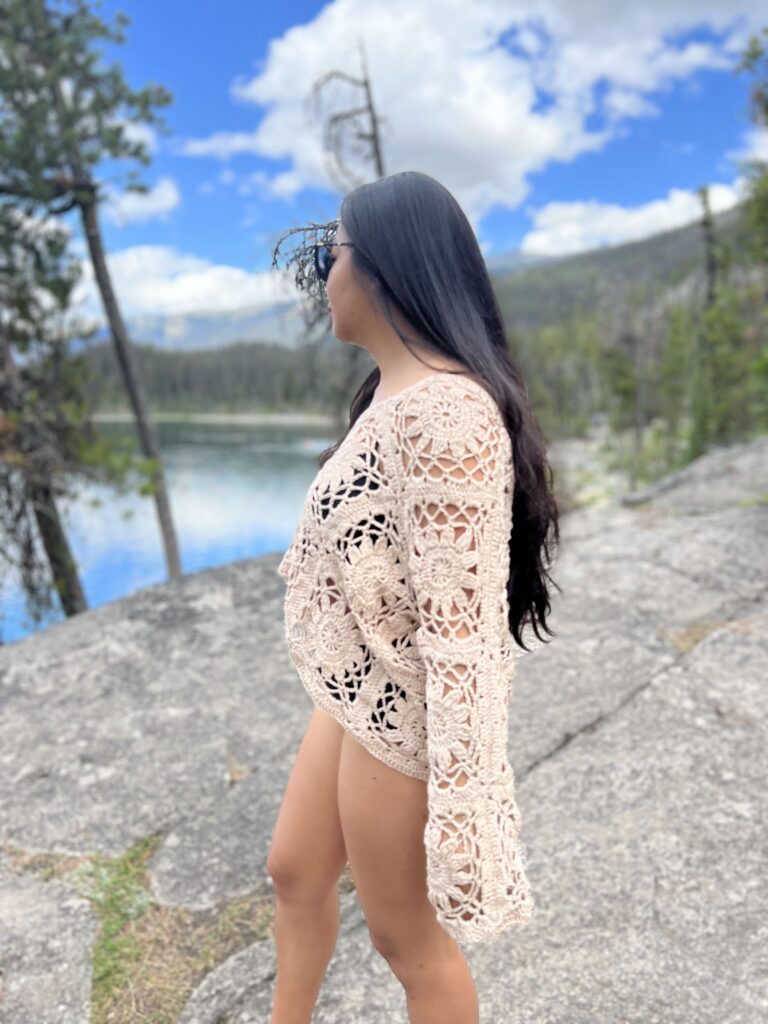
That weekend we went to Jasper National Park to camp, hike, and cliff jump. Boy was it a great weekend! I wore my top all day at the lake!
The top is made up of two panels (left and right) seamed together on the bottom arms, sides, and in the front/back to make a neckline opening.
Yarn and Hook Used for this Summer Boho Coverup
For this design, I used Lion Brand Yarn’s Coboo. I actually had this yarn sitting with me for around a year before I figured out what I really wanted to do with it.
Coboo is a 51% Cotton, 49% Rayon from Bamboo yarn which is very light to touch and absorbent. It is similar to Truboo which is a 100% bamboo yarn. This makes is feel so nice on the body, eco friendly, and amazing drape.
A close alternative to this yarn would be Lion Brand Yarn’s 24/7 Cotton DK. This yarn is highly comparable to Paintbox Yarn’s Cotton DK, however with less color options BUT more yardage.
Cotton yarn can get stiff worked up and after washes and use. If drape is what you are aiming for, I would recommend a cotton blend. Still cotton for sweat absorption and airiness, but a blend of something like silk or bamboo makes it extra cool and drapes beautifully.
I would highly recommend King Cole Bamboo Cotton or Lion Brand Yarn’s Truboo.
I have a whole post dedicated to Coboo, make sure to check it out and find other awesome patterns for to make with this yarn here.
At the end of the day, any CYC 3 Yarn would work, just make sure to make a gauge with a 3.5mm hook to make sure you get the right measurements/results.
Along with this yarn, I used a 3.5mm crochet hook and each square measured and blocked to 6 inches
Want more summer patterns?
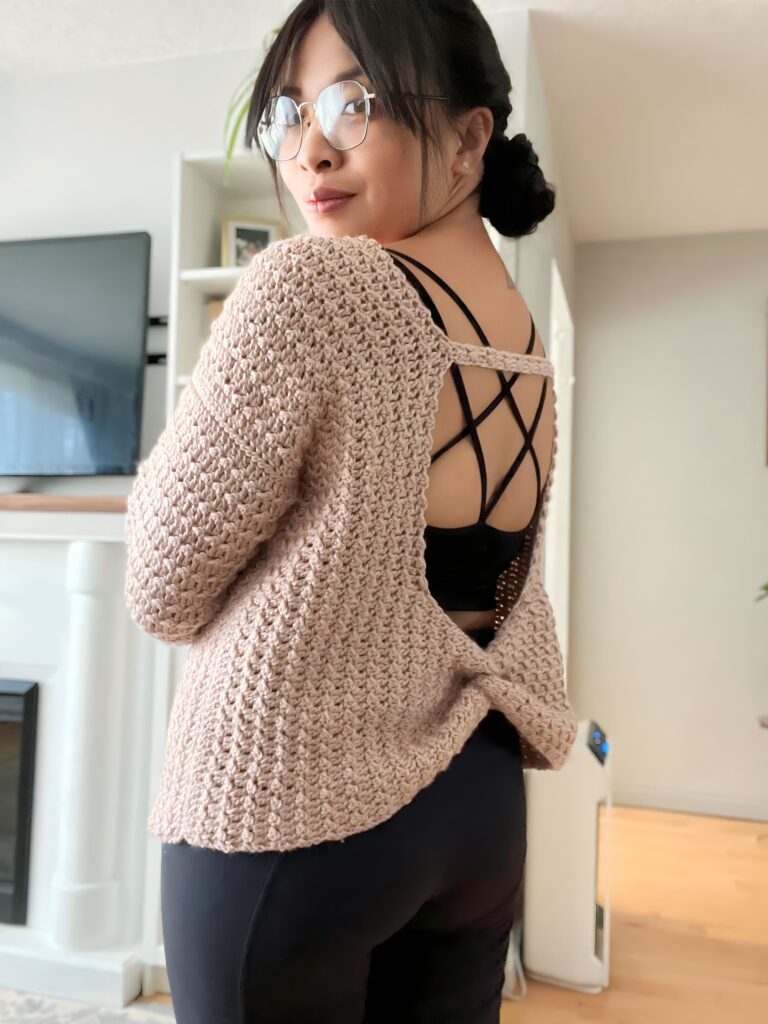
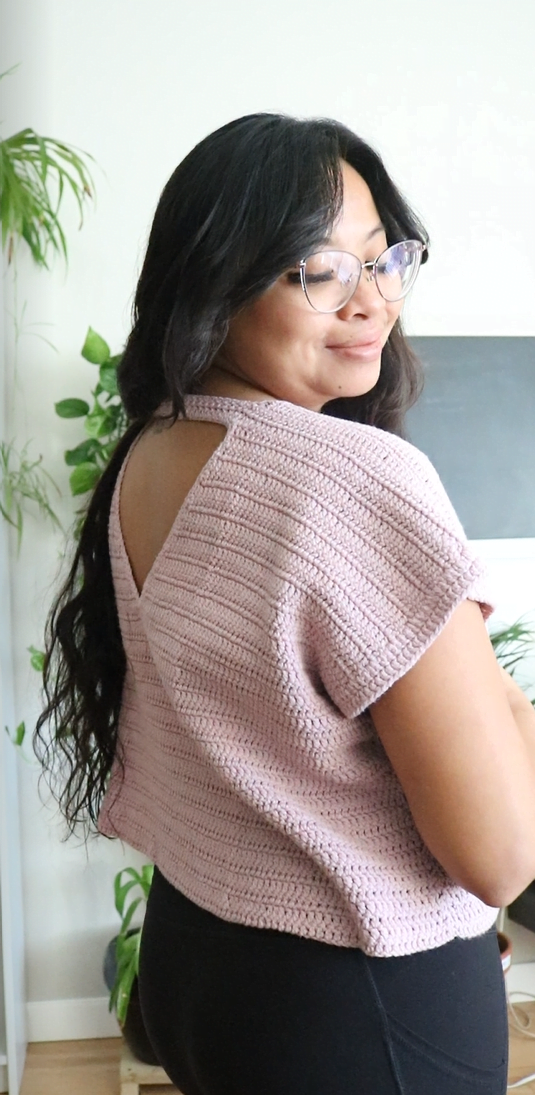
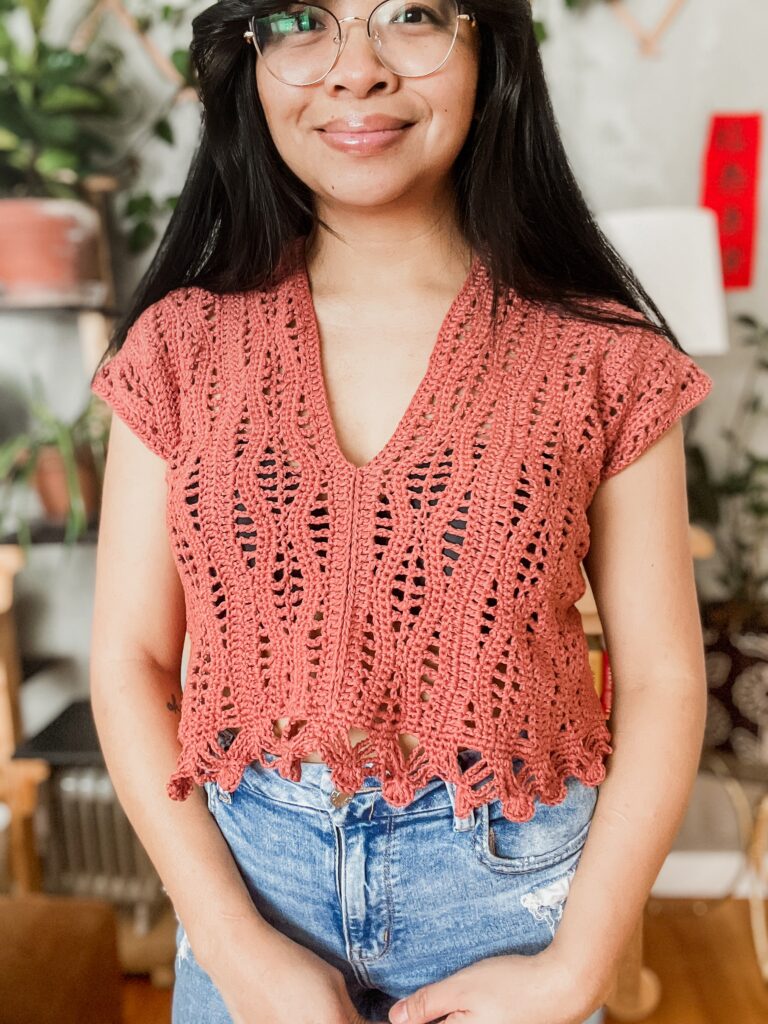
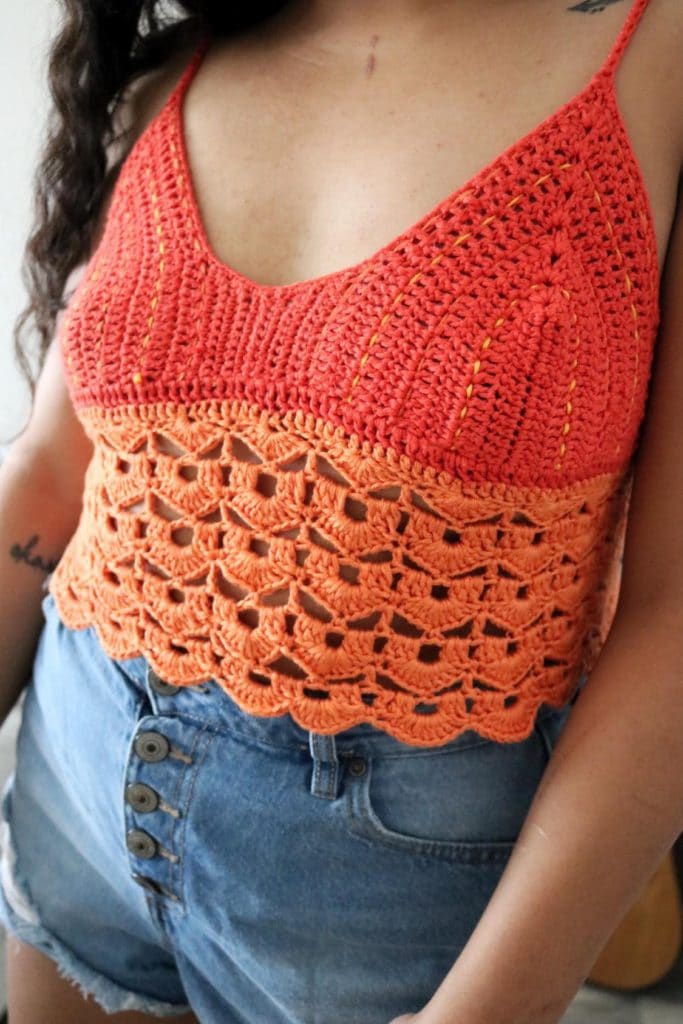
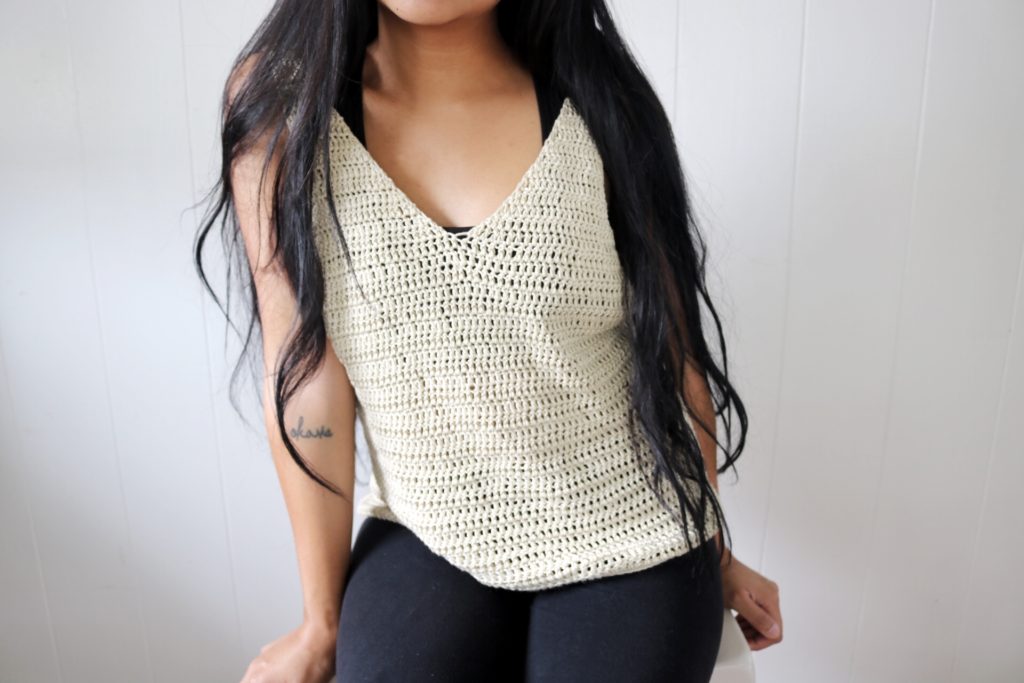
Check out thee patterns (left to right): Sandbar Top, Sunrise Bralette, Catalan Beach Tank
Full Granny Square for the Summer Boho Coverup
If you are a visual learner who prefers videos or love this square and want more designs with it, I discovered that Hands of Zeal also has a top using this granny square and a video tutorial showing you how to make it.
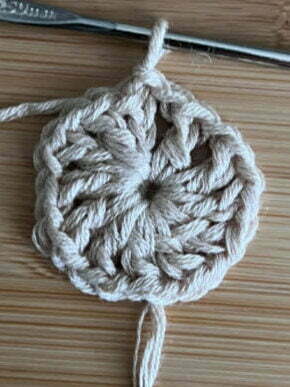
First round
Make a magic circle, ch 2,(counts as 1 st) +1, *dc into circle, ch. Rpeaat from * 10 more times for a total of 12 Sts into the circle. Slst into 2nd ch of the first st to complete the round
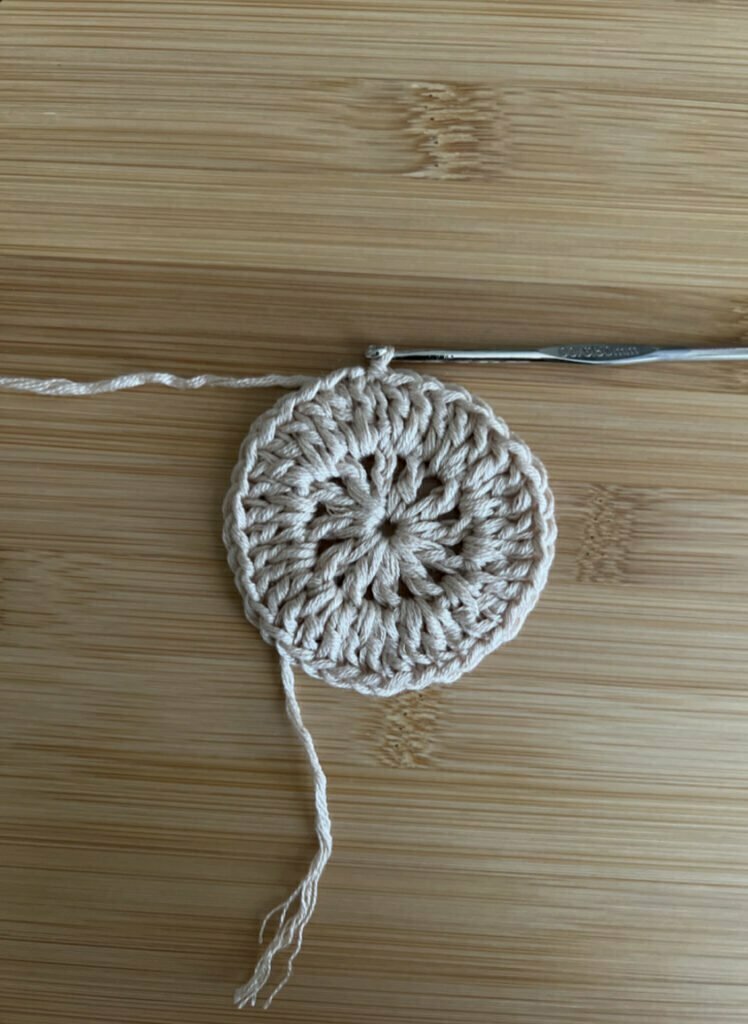
Second round
Ch 2. *2 dc into space, dc into next st. Repeat from * until end of the round. 2 dc into last space, slst (36 Sts)
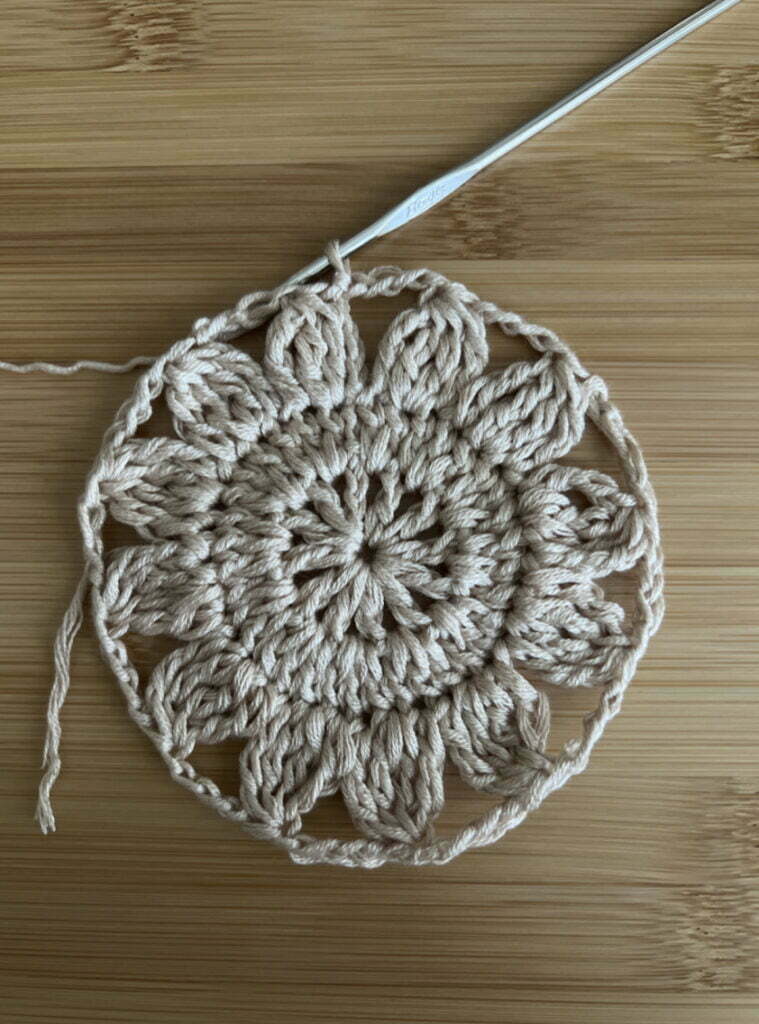
Third round
This round you are going to make clusters of 4 tc
Ch 3, yo 2 times, insert into next space yo and pull up a loop, yo, pull through 2, yo, pull through 2. yo 2 times, insert into SAME space pull up a loop, yo, pull through 2, yo, pull through 2. yo 2 times, insert into next space pull up a loop, yo, pull through 2, yo, pull through 2, yo, pull through all loops on hook.
Ch 4.
*Yo 2 times insert into next st pull up a loop, yo pull through 2, yo pull through 2. yo 2 times, insert into next space pull up a loop, yo, pull through 2, yo, pull through 2. yo 2 times, insert into SAME space pull up a loop, yo, pull through 2, yo, pull through 2. yo 2 times, insert into next space pull up a loop, yo, pull through 2, yo, pull through 2, yo, pull through all loops.
Ch 4.
Repeat from * until end of the round. Slst into first st to end the round. (12 clusters)
Fourth Round
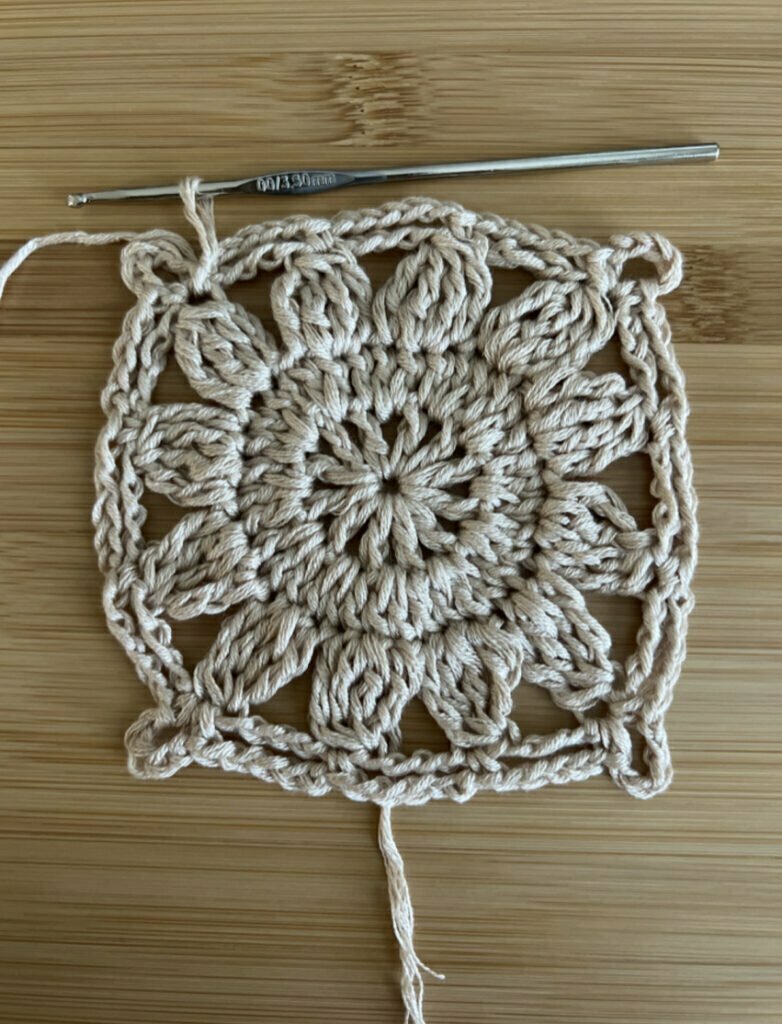
Ch 5, sc into 1st st. * Ch 5, sc into top of next cluster. Repeat * 2 more times.
Ch 5, sc into same st.
Ch 5, sc into top of next cluster. Repeat * 2 more times.
Ch 5, sc into same st.
Ch 5, sc into top of next cluster. Repeat * 2 more times.
Ch 5, sc into same st.
Ch 5, sc into top of next cluster. Ch 5, sc into top of last cluster. Ch 5, slst into base of beginning of round
(4 corners with three chain sections in between)
Fifth Round
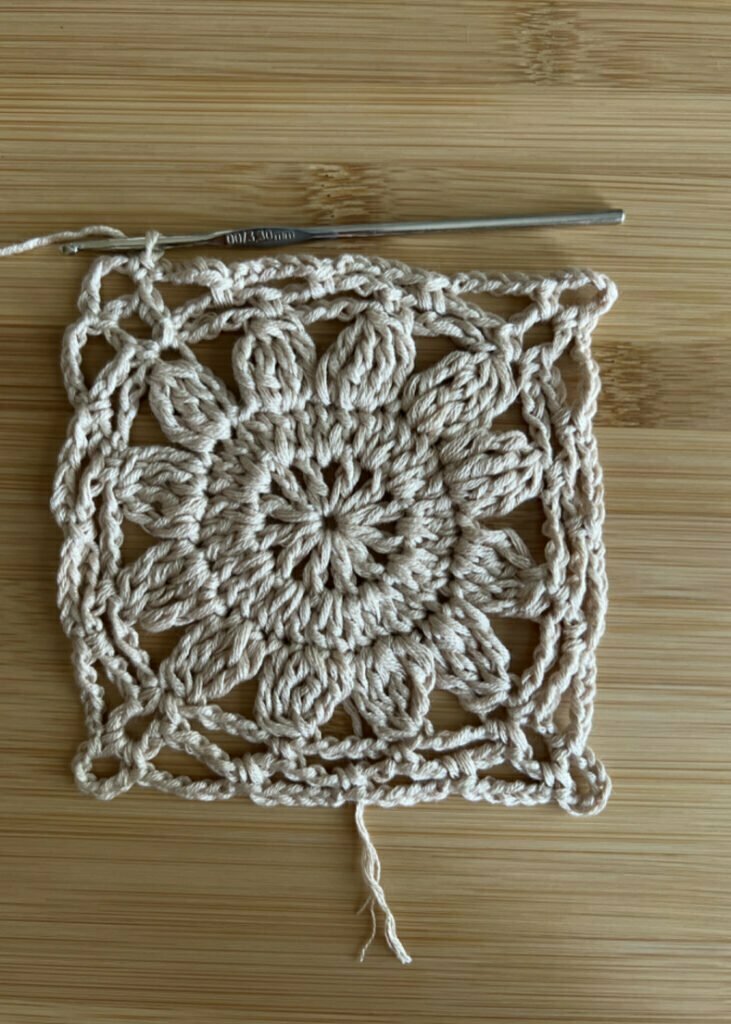
Ch 1, 2 sc into the corner. Ch 5, sc into corner loop.
*Ch 5, sc into ch space. Repeat * 2 more times. Ch 5, sc into corner space.
Ch 5, sc into corner space.
*Ch 5, sc into ch space. Repeat * 2 more times. Ch 5, sc into corner space.
Ch 5, sc into corner space.
*Ch 5, sc into ch space. Repeat * 2 more times. Ch 5, sc into corner space
Ch 5, sc into corner space.
*Ch 5, sc into ch space. Repeat * 2 more times. Ch 5, sc into corner space to end round.
(4 corners with 4 ch sections in between)
Last Round
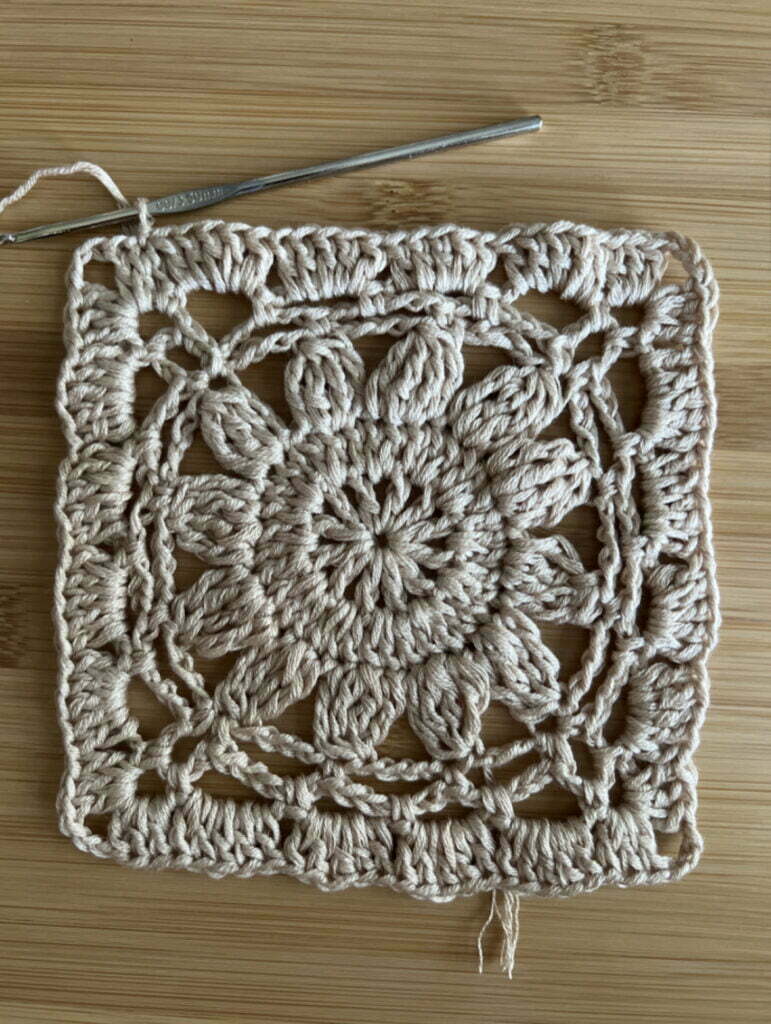
Ch 2, 2 dc into corner, ch 3, 3 dc into corner.
*5 dc into each ch space. Repeat * until corner.
Corner space: 3 dc, 3 ch, 3 dc
Repeat these instructions until end of the round, slst to end round (104 sts)
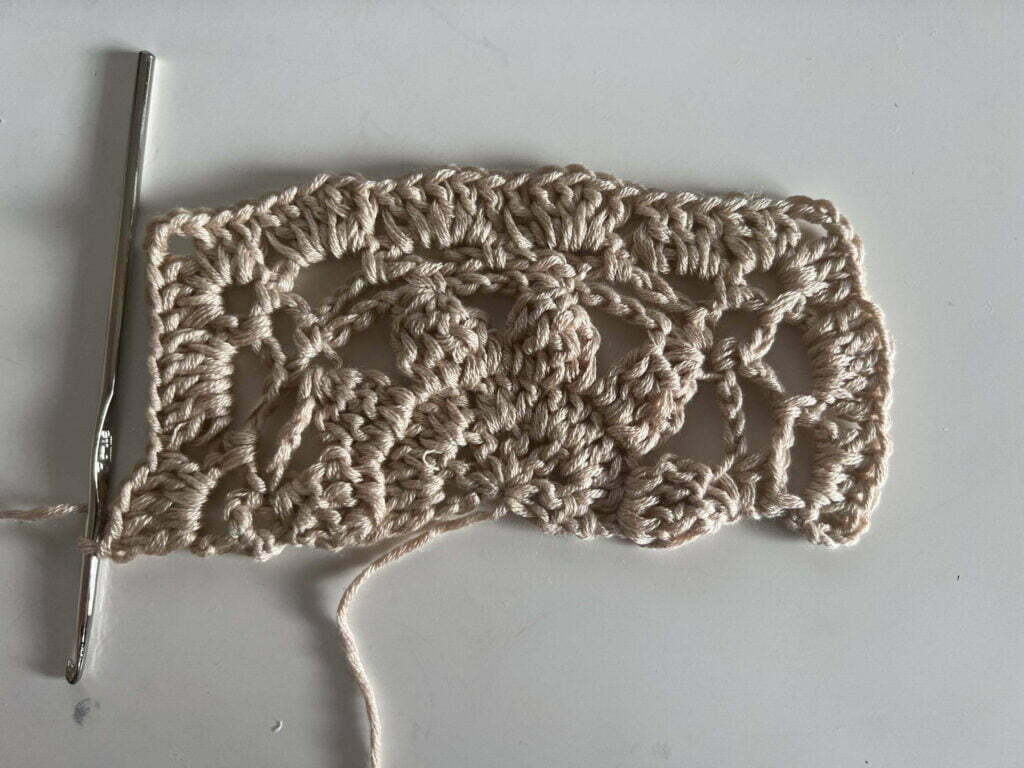
Half Granny Square for the Summer Boho Coverup
Half of the granny square is needed for XS-S sizes and any other sizes that needs to be adjusted. This square comes in handy when you need a little bit more space or if you need to replace a full square with a half.
To make a half square, you are going to work in rows rather than rounds. Make sure to turn after each row.
First Row
Make a magic circle, ch 2,(counts as 1 st) +1, *sc into circle, ch. Repeat from * 5 more times. Add one more dc into circle for a total of 6 Sts into the circle.
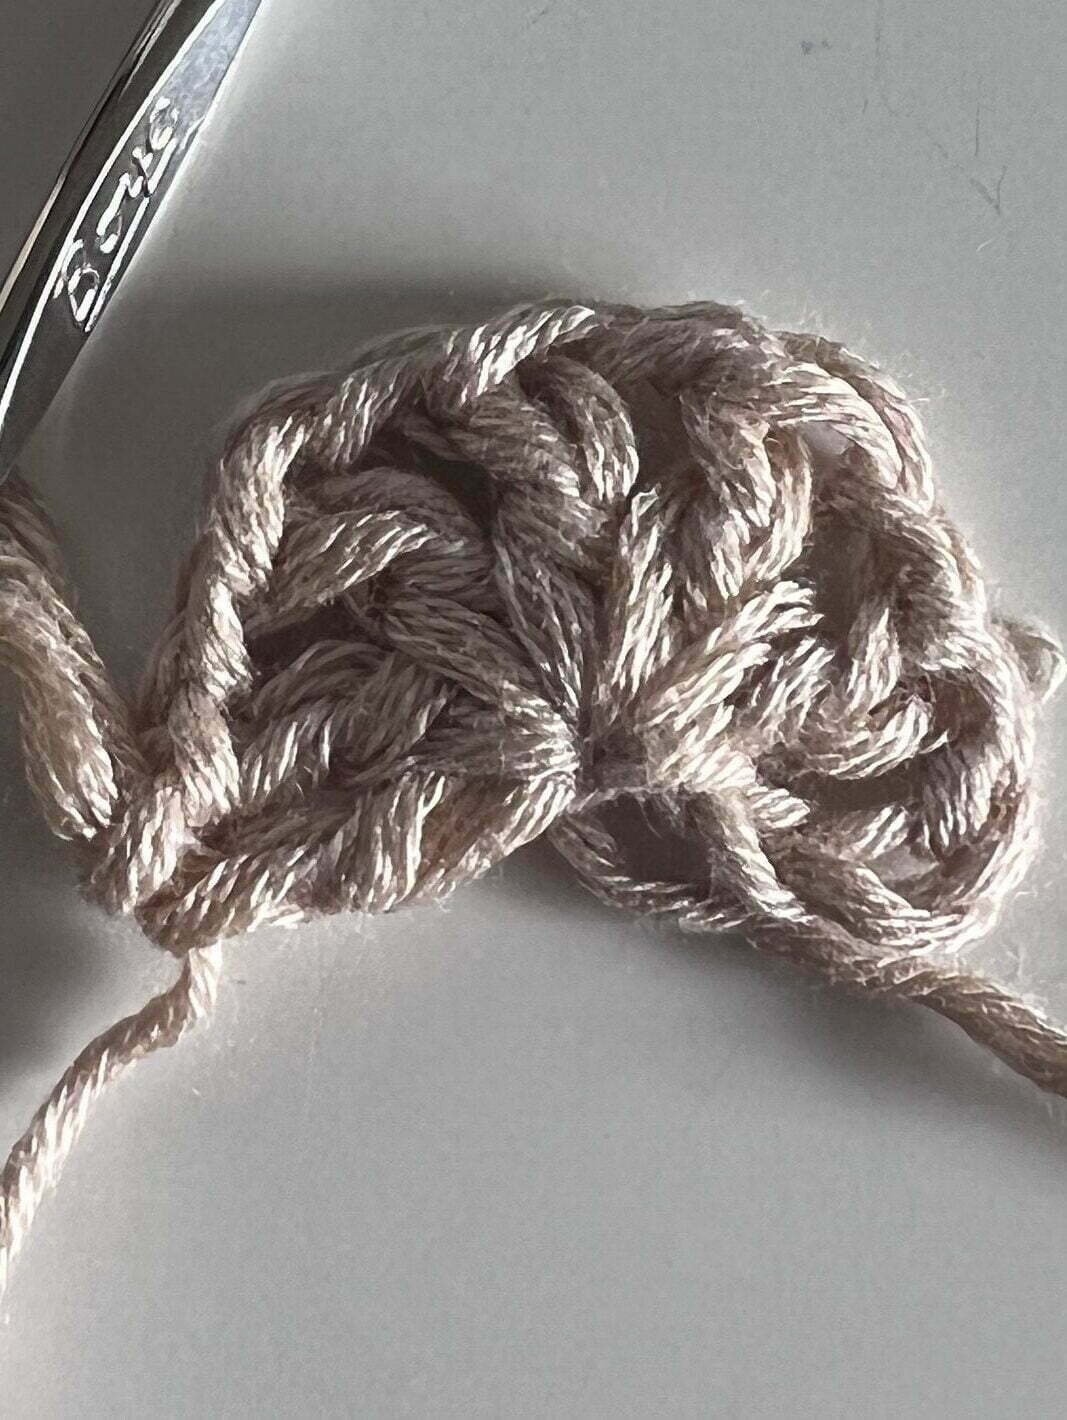
Second Row
Ch 2, dc into next st. *2 dc into space, dc into next st. Repeat from * until end of row for a total of 17 Sts
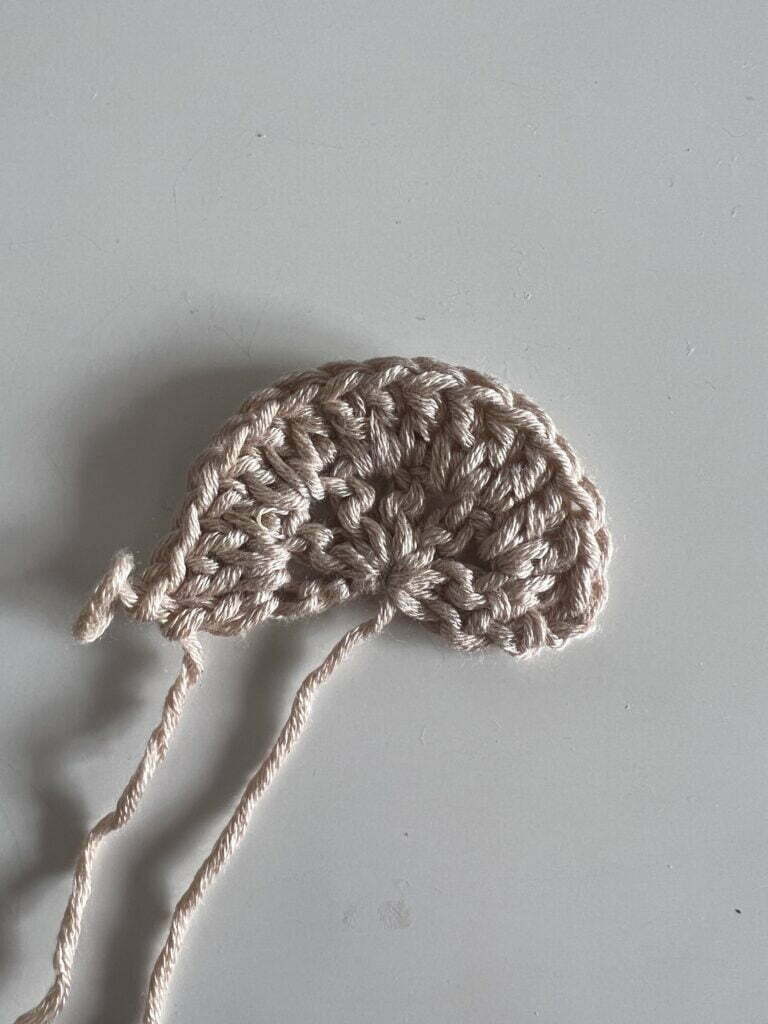
Third Row
Ch 3, yo 2 times, insert into space directly next to post yo and pull up a loop, yo, pull through 2, yo, pull through 2. yo 2 times, insert into SAME space pull up a loop, yo, pull through 2, yo, pull through 2. yo 2 times, insert into next space pull up a loop, yo, pull through 2, yo, pull through 2, yo, pull through all loops on hook.
Ch 4.*Yo 2 times insert into next st pull up a loop, yo pull through 2, yo pull through 2. yo 2 times, insert into next space pull up a loop, yo, pull through 2, yo, pull through 2. yo 2 times, insert into SAME space pull up a loop, yo, pull through 2, yo, pull through 2. yo 2 times, insert into next space pull up a loop, yo, pull through 2, yo, pull through 2, yo, pull through all loops.
Ch 4. Repeat from * until end of the round. Slst into first st to end the round. (6 clusters)
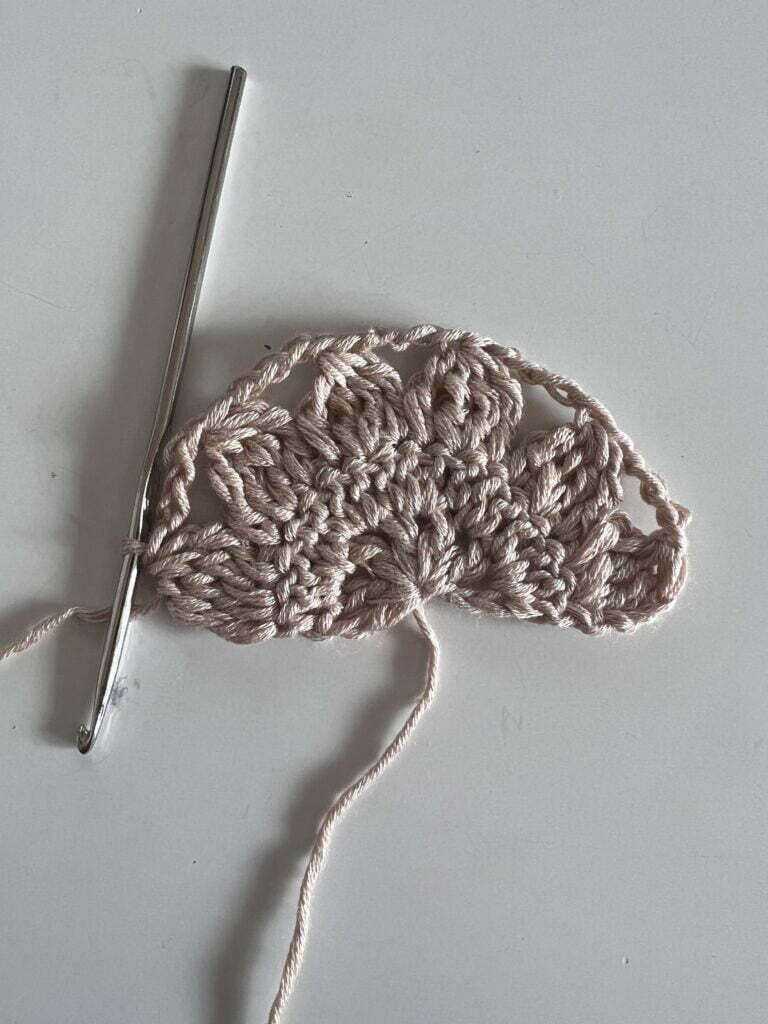
Ch 3, sc into same st (top of cluster). Ch 5 sc to top of next cluster, ch 5, sc into same st. *ch 5, sc to top of Cluster. Repeat 2 more times. Ch 5 sc into same st. Ch 5 sc to top of cluster. Ch 3, sc into same st.
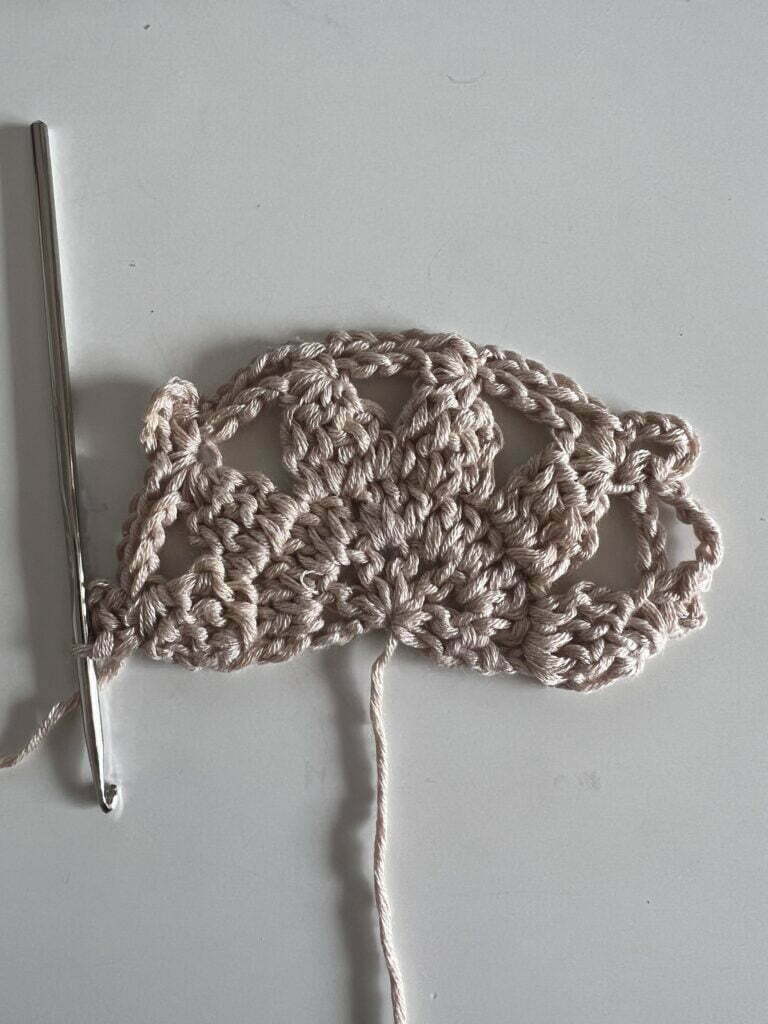
Fifth Row
Sc into chain space/circle. Ch 5, sc into space, ch 5 sc into corner space, ch 5 sc into same corner space. *Ch 5, sc into space. Repeat until corner space. Ch 5 sc into same corner space. Ch 5, sc into next space, ch 5 sc into last space (made by previous ch 3).
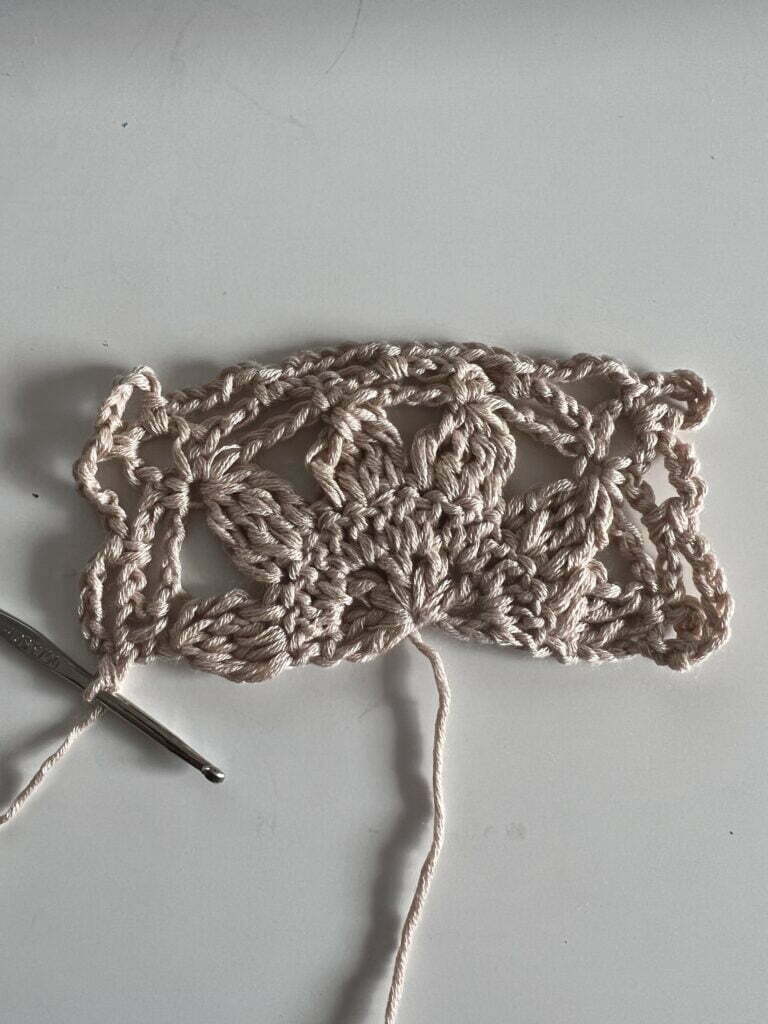
Last Row
Ch 2, 4 dc into space. 5 dc into space. 3 dc – ch 3 – 3 dc into corner space. 5 dc into space, repeat until corner space, 3dc – ch -3dc into corner space. 5 dc into next space, 5 dc into last space.
Summer Boho Top Construction Guide
Here are the construction guides for each size (XS/S, M, L/XL).
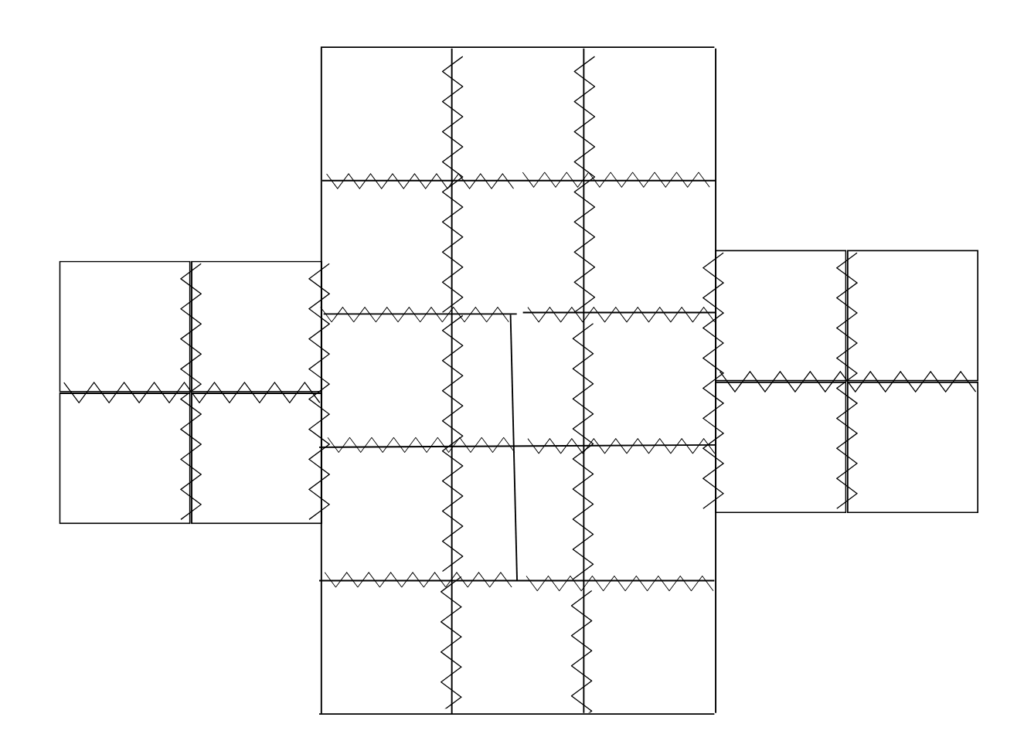


Putting your summer top together:
- Seam the squares together where a zigzag line is shown
- Now it is time to measure your neck opening. This part is customized to how open you want the front and back portion. As you can see, M and L/XL have to panels (left and right). Seam from the bottom mid section up to where you want to, repeat on both sides. I like to make the back seam longer than the front. Keep trying the garment on, draping it equally over your body to test if you are satisfied with the neckline and how it sits on your shoulders. If you are not sure, that is okay! Leave a long tail and move to the next step
- Fold your garment in half at the shoulders (cross wise). Seam from the wrist portion to the armpit then all the way down to the bottom. Repeat on the opposite side as well. Now you can try it on and see if how the neckline really fits. Make the necessary adjustments and Fasten off.
- Try the garment on, how are your sleeves? Do you like the length? If you was a longer sleeve go ahead and add on another round of squares (or half squares)
- Now it is time to finish your garment. Attach your yarn and crochet a round of double crochet around the wrist edges and bottom of the garment, slst to end each round. For the neckline, double crochet around until you are near the middle of the front portion. DC 4 Sts together (two before the centre and two after the centre) to create a nice sharp curve and continue dc until you reach where you started and slst.
- Weave in your ends (good luck!) and there you have it!
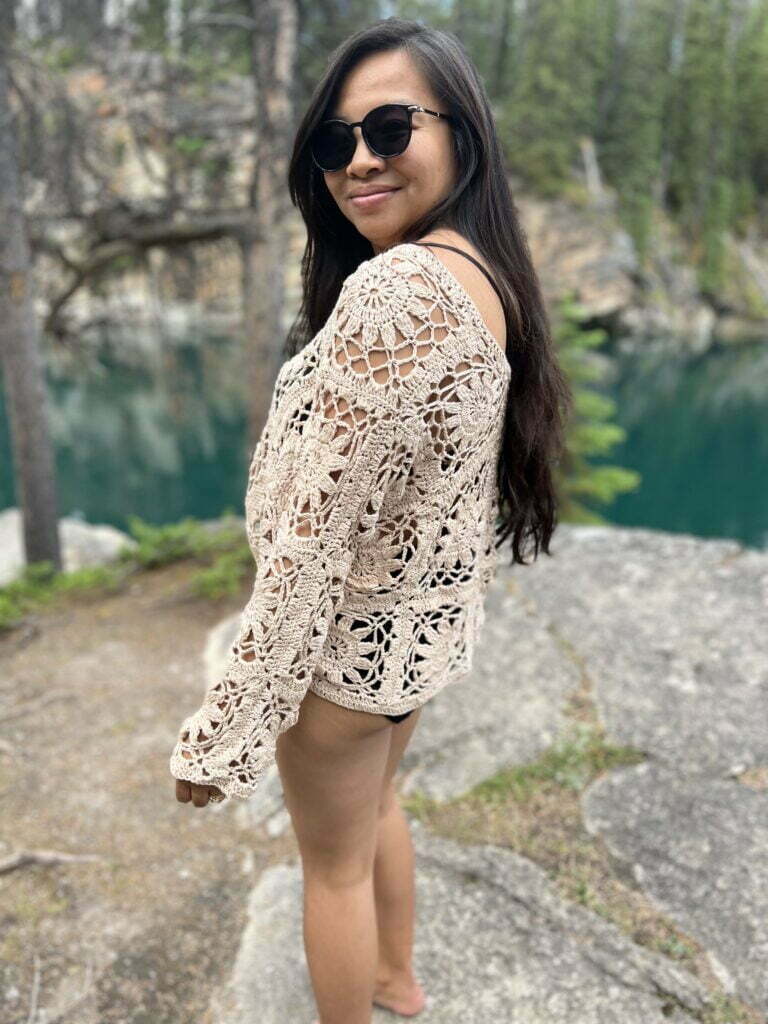
You now have a new summer coverup!
Looking for more coverup patterns? Make sure to check out all of my free cardigan and coverup patterns here where you can find garments, amigurumi, and accessories.
Want more Summer Crochet Ideas?
That’s all for now my maker friend! Remember, never miss a stitch by subscribing to my newsletter. See you next time!
xoxo
Abigail
