How to Make a Crochet Pouch with a Zipper
Hi friends! This post contains cookies and affiliate links. This means that I have provided links to the products I mentioned for your ease at absolutely no cost charged to you if you decide to purchase from my links – however if you do purchase from the links, I do make a small commission from your purchase and greatly appreciate your support.
I love making functional items! I mean, come on, there is just something so satisfying in making something that can actually be used – am I right or am I right?
One of the most motivating things that has kept me doing what I do is when people ask “where did you get that?” and the pride in answering “oh! I made it (smile.hairflip)”. Then people just naturally get attracted and I get to talk about what I love the most – YARN. Yay!!! I am sure any maker has experienced a similar encounter in their craft it is just such an amazing feeling! Now if you are just a beginner looking for your first project – no worries! – I got you covered! Today I am sharing one of my every day used items
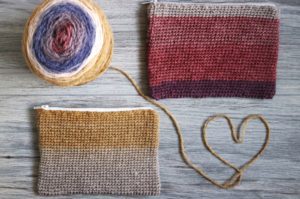
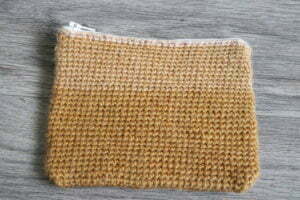
The KKAME Mandala Pouch
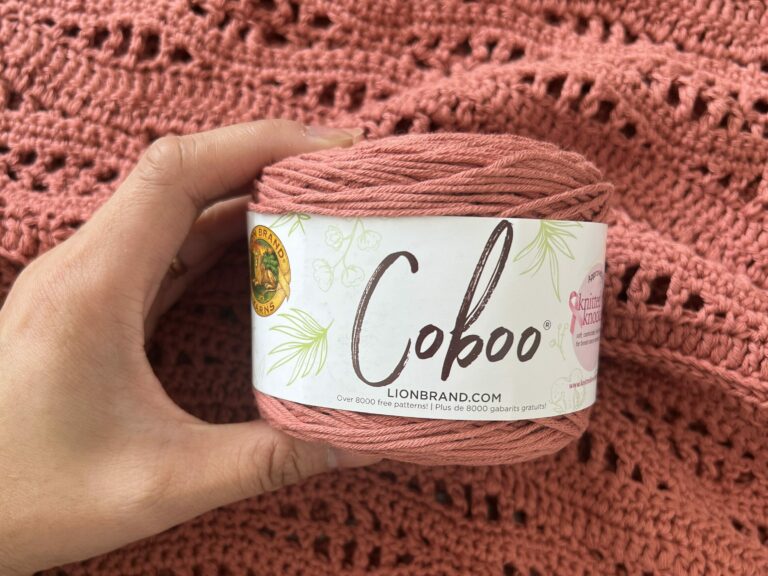
The Mandala Pouch is something the I personally make use of every day, I use it as a make up kit. Mandala yarn is such a beautiful DK weight yarn that collides beautiful complimentary colors in one cake. I love how these colors just play with one another for this project.
 For this project I used the Lion Brand Yarn’s Mandala Yarn in the color way Centaur which is just a stunning color play of autumn themed colors. Lion Brand offers an abundance of Mandala yarn colors in different categories – Mandala Yarn Made in USA, Mandala Yarn, Mandala Baby Yarn, and Mandala Sparkle Yarn – so you have tons of options to choose from for your own Mandala Pouch. Each 5.3oz cake can make (I am guessing) around 6 pouches. Sooooo good for your pocket and a wonderful addition to your craft booth!
Let’s dive right into it, shall we?
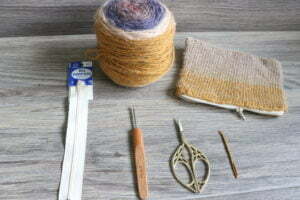 After you choose your cake of choice you will need the following things:
2.75mm crochet hook
7″ zipper
Sharp scissors (I got mine from Etsy)
Darning needle
and with a stitch gauge of 23sc x 28 rows = 4×4″
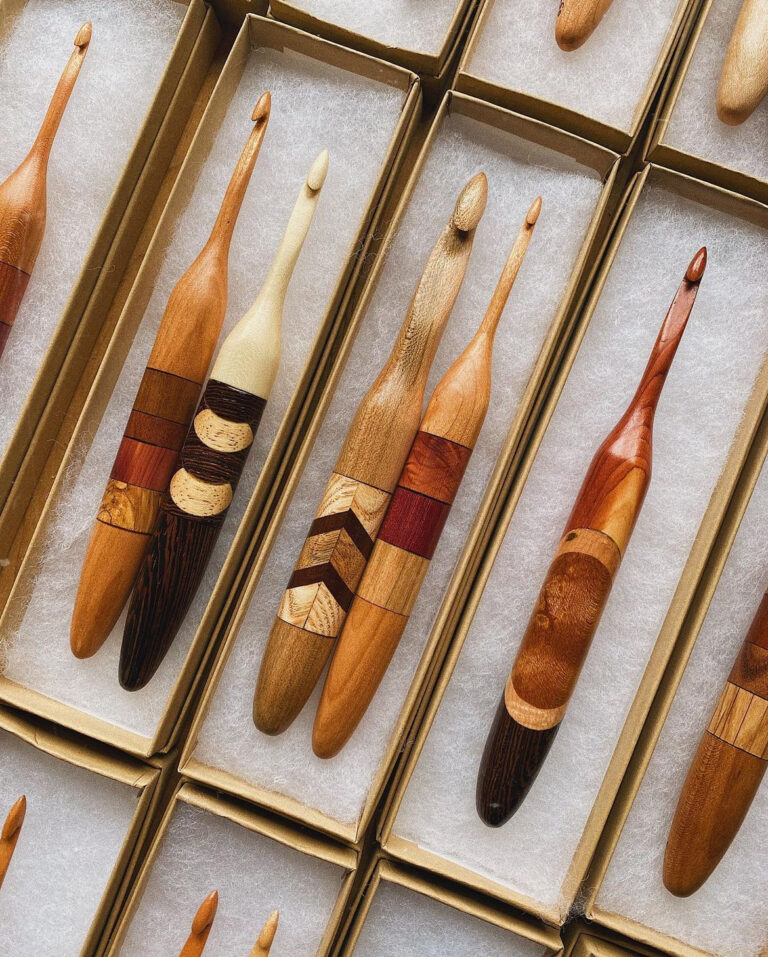
Before I move on I want to talk about my crochet hook for a bit. When I moved back to Hawaii I needed to leave everything behind and start a new. My dad knew I needed something to start with and help me through my independent life away from them and ordered a pack of crochet hooks for me. He ordered this Bamboo Crochet Hook set for me from Amazon

![]() “>
“>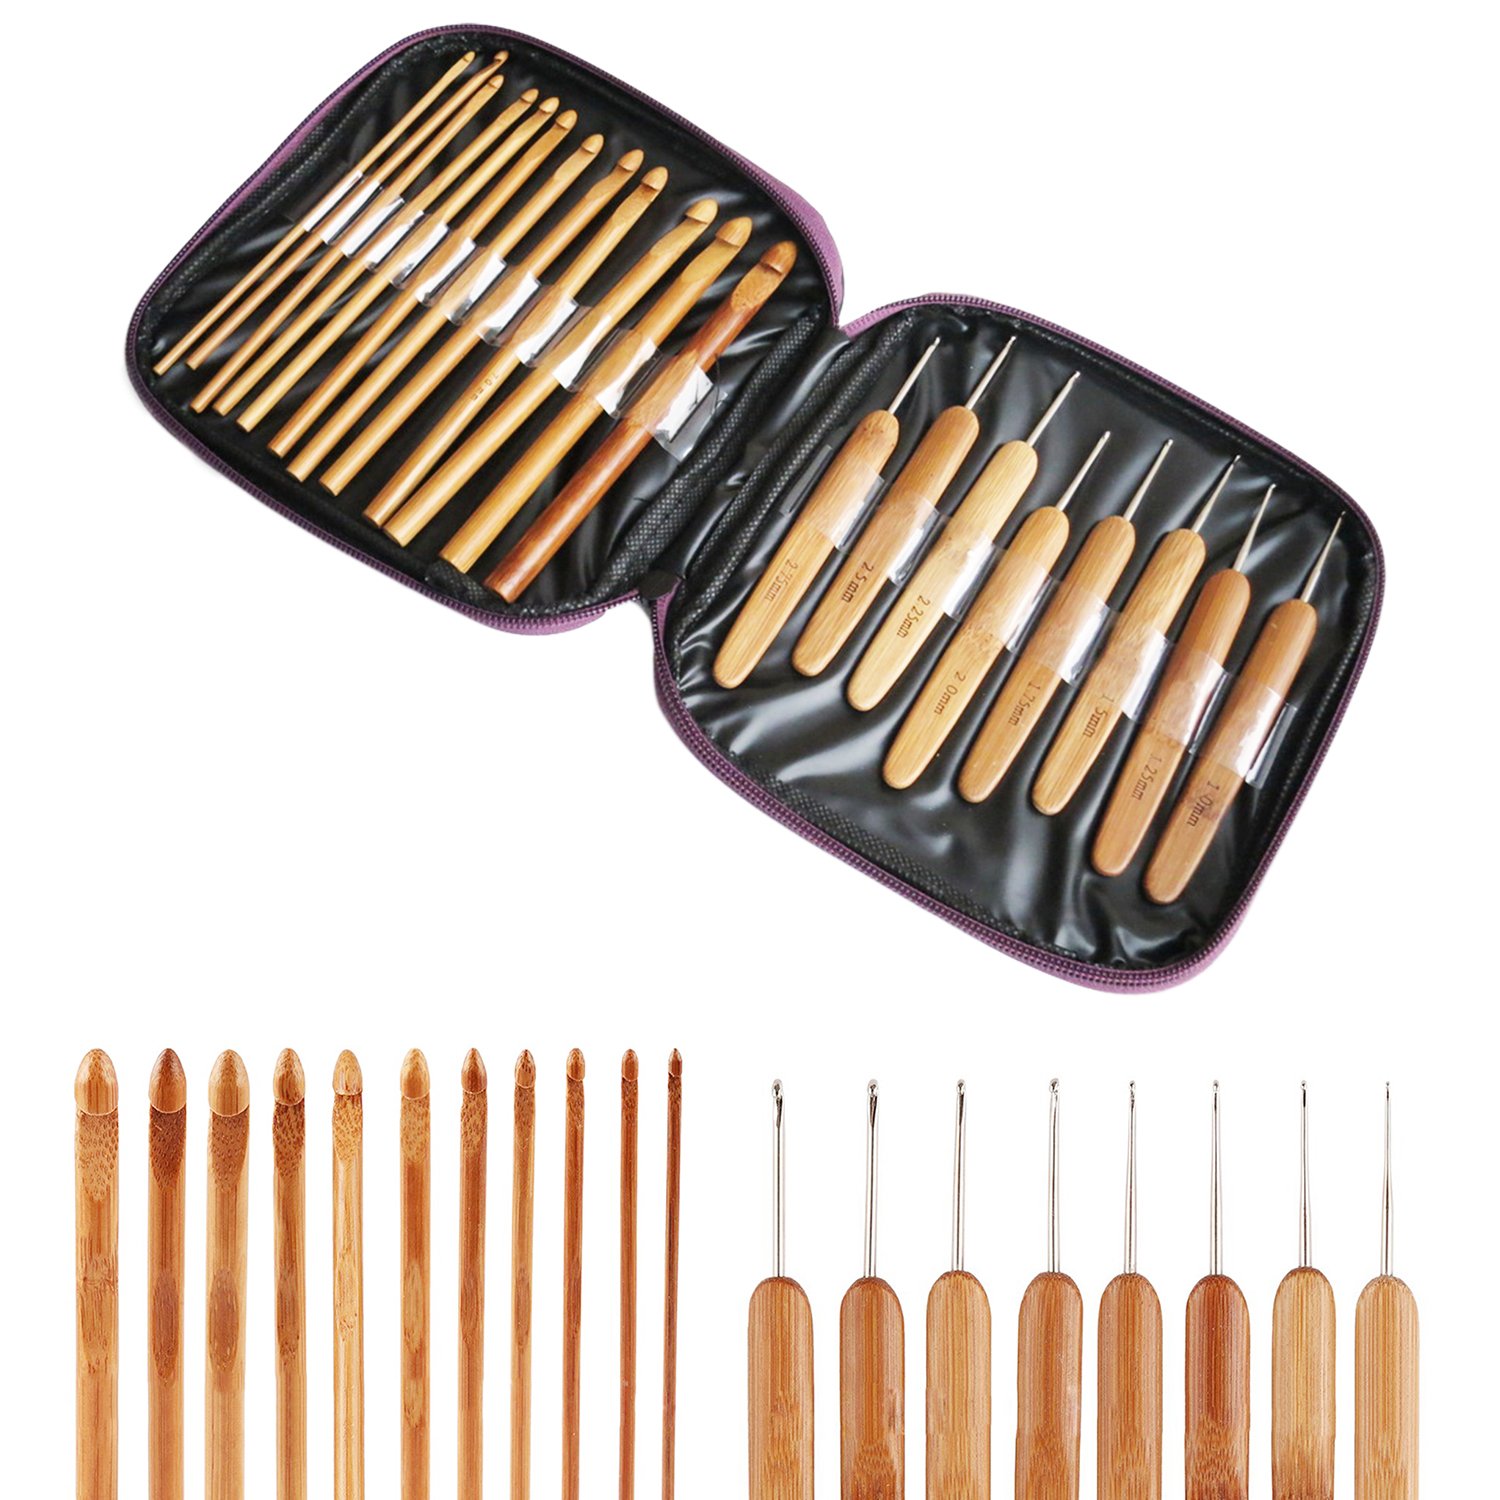
Until this day I still make use of this set, I bring it along when I am not sure what I will be working on, for people to use when I teach my craft, and because it has so many sizes I am always sure I will have the size I need when I come across or design a new project. I do have other sets of hook but this set I keep close to my heart because it is such a safety blanket for me knowing that I have every hook size I may need for any given project. Best thing is IT IS INSANELY CHEAP! 20 pcs for just $8.99 – get out of here! This is definitely a great starter set I would recommend to anyone starting the craft and just want to try their hand before investing more.
Okay. Back to the pouch.
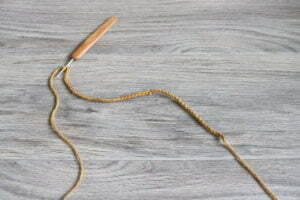
So after getting the gauge you are going to want to make a foundation chain of 70. leave a long tail at the beginning before you begin to ch about 10 inches long.
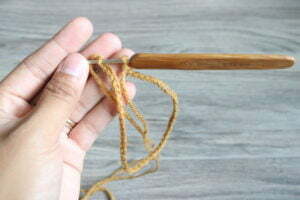
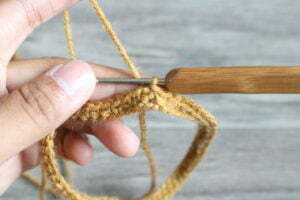
Making sure not to twist the chain, slip stitch into the first ch
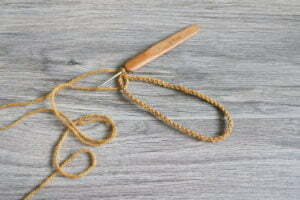
Now you are starting the first round. Ch 1 and single crochet into the next ch.
Sc in each ch around (you should count 70 stitches in all)
Are you still good? Alright. Pay attention, you got this!
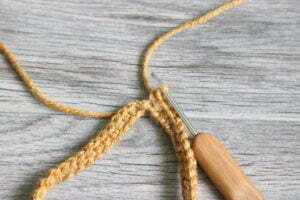
Slip stitch into the top of the first st.
Ch 1 and sc into each st around and slip stitch into the first st to complete the round.
You have now completed 2 rounds. Yahooo! Now continue this until you reach 30 rounds, remember each round should have 70 stitches after your ch 1. You got this!!!
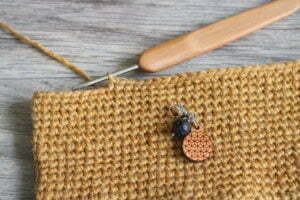
As you get further along make sure to double check how many stitches are in a round.
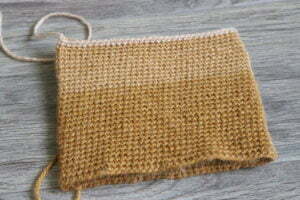
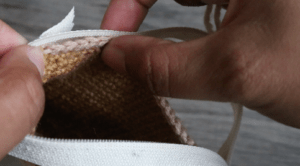
After you complete 30 rows, finish off with a long tail about 20 inches long. Turn your pouch inside out and attach your darning needle to this tail and begin to sew on your zipper. I personally love the raw look of hand sewing it on and exposing the imperfections of it but it is up to you if you want to add a lining to your pouch or sew the zipper on with a machine.
Open the zipper and overlap the ends like this (make sure to double check with your pouch to gauge how much to overlap)
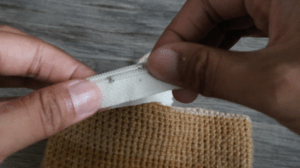
Line it up at the side of your pouch where you have attached your needle. Keep the zipper portion of your zipper (if that makes sense haha) aligned sitting on the top of your pouch. Sew around your pouch – I like to sew through the top loops with a simple double stitch all around. As you reach the sides it may be confusing and you may want to zip and unzip your zipper to help you out. One thing to keep in mind is to keep your zipper straight. so when you reach the sides hold your zipper in a straight line aligned with the top – think of the sides of the zipper as two separate pieces made for each side of the pouch
After you sew around the zipper you can fasten, cut off, and weave in the end of the top.
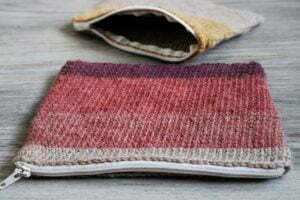
Attach your darning needle to the bottom tail, whip stitch across the bottom loops, fasten off, cut, and weave. You can now turn right side out and…
Viola!
You made your very own KKAME Mandala Pouch!!!
Now, where did you get that gorgeous pouch? Oh yeah! That’s right, YOU made it!