Free Large Crochet Tote Bag Pattern to Try This 2023
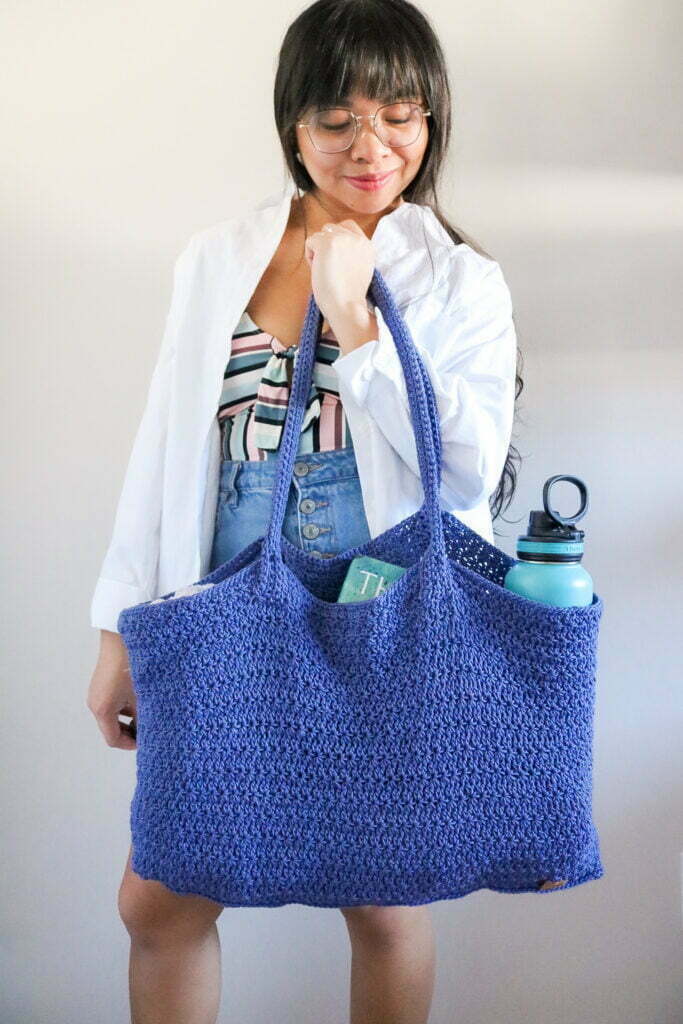
This post shares the free crochet pattern for the Tara Tote. This tote is an oversized bag perfect for picnics, beach days, and road trips! The pattern is great for advanced beginners and walks you through how to make a sturdy crochet bag base, how to crochet the jasmine stitch, and how to crochet bag handles.
Get the inexpensive ad-free pattern for this pattern here. The paid pattern includes step-by-step instructions and picture tutorials to help you with your crocheted tote bag.
This post contains affiliate links. I get a small commission from any purchase made through these links at no additional cost to the buyer. This allows me to keep free awesome content coming your way. Check out my privacy policy for a full rundown of disclosures.
About this crochet tote pattern
I absolutely love a good tote bag, especially crochet tote bags!
Indeed, crochet bags are so beautiful and timeless. They are usually used as market bags. Like, come on! Who does not like an eco-friendly and classy bag to bring to the farmers market or grocery store?
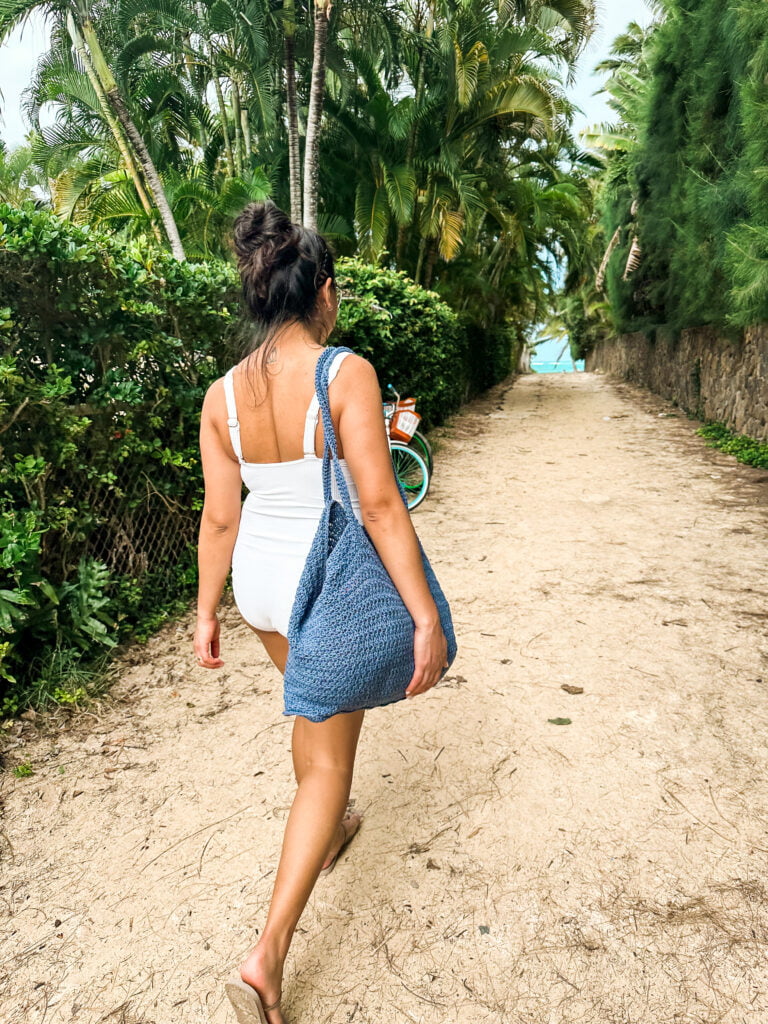
Eventually, I wanted to make an oversized tote for summer activities. Picnics at the park, day trips to the mountains, resting at the lake COUNT ME IN! I also made this bag before heading home to visit family and needed a crochet beach bag, so there’s that too.
“Tara” is a Tagalog word meaning “Let’s go!”. Hence, why I thought that this would be the perfect name for this tote since it is what I say to my wife every time I get that bug to go out. We absolutely love weekend trips and traveling.
As you know, crocheters bring A LOT of baggage wherever we go. And when I say “baggage” – yes – I mean YARN. I do not know about you, but I always have to have to bring a WIP wherever I go. So obviously, this bag had to be big enough to carry all of my project needs, hold small things, and travel necessities for whatever I had in store that day.
Construction of this crochet tote bag pattern
I am really proud of this crochet tote pattern because I played around with a variety of techniques and had so much fun.
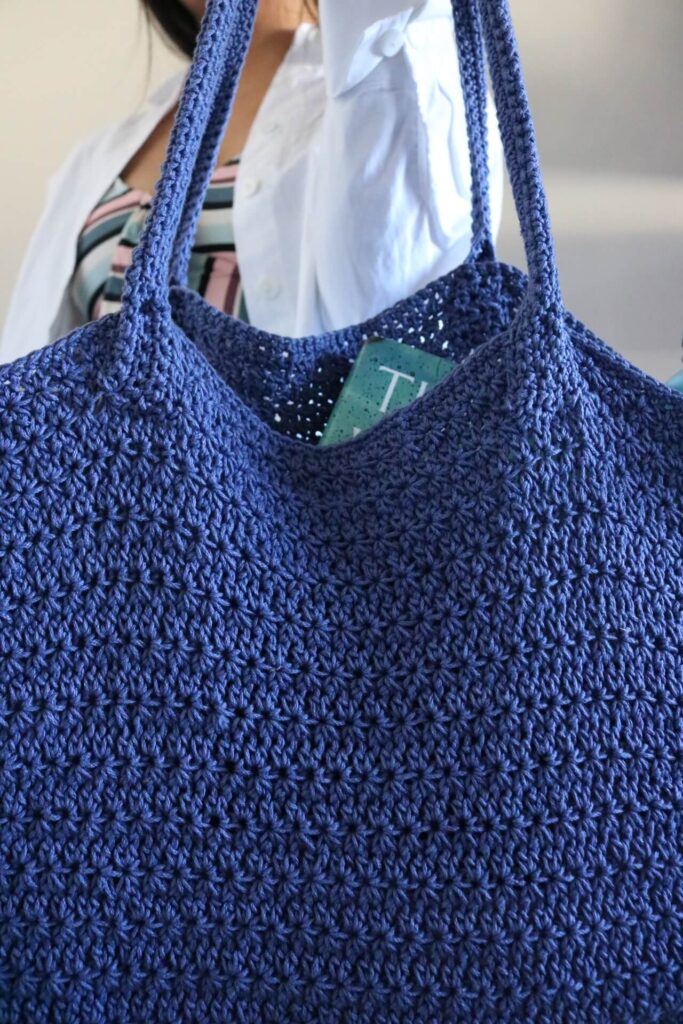
If you are a beginner crocheter looking for an easy crochet bag pattern that looks modern, you have come to the right place! Theis is an intermediate pattern because of the detailed jasmine stitch. BUT, good news is, it is actually quite simple. Using basic stitches, this bag pattern provides the perfect opportunity to try textured stitches and techniques with a very simple construction.
One common problem that crochet bags tend to have is the soft bottom. I made the Tara Tote to have a sturdier bottom without needing to wiring, stabilizers, or boards.
The bag is made continuously from the base to the top, minimizing the need for seaming. The only seaming that is done in this project is for the handles. Which, I might add, are absolutely gorgeous! I studied handles on my favorite bags and tried to replicate them.
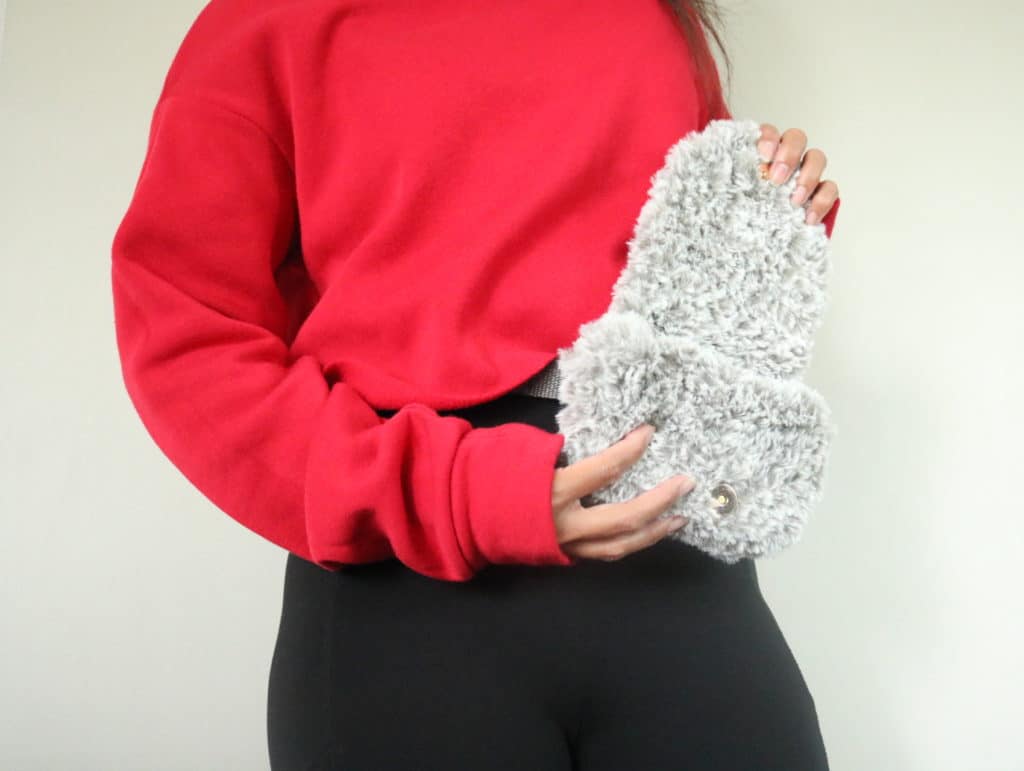
Related Post: Check out this Faux Fur Fanny Pack
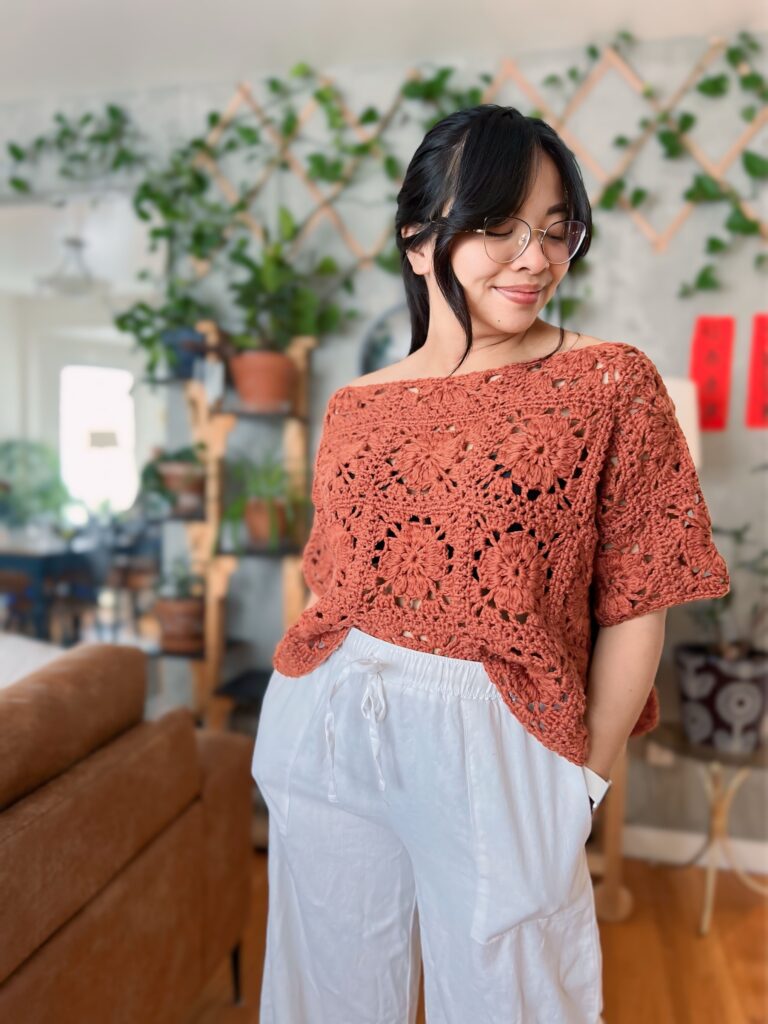
Want more summer patterns?
Check out these patterns (left to right): Jasper Coverup, Sunrise Bralette, Faux Fur Fanny Pack


Yarn
The best yarn for crochet bags is generally cotton yarn. Especially for these types of summer outdoorsy kind of bags. Cotton yarn has great durability and best for items that are used and washed often. This is why I chose to upcycle a crocheted dress that no longer fit me and used the cotton yarn from the dress to make the Tara Tote.
The yarn I used was Lion Brand Yarn’s 24/7 Cotton yarn. This is the same yarn I used with the Sunset Cove Shrug and the Cameron Coverup.

Free Crochet Tote Pattern – Tara Tote
First off, this is a free written pattern the Tara Tote – an easy crochet bag for advanced beginners. This pattern is for personal use only.
Are you a visual learner? You can always get the ad-free full pattern pdf version with picture tutorials here.
Pattern notes:
- This pattern is made using US terminology.
- The pattern is written in rows for the base strip and straps. Rounds are used when the base is folded and crocheted together and for the body of the tote
- So I know this is a rather large bag, it is the perfect size bag for my summer activities. However, it may not be for you! No worries at all. You can easily make the bag smaller by crocheting a shorter base strip, just keep in mind that the base strip will be folded in half. Just remember, when crocheting around the base, you NEED to end in an even stitch number to make the Jasmine Stitch work for the body.
- The ch stitches at the beginning of the rows and rounds are considered in stitch count.
Materials:
- Medium weight yarn / CYC 4 Cotton yarn (I used Lion Brand Yarn 24/7 cotton)
- 4.0 mm crochet hook – change the hook size to a different mm hook if needed based on your yarn and gauge
- Stitch marker (optional) – these stitch markers are great for both knit and crochet projects
- Scissors
- Needle
Gauge – Do not forget to make your gauge!
Base – 18 sts x 19 rows (single crochet)
Body – 9 sts x 11 rows (jasmine stitch)
Size Guide
One size – 22” length x 12” height x 2.75” width (base)
Abbreviations (US Terms)
- Ch – Chain stitches
- Sc – single crochet
- Hdc – half double crochet
- Slst or Sl st – Slip Stich
- St/s – stitch/es
- YO – Yarn Over
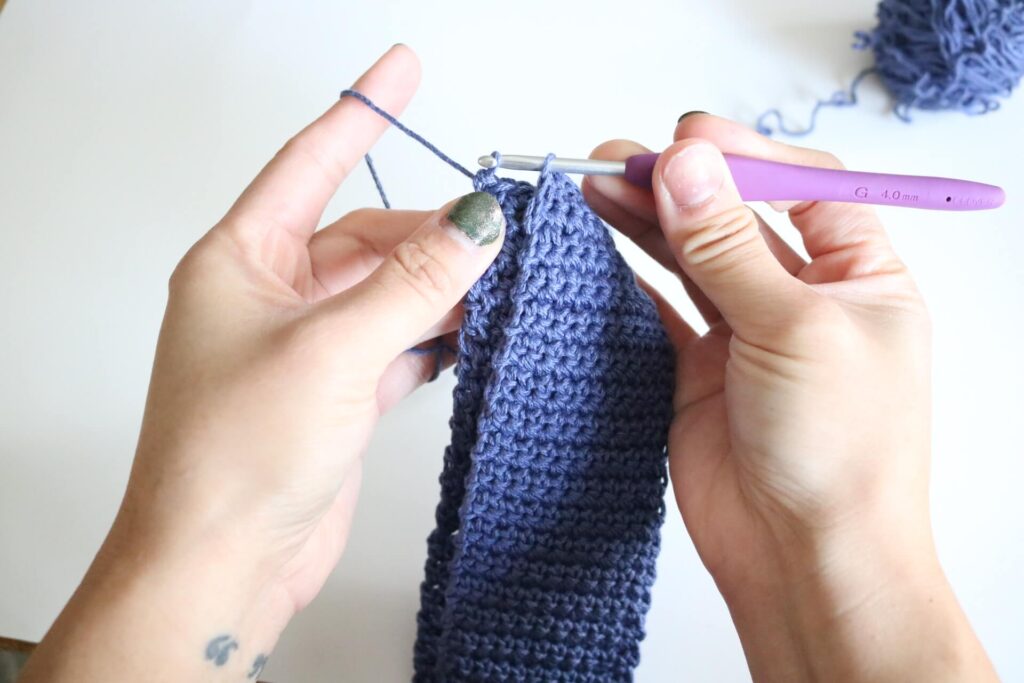
Base Strip
Ch 12 + 1
R1: sc into the 3rd ch from the hook (counts as first 2 sts), sc in each chain down the row. (12 sts)
R2-180: ch 1, sc in each st down the row. (12 sts)
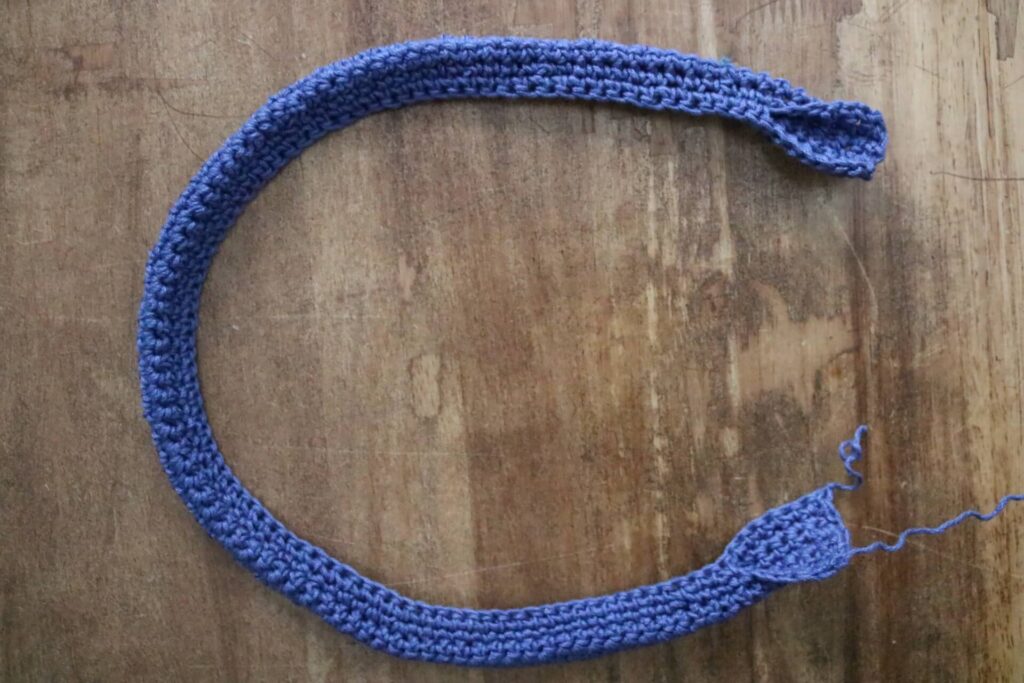
Do NOT fasten off
Fold the band in half. Insert your hook through the corner that folds over where your last stitch is and pull the loop through. You are now going to work on the base of the bag by crocheting the halves together.
Base of the bag
Note: sc are done on each row 1:1 ratio on the long edge. In the diagram, the 0 is a ch and the x’s are sc. These symbols show corner stitches.
R1: Ch 2. Sc in the same st, sc until the corner. 2 sc into corner. Sc into each st to the next corner, 3 sc into the corner. Single crochet into each st down the end, 3 sc into the corner. Sc in each st down the row, sc into first/last st of the round and slst into the 2 ch from the beginning to complete the round.
R2-3: ch 2, sc in each st around the base, slst to 2nd ch at the beginning of the round to endend. (208 sts)
Do NOT fasten off
Body of the bag
Moving on, you are now going to be working in the Jasmin Stitch pattern.
R1: ch 3, insert hook into the 2nd ch from the hook, yo, pull through (two loops on hook). Insert hook into the first ch, yo, pull through (three loops on hook). Next, insert hook into base of st where you slst, yo, pull through (4 loops on the hook). Lastly, insert hook into next st, yo, pull through (5 loops on hook). Yo, pull through all 5 loops on ch.
*Ch 1. Insert hook into middle of circle formed below ch (this is were the loops were gathered), yo, pull through (2 loops on hook). Next, insert hook into base of st (same st that was last used from previous st on in the row), yo, pull through (3 loops on hook). Insert hook into next st, yo, pull through (4 loops on hook). Insert hook into next st, yo, pull through (5 loops on hook). Yo, pull through all 5 loops.
Repeat from * until the end of the round.
Ch 1, hdc into base of the same last st. Slst into 3rd ch at the beginning to end round.
R2: Ch 1. 2 hdc into each circle in the round. Slst to top of initial ch to end round.
R3-32: Repeat R1 and R2 for 30 more rows for a total of 16 total rows (from the base) of jasmine stitches.
R33: Ch 1, sc into each st in the round. Slst to end the round. (204 sts)
* if you want a taller bag, continue to repeat rounds until you reach the right size for you.
Fasten off
Handles (make 2)
Ch 100 + 1
R1: sc into the 3rd st from the hook (counts as first 2 sts), sc in each ch down the row (100 sts)
R2-6: ch 1, sc into each st down the row. (100 sts)
R7: ch 1, sc into next 6 sts. Fold the strip lengthwise and continue seaming with a sc through both edges until last 7 sts. Now only on one edge (the edge you started the row on) sc into the last 7 sts.
Fasten off with a long tail
Attach handles to the bag by flattening out each end of the handle and sewing it flush onto the bag in places you desire.
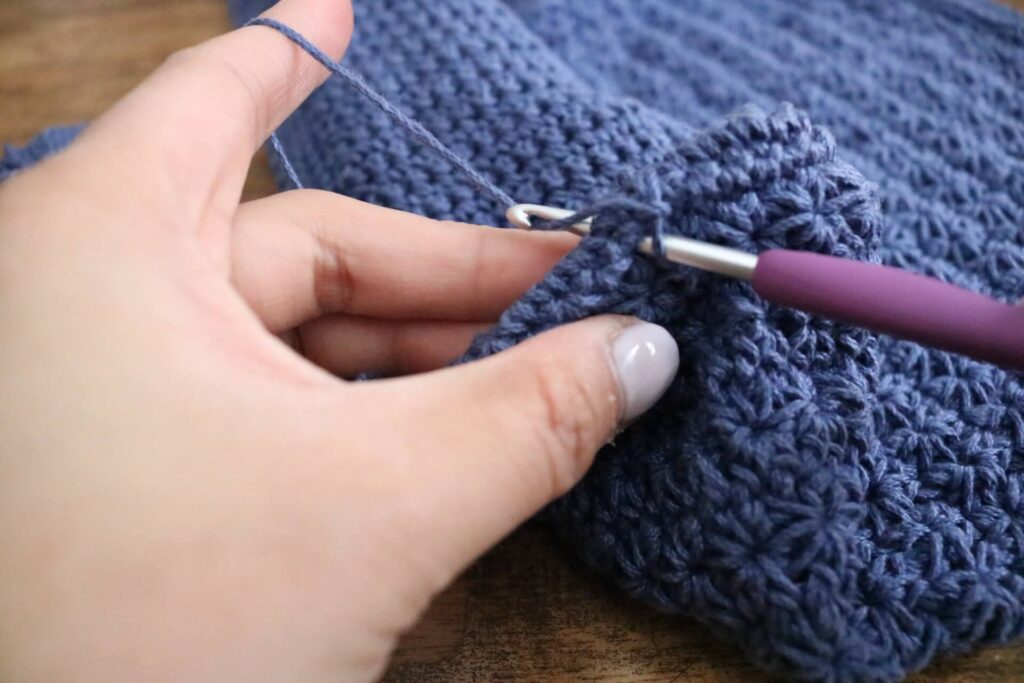
Crochet “piping: around the base of the bag. (remember you have 3 rows of sc in the base before the jasmine stitches.)
Attach yarn to base of the bag. Insert your hook through the spaces of the last sc row before the jasmine stitches, under second row, come back up on top of the first sc row directly below. Yo and pull through yarn.
Ch 1, Sc all around wrapping the second row in your stiches. Slst to secure.
And you’re done with your crochet tote bag!
I would love to see how your style your pleated skirt. Make sure to tag me @knitsandknotsbyame on IG. Until next time, creatives!

Looking for more beautiful patterns? Make sure to check out all of my beginner friendly patterns here where you can find garments, amigurumi, and accessories.
That’s all for now my maker friend! Remember, never miss a stitch by subscribing to my newsletter. Happy crocheting!
xoxo
Abigail